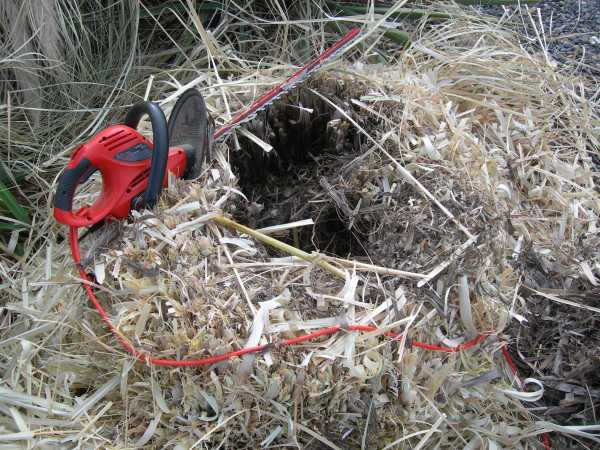
I cut these down to about 12" tall.
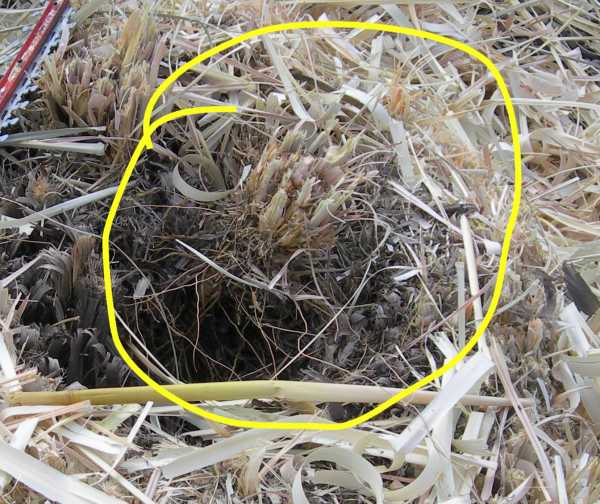
These grasses seem to eventually die in the center, so I spend a few minutes pulling out
the rotting stuff. They will start filling in over time if you do this.
This is the time another opportunity presents itself - getting new starts.
You read in gardening books that the usual way to propagate pampas type grasses
is through division.
Obviously, the writers never attempted this themselves.
It takes at least three men and a boy to get anywhere near a clean division.
You usually end up with a bunch of mangled roots that never quite get over the
shock of getting hacked off the mother plant.
There is a much easier way to get new starts.
When the center starts to rot out, there are clumps still alive. The one circled in
yellow is an example. Simply snip out a few of these clumps and transplant.
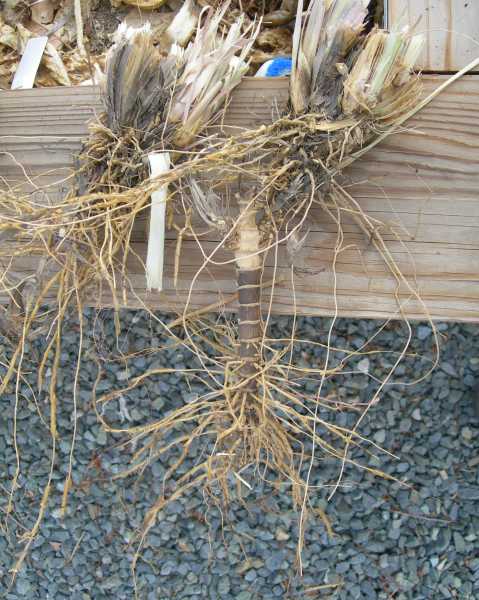
I got six or so starts from this and am transplanting these out to one
of the perpetually barren areas. A few of them should take.
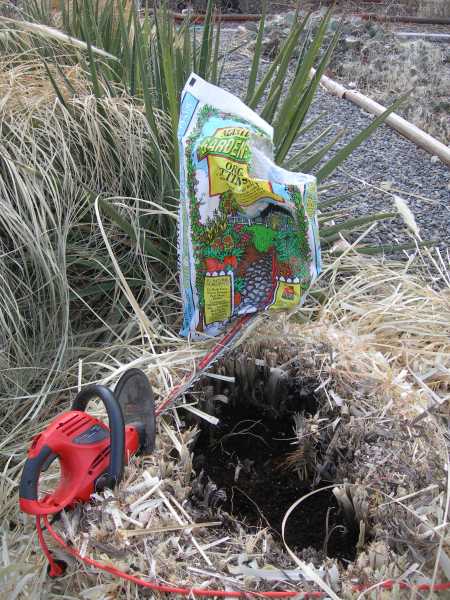
This year I am trying something a little different. I put about
four inches of 'Gardener's Gold' in the rotted area because
I noticed roots coming up and through the decaying material.
It might help, or I might end up with a very strange looking mound of grass.
July, 2007
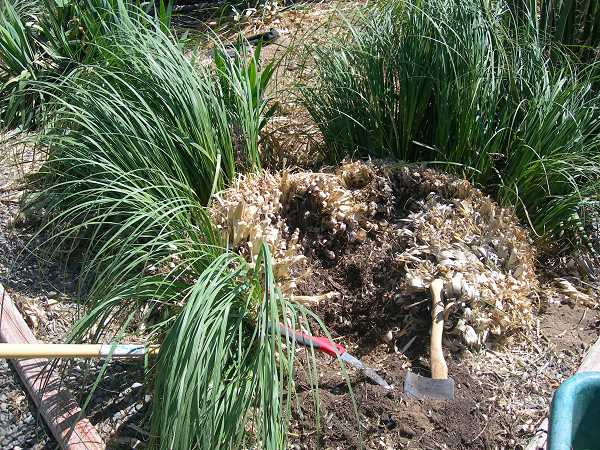
I've been dreading this for several years - one of the most labor intensive jobs known to man. These grasses
are about 12 years old and it is time, unfortunately to weed out the dead stuff.
Useful tools:
1. Shovels - At least two.
2. Hatchet or Axe
3. Limb Saw
4. Dynamite
The idea is to hack out everything, replant the center with some of the fringe grass, and start some new
plants. It takes about a day per grass to work through the tangle of roots and break the mass down into
manageable chunks.
Does look kind of like a Friar Tuck fringe, doesn't it.
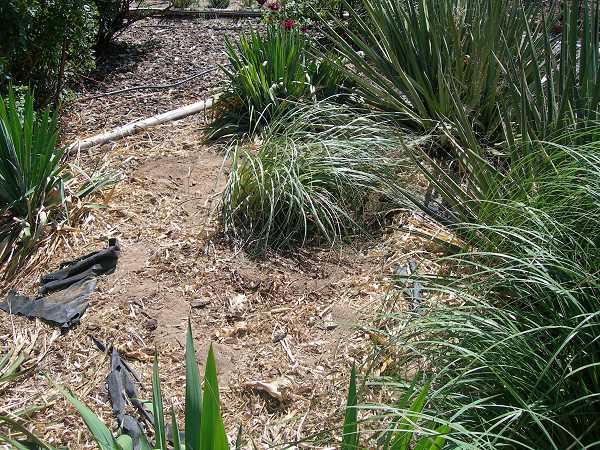
This is the majestic center piece of bed, somewhat reduced in size.
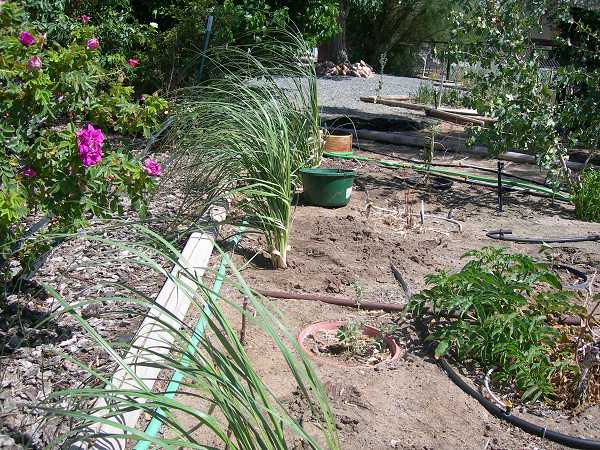
Here are half a dozen or so new starts.
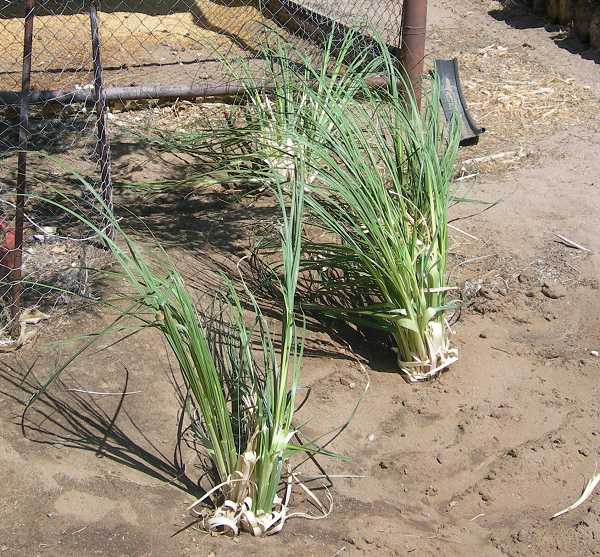
And here are some more. If any of these live, I think I will have a yard sale in the fall.

