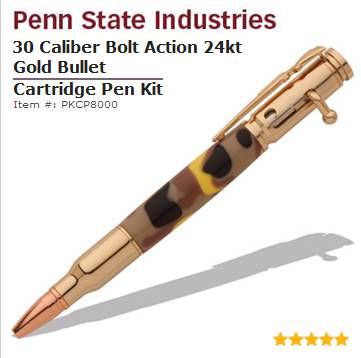
I finally got my hands on a few of these pen kits. They are in high demand so they must be something special and worth the wait.
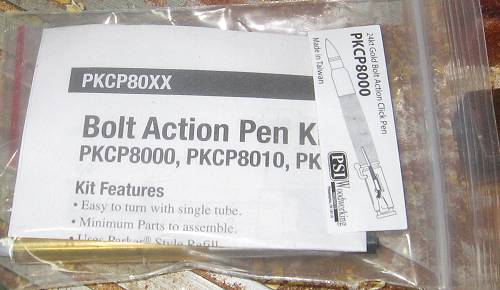
Easy to Turn - That's Good
Minimum Parts to Assemble - That's even better (Click-Style Bullet Pens come to mind).
Parker Style Refill - I like that.
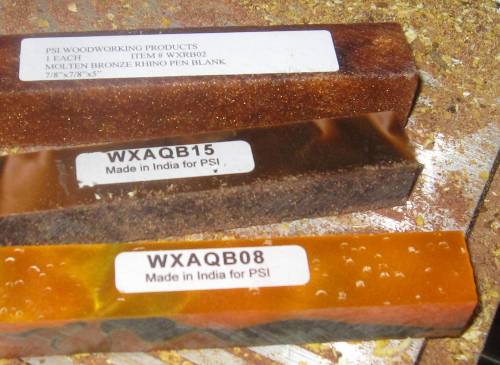
I think I will go with Acrylester and Plastic this time around.
Two of these three blanks come from India this time around. Haven't tried Indian plastic yet.
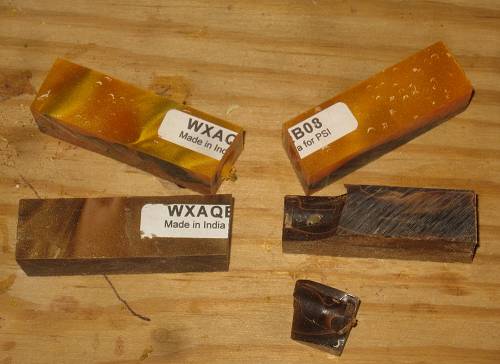
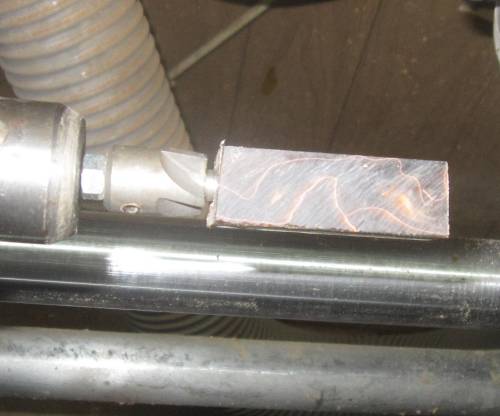
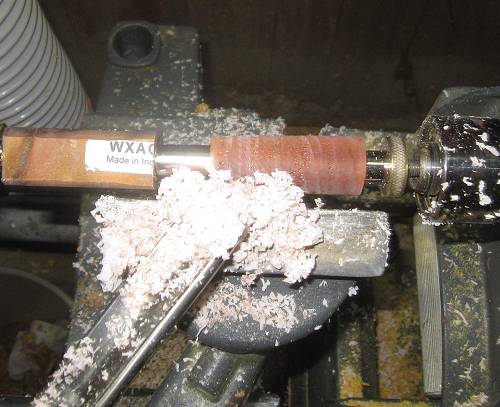
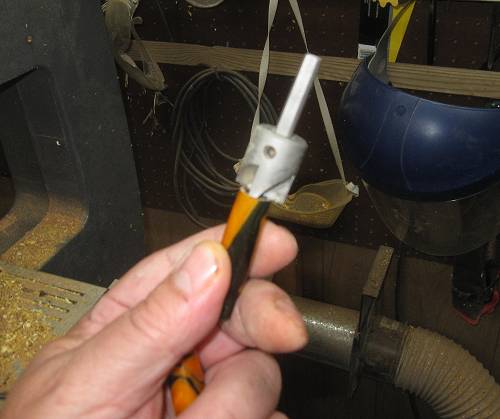
This is new - breaking the blank whilst drilling same.
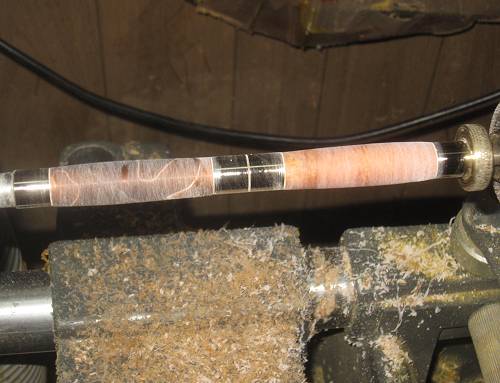
The brown blank also feels quite a bit harder than the other one.
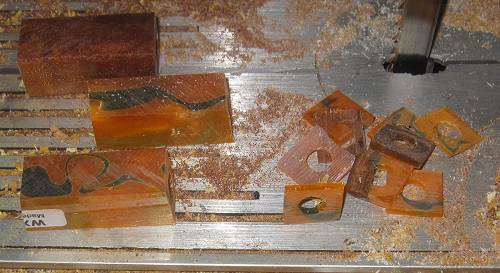
All three blanks feel, cut and smell slightly different. The molten bronze seems to be the hardest and most prone to chipping. The orange swirl is definitely the softest.
I am bearing in mind that the other half of this blank split during the drilling process so I am going easy with the pen mill.
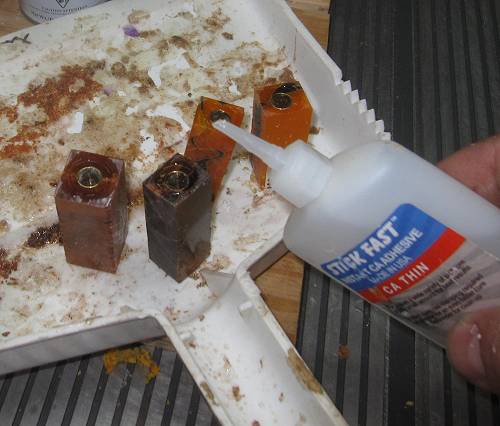
People like to argue that this step is unnecessary gluing the ends. I maintain that if anything, it is additional insurance against the brass tubes coming loose.
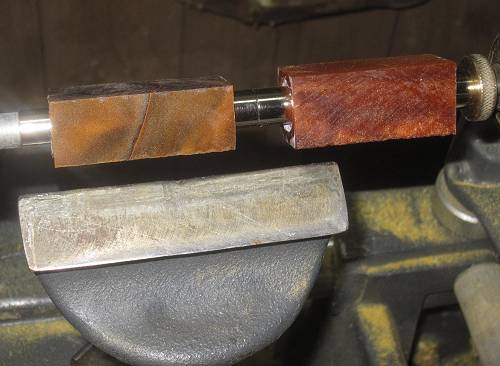
I'm going to start with the two hardest materials first. I do have some back ups.
Acrylester is not of the same composition between these two. Both are producing soft flakes at around 1600 rpm.
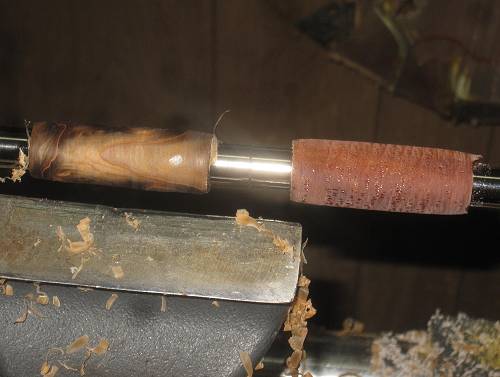
I'm starting to get some pitting with the molten bronze blank so a speed adjustment is necessary. I'll back it down to 1300 rpm and see what happens.
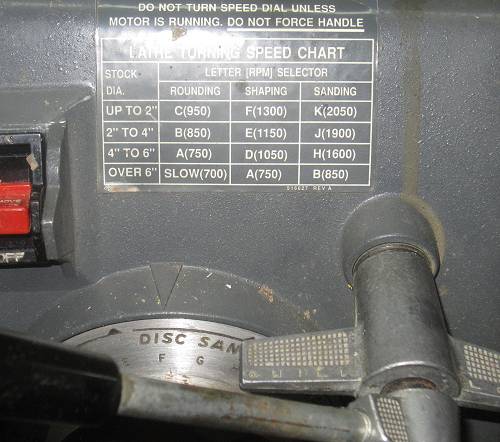
One thing I've been finding out is that there is not a 'one size fits all' when it come to Acrylester and plastic pen blanks but a general speed range for these materials seems to be from about 1250 - 1650 rpm.
The molten bronze blank looks much better and I'm starting to dig in a little too much into the Indian brown plastic piece. All in all, 1300 rpm is working ok.
Oh and another thing, look at the bushings! These are actually quality bushings instead of the usual pot metal pieces from other competitors.
I picked up an extra set of bushings so I could turn two blanks at once.
These turned smooth enough that I started out with 320 grit sandpaper. Not bad and no divots at all!
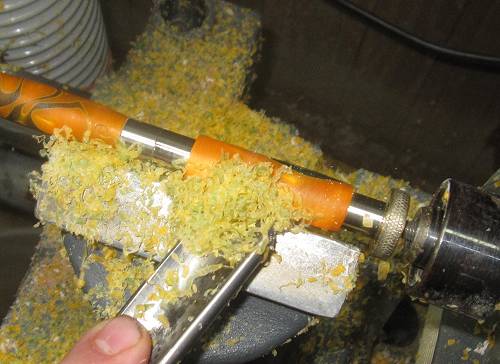
The orange plastic is proving very easy to turn at 1300 rpm.
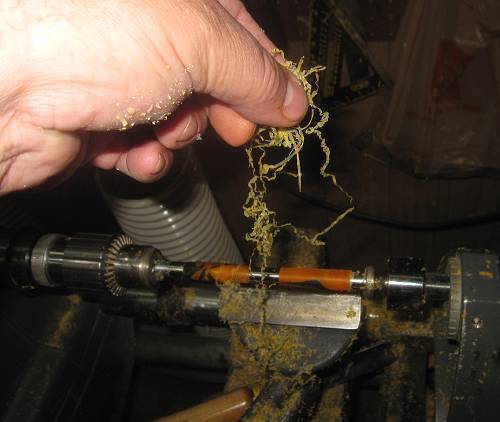
The excess is coming off as plastic strings. Turning time for these two plastic blanks is around 10 minutes.
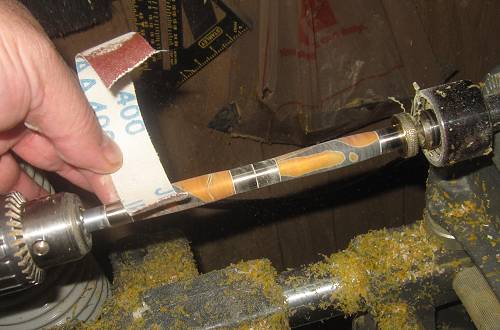
I'm starting with 400 grit on these and finishing off with 600 grit.
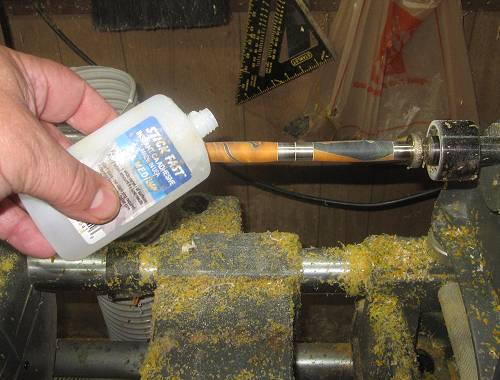
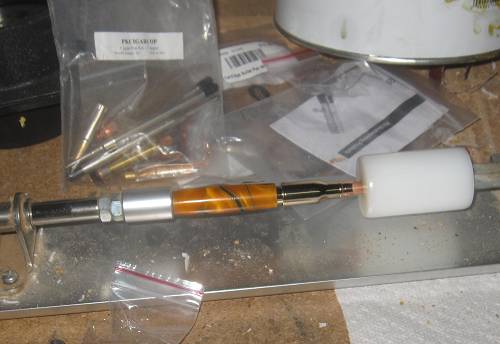
The next step is a thin coat of Medium Viscosity CA Glue. Save yourself some money and get the big bottles from Woodturningz.com.
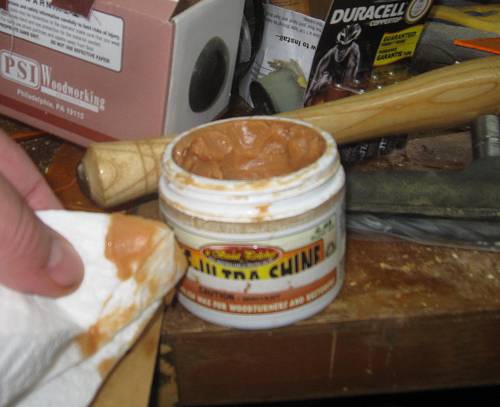
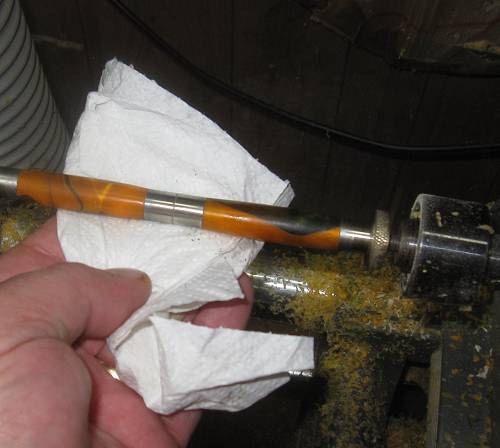
In the meantime, put some EEE on a paper towel and fire up the lathe.
Spend a few minutes working the EEE into the CA glue for a finish of around 1500 grit.
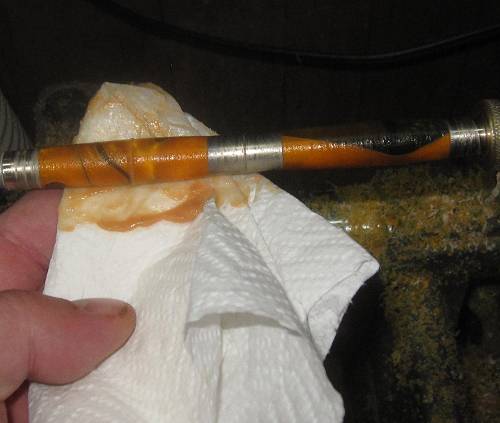
Spend several more minutes rubbing out the EEE wit the clean side of the paper towel.
Remove any additional EEE from the bushings as well.
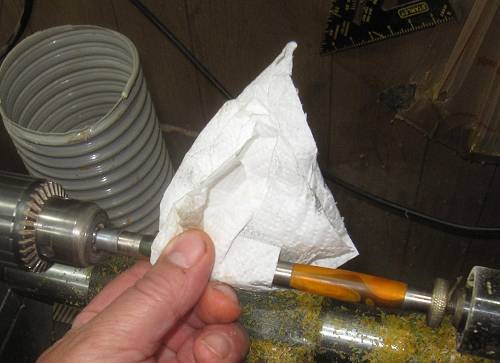
Applying a little friction with a clean paper towel gets you somewhere around 2000 grit.
Caution: If you feel the paper towel starting to stick, you are melting the plastic. Back off the lathe speed or lighten up on the friction.
~ Same goes for sanding.
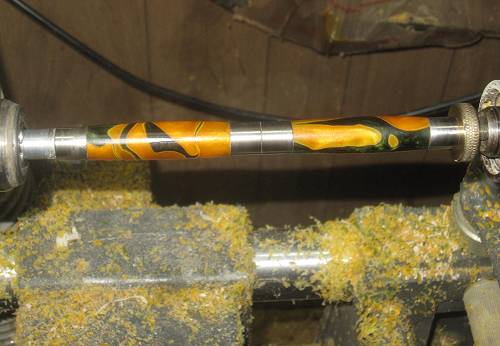
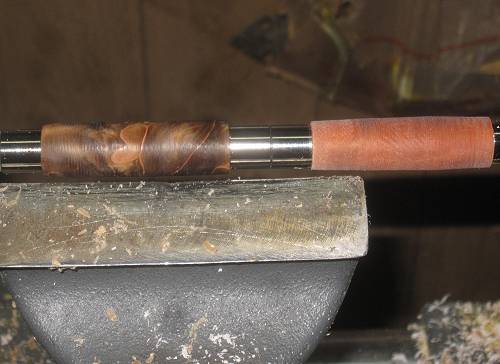
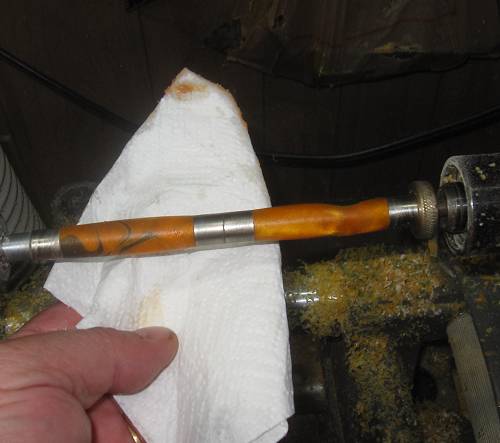
These look very nice.
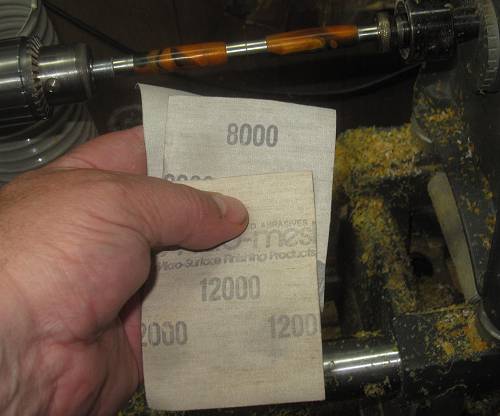
I'll use some 4000, 8000 and 12000 grit Micromesh for a finishing touch.
Don't forget to mill the ends one more time - just a couple quick, light swipes is all one needs.
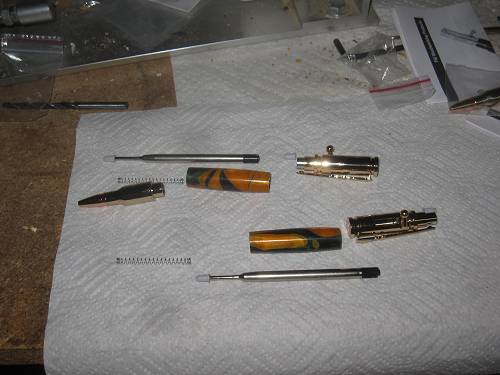
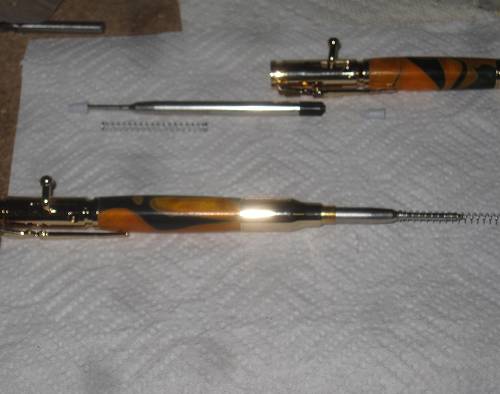
Pen assembly is going to be a piece of cake. Note the long spring. Guess you need that for the bold action piece.
The bullet-end of the pen is sized well and presses in easily. I did read some criticism about damaging the threads the bullet itself threads into and came to the conclusion that you just can't help some people.
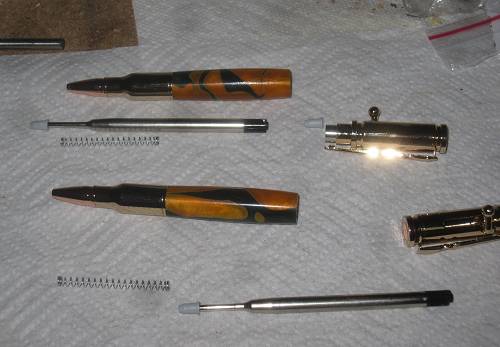
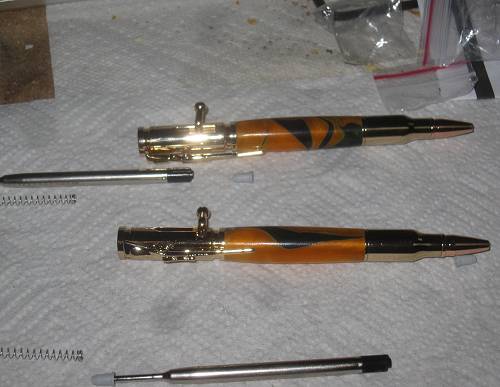
The cartridge top presses in just as easily.
Now all that's left to do is unscrew the bullet, insert the refill and spring, and that's it!
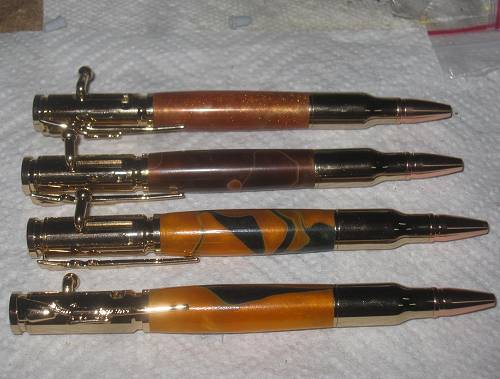
That's all there is to it and I would have to give this kit 5 Stars as well.
Minor Gripe: As usual, the world continues to discriminate against left-handers.
These are right-handed bolt action pens.

This is my kind of kit!
Closing Comments
1. There is a real difference between plastics and acrylesters and the lathe speed should be adjusted accordingly.
2. Faster speeds as a rule, work better with these composite materials.
3. Pay attention while sanding / buffing. It is possible to melt sandpaper and paper towels into plastic. Either back off the lathe speed or lighten up on the sanding pressure.
4. People seem to like designs in plastic and Acrylester over wood. Too bad plastic doesn't grow on trees.
5. The pen itself is rather top-heavy and while it feels fine to write with, it might not work well for all shirt pockets.
6. The bolt action is for right-handers the lefties continue to be discriminated against.
Where's the ACLU when you really need them..........
7. Oh and last but not least, use the MEDIUM CA glue when applying this type of finish, not the Thin.
Enjoy!