These looked rather interesting and I still have a couple banksia pods so we'll see what we can do.
WARNING! THE INSTRUCTIONS PRINT OUT ON TWO PAGES.
IF YOU HAVE THE TWIST TYPE PEN, USE PAGE ONE FOR ASSEMBLING THE TWIST MECHANISM.
IF YOU HAVE THE CLICK PEN, USE PAGE TWO FOR THE CLICK MECHANISM.
YOU CAN DOWNLOAD THE INSTRUCTIONS WITH THIS WARNING HERE.

If you have a Hobby Lobby store in your area, it is a great place for inlay materials and if you go in on Tuesdays or Wednesdays, you can sometimes get up to 20% off the listed price.
For this job, I picked up red synthetic coral, white shell and blue lapis. The only thing I'm a little concerned about is the lapis in that it might be a bit too dark and not contrast enough with the banksia pod.
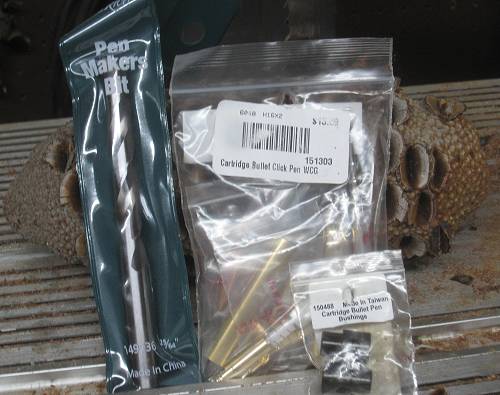
I was kind of surprised at needing a 25/64" drill bit. When is the last time you've seen that?
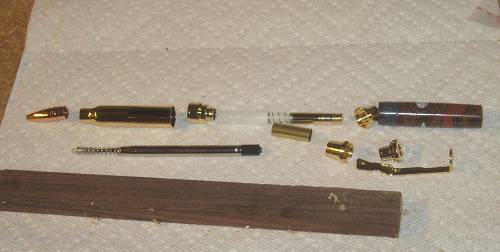
I bought two bullet pen kits figuring that I would probably mess up one of them.
In case I don't, I think a Red Mallee bullet pen will look nice as well.
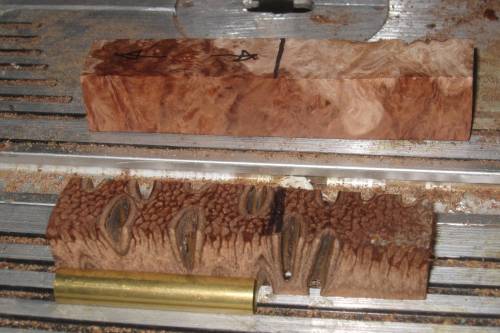
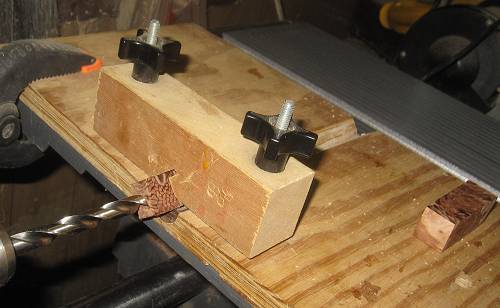
Take a little time eyeballing the banksia pod blanks as you cut them down to size and try to keep the ends solid.
I was surprised to find that I actually have a milling attachment for the pen mill that fits 25/64".
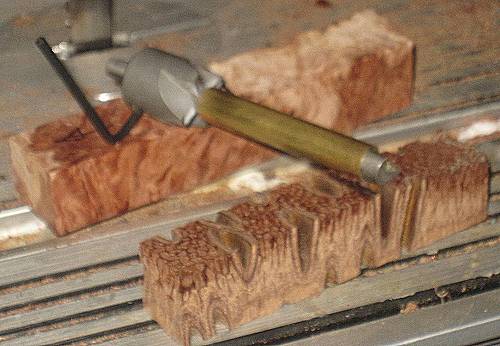
A nice thing about drilling banksia pods is that the drill bit rarely clogs.
This may or may not be a problem. While not ideal, hopefully I won't have to take off much with with the pen mill.
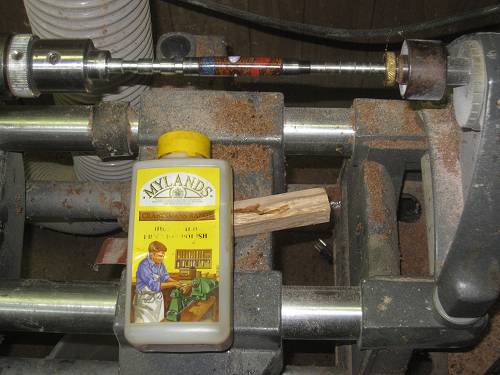
Don't forget to rough-up the brass tubes.
It gets annoying when they slide out in the middle of work.
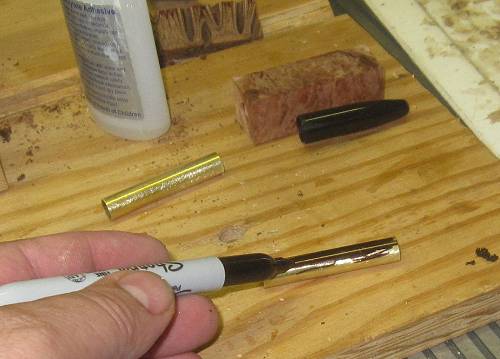
It is a good idea to color the tubes black in case you get thin on inlay.
Sometimes brass showing through looks ok but most times it doesn't.

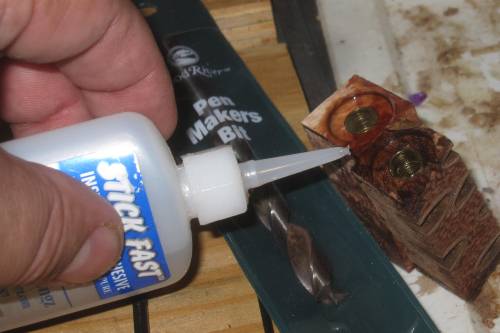
The CA glue bottle top is a handy tool for inserting the brass tubes into the pen blanks.
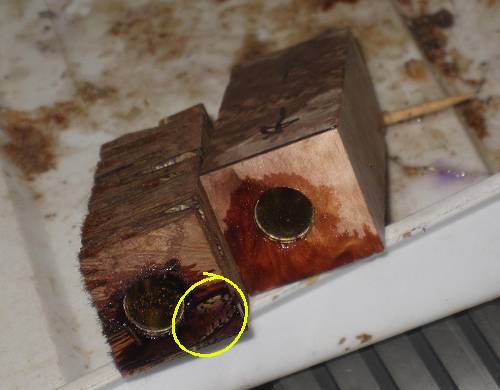
While it is not usually necessary to add extra glue to the ends at this point, it is a good idea with banksia pods because if you look at the lower right corner of the banksia blank, you will notice part of a seed pod.
A good practice is to dig these seed pod holes out and backfill with banksia dust. This for whatever reason was quite hard so I opted to leave it as is.
The other end of these blanks are too long. Trim these down with the band saw before using the pen mill.
The other end of the banksia pod blank has hair and if it can't be cut out, use some CA glue to reinforce the end.
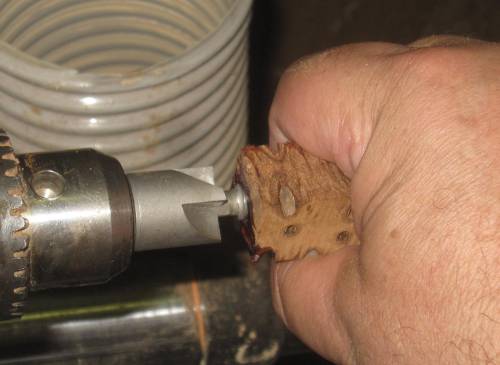
Use LIGHT pressure when milling the ends of a banksia pod blank.
Tear-out is a very easy feat to accomplish if you use too much pressure (the voice of experience speaks here).
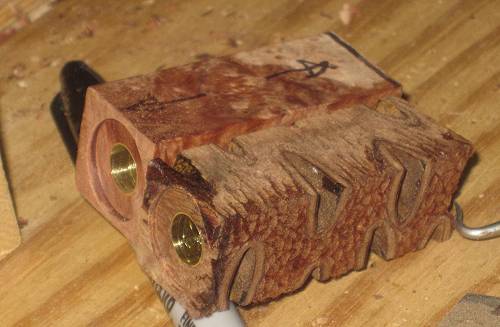
The blanks should be milled down to the point that you see a shiny brass lip around the tube.
Add some more CA glue to the blank ends. This is particularly important with banksia pod blanks.
Use the pen mill once more to lightly square off the ends after the glue dries.
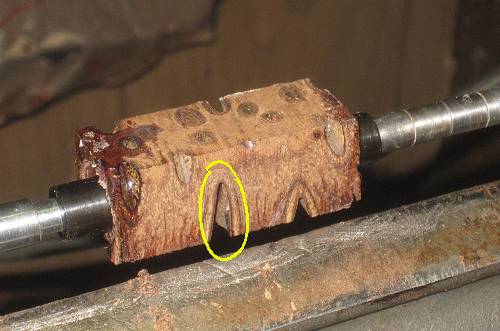
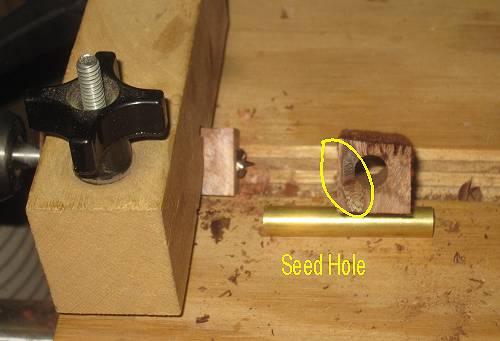
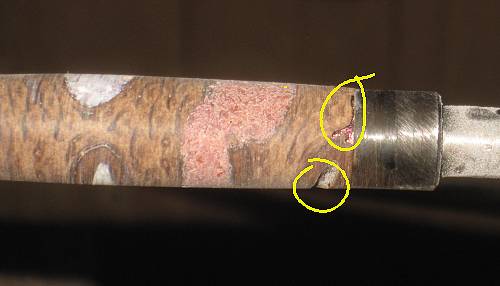
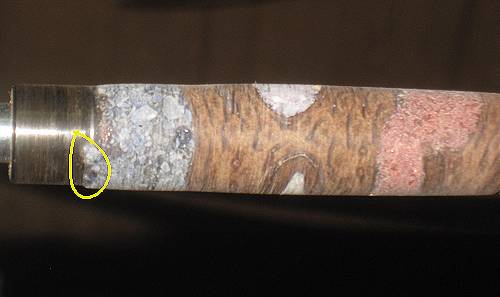
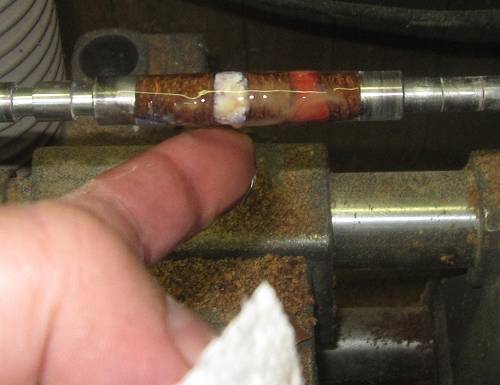
I'd say the odds of this turning out will probably be pretty good. The seed hole circled in yellow may end up going half way around the pen so gentle turning is required.
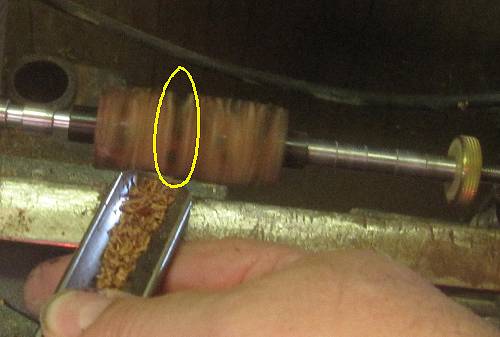
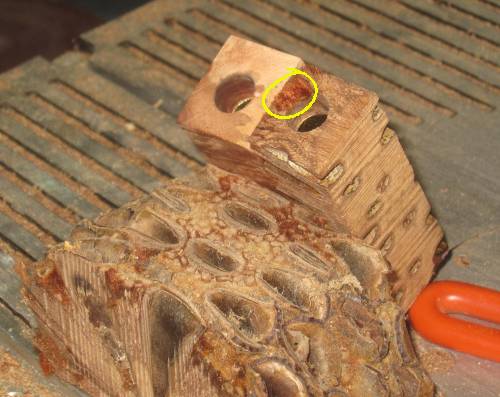
If in the midst of turning you see something like this, stop and have a look.
If you don't, don't say I didn't warn you.
This looks like it may break loose without more CA glue.
Notice also that the magic marker has come off.
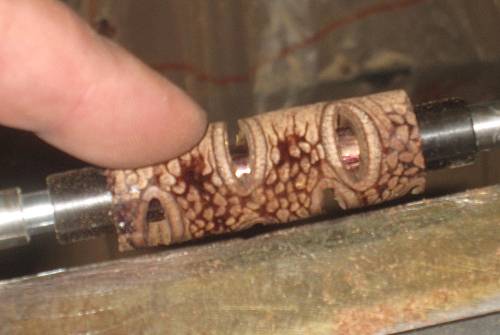
This is what makes turning banksia pod pens such a joy. On the right, the case which surrounds the banksia seed has partially broken out. Same with the seed hole on the left. I used a scratch awl to remove the rest of the case, repainted the blanks and drenched the whole thing with CA glue.
This is close enough to flush that it is a good time to add inlay after the glue dries.
One of the cheap tools made in China that actually works is this arbor press from Cummins. I use it to crush stones for inlay.
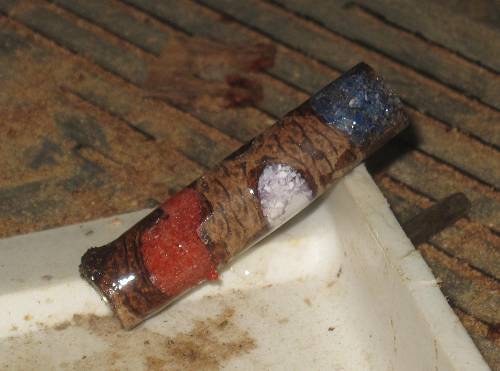
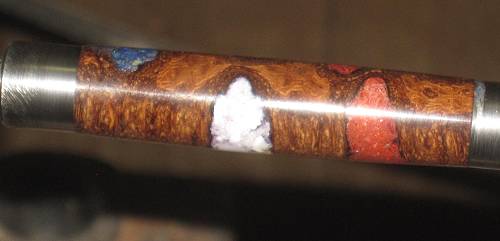
The theory here is that I should end up with a red, white and blue inlaid from top to bottom in that order.
Fill the holes half way or so with inlay and let it get reasonably dry before topping the holes off.
Do not use accelerant because CA glue can start smoking, bubble and turn white. Looks quite unattractive in the finished product.
Be generous when mounding overlay over the banksia pod seed holes. It saves time in the end.
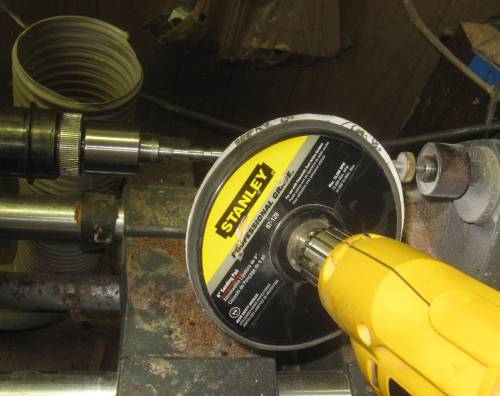
Inlay can be knocked down in a hurry if you use a 60 grit 6" sanding disk.
Unfortunately I didn't have any more cheapo sanding disks and Cummins didn't have any more with the stick backs.
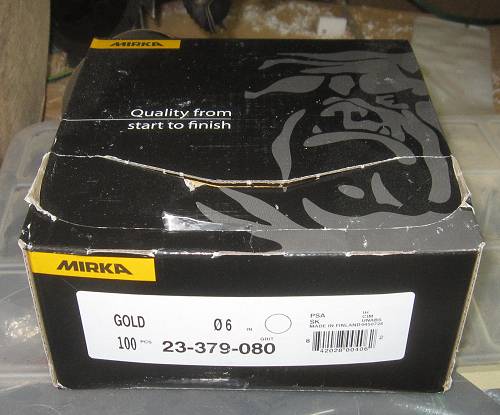
I picked a up a box of disks from Amazon at an amazingly cheap price. Believe it or not, these are made in Finland.
They seem to work ok. The sticky backs are partially open with only a small plastic divider so it would be advisable to put these in a one gallon storage bag to keep the dust out.
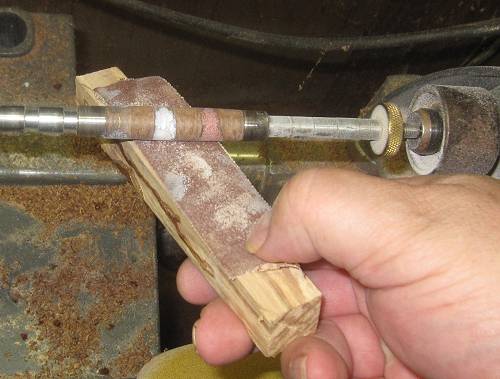
Continue on sanding starting with somewhere around 120 grit, working up to 400 grit.
The backing board helps keep the sanding even. Remember, inlay is harder than banksia pod so you can end up sanding the banksia wood out from around the inlay, which is not a good thing.
Examine the banksia pod ends closely. I've got a little degradation going on up top and I have a depression on the bottom.
I am going to fill both with sawdust.
Meanwhile on the other end, I managed to glue some inlay to the bushing. This is not a major problem.
Remove the banksia pod blank from the lathe to fix the inlay.
Don't forget to lightly square off the ends with the pen mill when patching is complete.

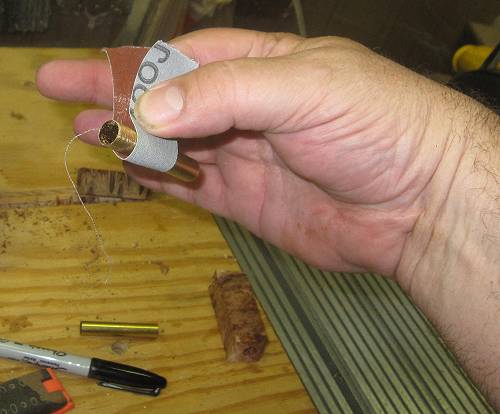
From this point on I use freehand sanding. I have the contours I want so I want to concentrate on getting the ends back to flush, starting with 220 grit.
Almost there. Continue sanding up through 600 grit. The next stop is EEE.
\
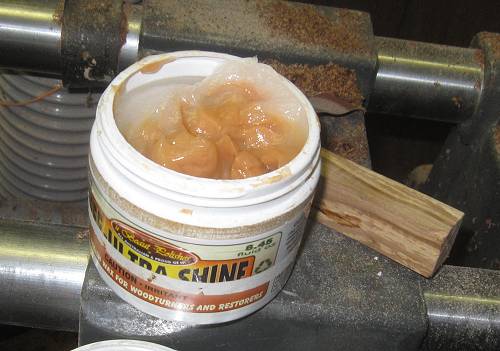
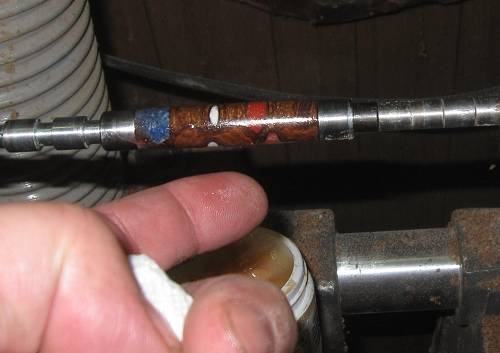
You can tell the EEE has gotten quite hot. The wax is separating from the polishing grit.
Use a stirrer to mix it back together again.
Use EEE as you would a friction polish. EEE is about the equivalent of 1500 grit.
Ok. This looks fine to me. On to the next step
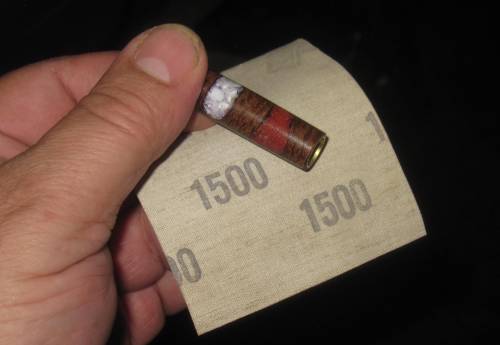
The next step is for that extra finishing touch and is really not necessary.
Lightly round the blank edges with some 1500 grit cloth.
I generally err on the side of leaving a bit more end material in order to prolong bushing life.
That minute extra amount sometimes is not even visible but you can feel the edge.
If you blunt the edges, it's hard to even feel a difference.
It is also a good time to make one more light swipe with the pen mill.
It is also a good time to use the chamfering tool on both ends of the banksia blank.
I however, seem to have misplaced mine.
Time to finish this up - it's getting hot inside the garage again.
Use the finish of your choice. Mine is the super-secret EEE / CA glue finish, described in detail on other pen turning pages.
I like this finish because it is hard and is not as plasticky looking as the true CA glue finishes.
Also, this is going to a Captain with the Army Rangers and he's slated to go to Afghanistan later on in the year - 2011.
It would be wise to put on a tough finish.
Might as well add some shipping protection.

I went in to Woodcraft the other day to get another pen set because I &*#(#'d up a couple pieces.
I failed to notice there were two sets of instructions . Page two had the instructions for click pens.
It did not even register that there were twist pen sets because all they were selling were the click-style pens.
I picked up the last click pen set and the salesman warned me that they were getting a lot of returns because other pen turners were saying the instructions were *$#&$*('d up, especially regarding the short brass tube. The salesman saw no issue but they were getting too many complaints coming in not to tell me about the problem.........whatever it was.
I grinned and said I could help with that if they would sell me some deeply discounted banksia pods at a steeper discount, say another 20%?
The manager agreed and I told them what the problem was - they were selling click style pens and the instructions on page one were for the twist type. A casual glance shows what appears to be the correct layout and how many guys actually read instructions anyway...pen turning is not exactly rocket science, I said big, bold letters should be set into page one saying that if you have a click pen, use Page 2. Problem Solved.
It was very funny to see the light bulbs slowly coming on. They must have had a lot of complaints.
I ended up getting 10 nice sized banksia pods for $4.85 a piece.
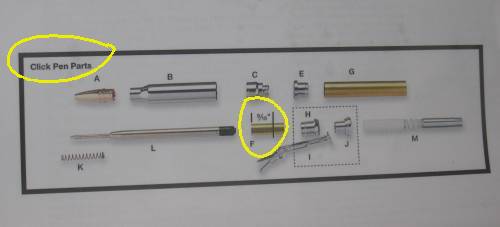
This piece was the problem child. It gets pressed into 'H' with 9/16" hanging out. The instructions on page one do not mention this.
*%&# up this piece and item 'H', trying to pull the piece back out = new pen set.
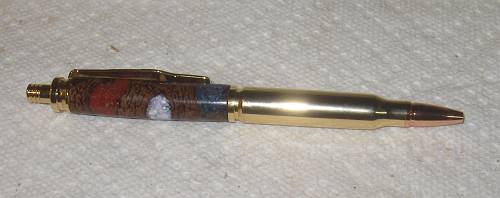
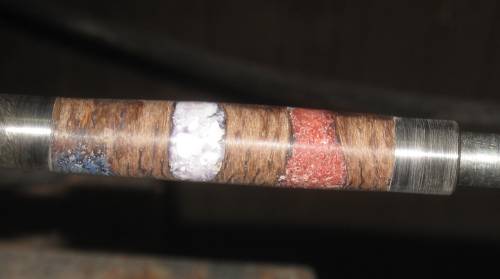
Anyway, The pen turned out nicely. I got my red, white and blue.
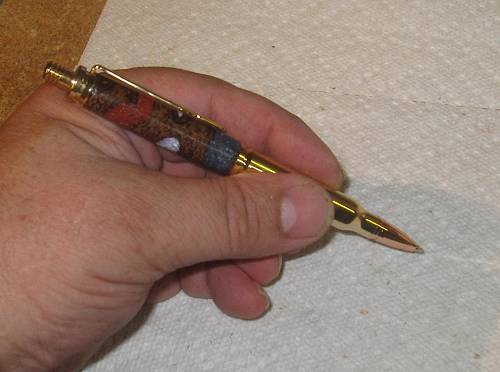
Feels pretty good too.
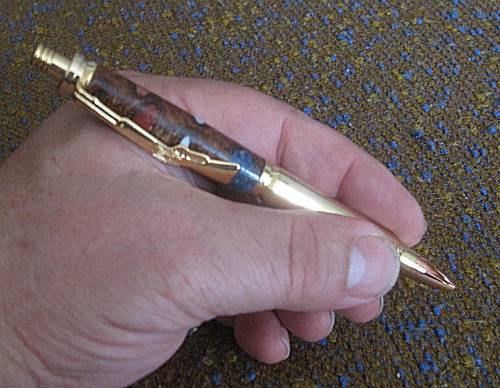
Almost forgot to show the clip,
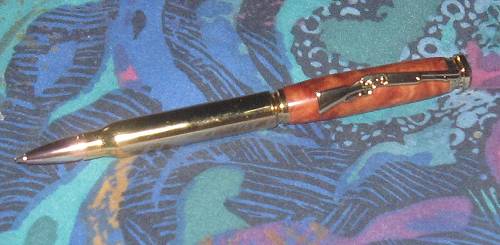
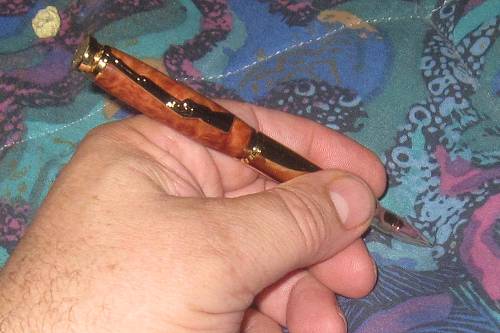
The Red Mallee turned out well. This is the twist type pen. For some reason Woodcraft ran out of click type pens. Have a look at the pen top. I wasn't expecting that.