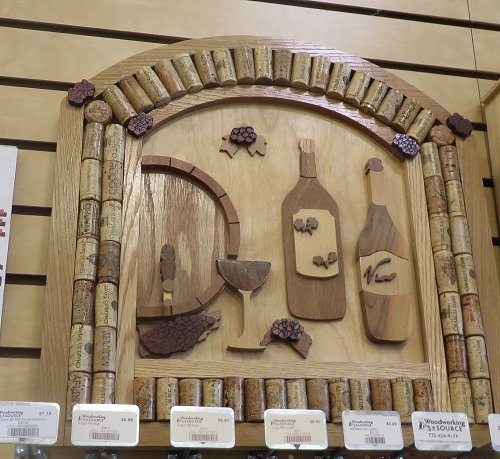
We saw this the other weekend in a woodworking store and considering our closeness to the wine country and it looked interesting.
The piece was primarily scroll saw work and I thought I could improve on that, with the addition of turned pieces.
I thought the grapes looked cheesy as well.
I have lots of parts and pieces and have never tried making a diorama before. Could be fun.
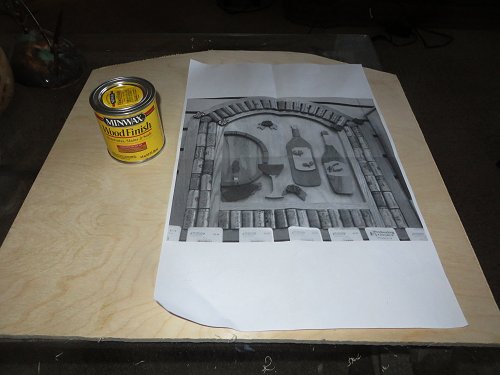
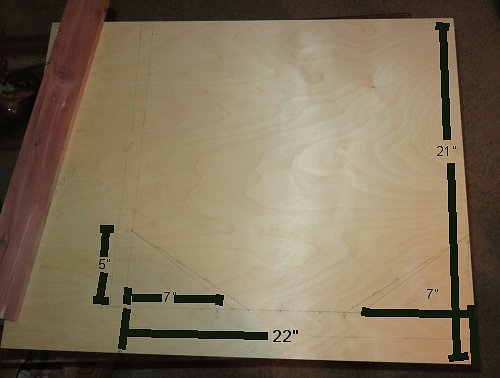
I got some approximate measurements from the photo easily enough and went to Wood Craft in search of a thin backing board. I came back with a pressed piece of poplar.
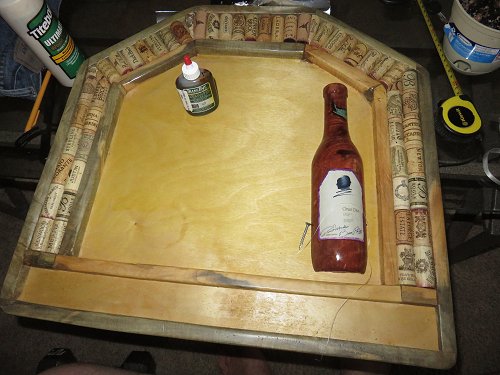
It was easy enough to cut this down to size and it needed to be stained so I went with one of my favorite standbys - Golden Almond.

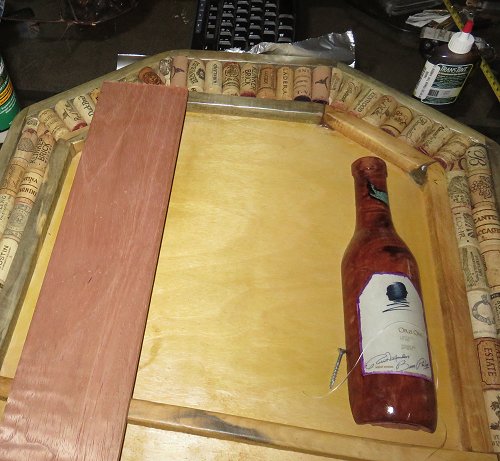
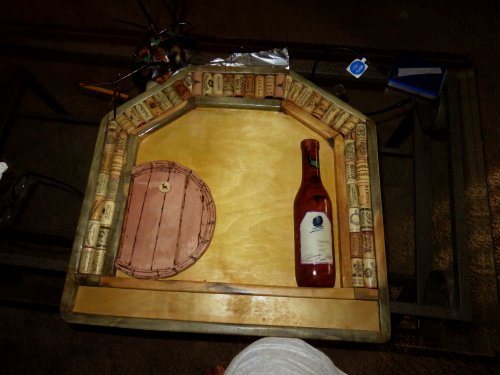
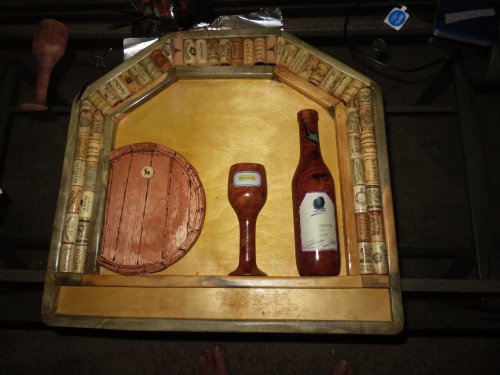
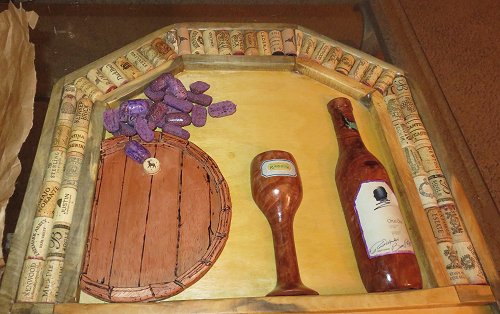
I spent three weeks or so working on this off and on, and here is the end result.
One of the ideas was to leave the bottom row empty, where personal wine corks could be displayed.
Another idea was to burn in logos of favorite wines.
Not bad for a first try but I did make some mistakes along the way and have a few lessons learned to share, which I will address during the rest of this demonstration.
Wine Country Diorama - The Main Course
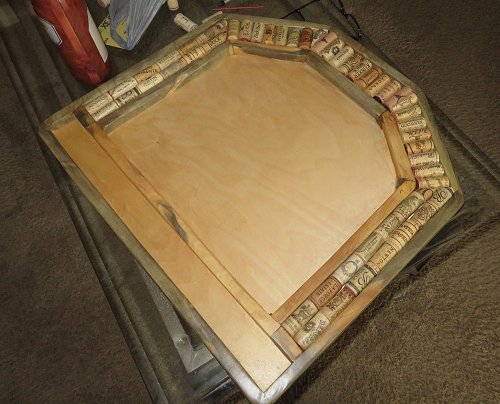
The Frame
This is poplar and these sheets are sold at Woodcraft. 1/4 - 3/8" thick work just fine.
This time around the piece is going to be several inches wider to accommodate two columns of corks on both sides - I think that will look better. I am also not going to stain the poplar, which I originally thought would be a good idea and turned out it wasn't.
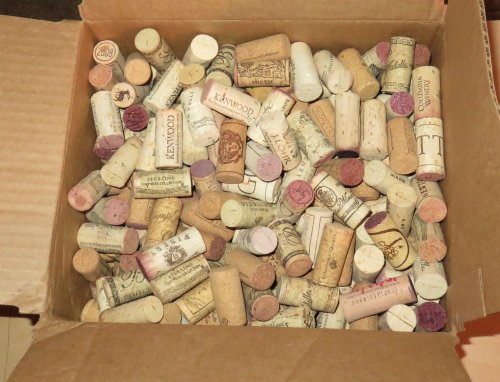
Ebay is a great place to find large quantities of wine corks. Picked up 300+ for $16.95, including shipping.
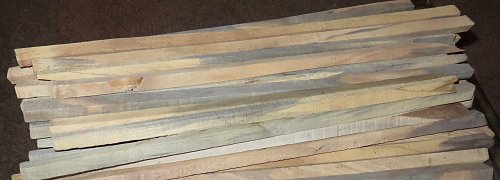
Lacking the tools to cut sticks for framing the diorama, I contacted one of my suppliers on the west coast and got 20+ sticks of buckeye cut 5/8" in diameter and 20+ inches long. These ought to look nice.
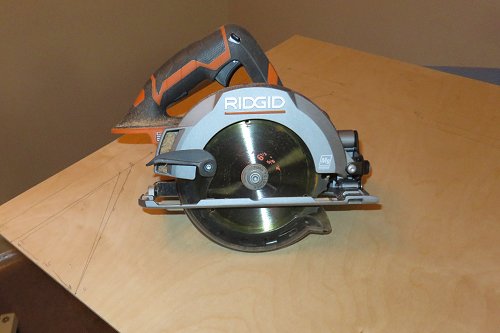
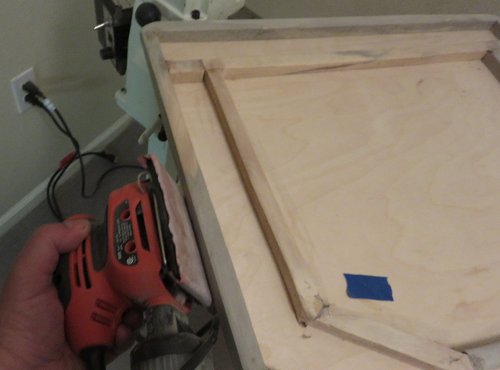
Given that I am not all that accurate when it comes to cutting things with a band saw, I am pretty accurate with one of these. I picked this up at Home Depot and the guy said saws with the higher rpm's the better. This one is working well so far and it's nice not to have to deal with a cord.
Another nice tool for the apartment dweller.
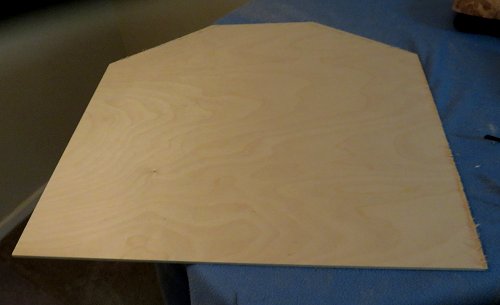
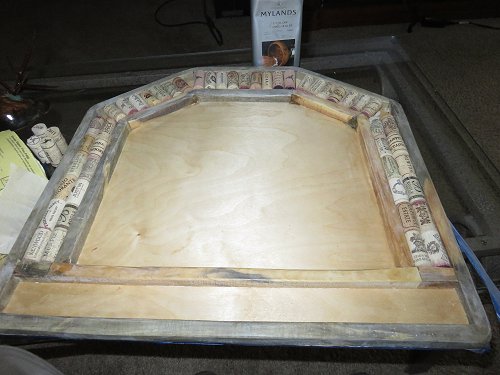
There is a little tear-out on the right side but nothing sanding can't fix. Looks good all in all.
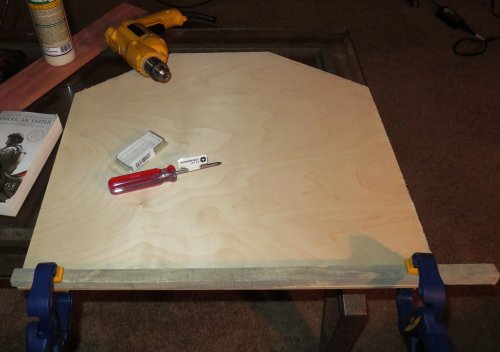
A couple small clamps, a drill, some 5/8" screws and we're ready to start building the frame.
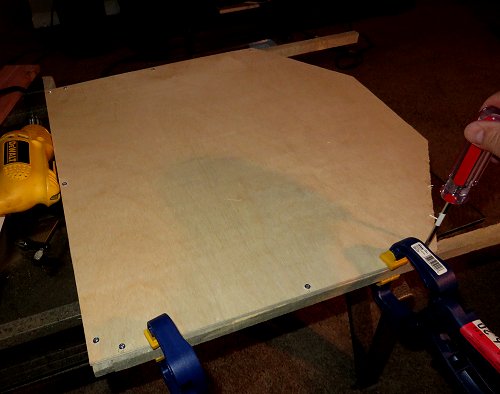
Three screws per strip are adequate to hold them in place. Start with the bottom first, and then the two sides.
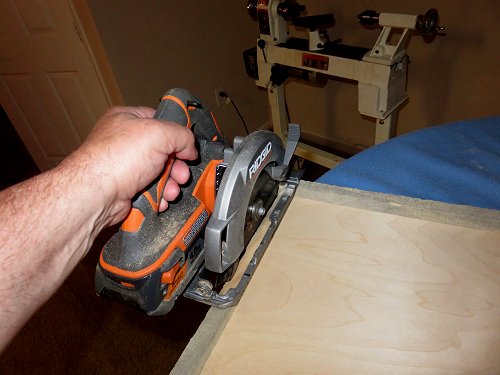
This little battery-operated saw is turning out to be a good investment and it makes removing excess quick and easy.
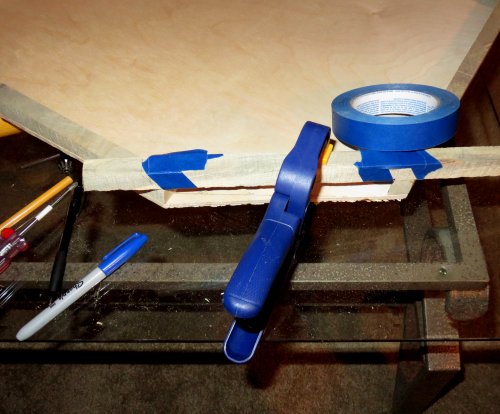
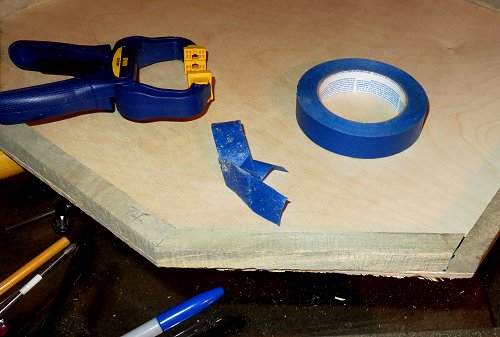
Cutting strips to fit angles can be a challenge and this method works well for me:
Clamp a strip over the two angles.
Take a piece of masking tape and butt it up against the angle, creating a guide.

Remove the clamps and presto, a cutting guide!
How's that for a decent fit. A little sanding and some wood glue with sawdust and this will look nice.
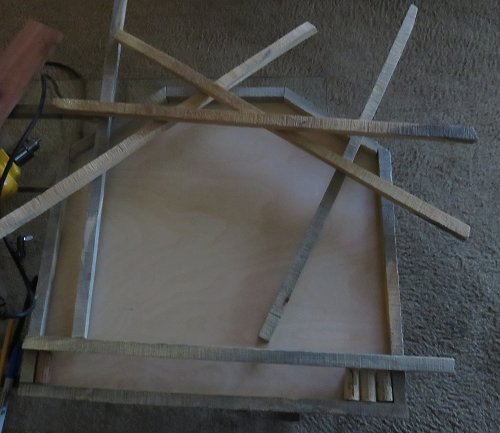
So many sticks and so many decisions. With this kind of wood the straighter the better and look for a decent color balance.
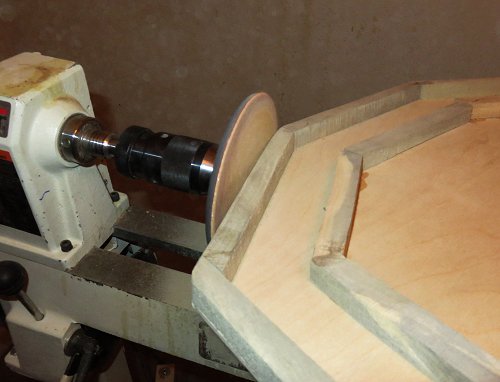
Using the lathe to do some sanding is a fast an simple way to clean up and even out the pieces.
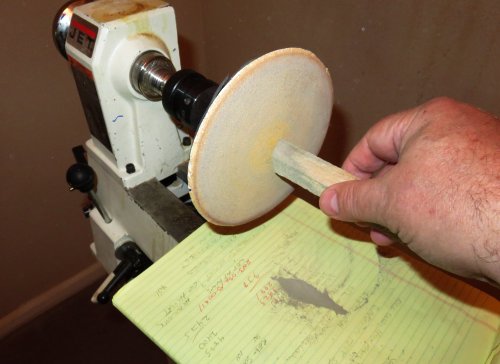
The lathe is also a good way to generate some fine sawdust. Use the dust with a wood glue and it makes a great filler material for gaps in the frame.
I use a little palm sander for the detail work.
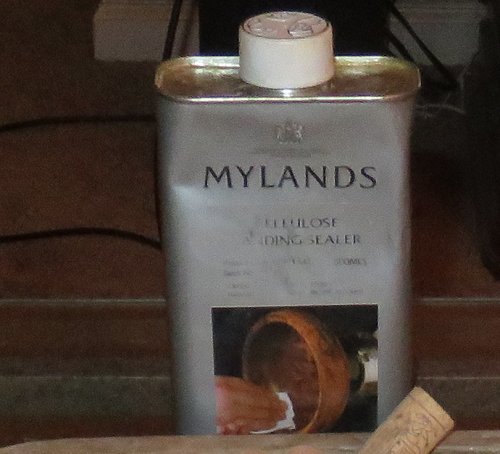
I sand the frame down to 220 grit and then apply a sanding sealer. I like Mylands because it dries quickly.
I then sand down to 300, 400 grit - whatever you like and call it good. I also apply sealer to the backing board to darken the color a little.
A clear coat finish will be applied later.
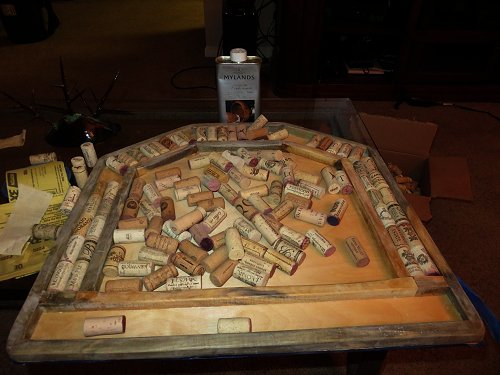
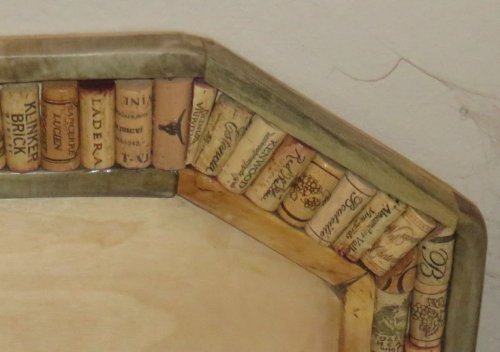
Now comes the challenge - getting the corks to fit and look attractive at the same time. It is not as easy as if looks if you want to minimize the gaps and have something that looks nice.

The diorama in the store had a rounded top and the gaps were filled with cork tops, and the joints with cheesy looking grapes (?). I don't have the tools for round, but I can do angles and angles can be more problematic for this sort of thing and I do have a couple ideas to try out.
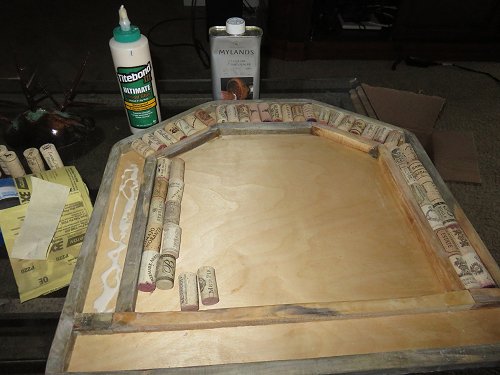
Getting the best fit when corks are involved is an inexact science. The goal is to keep any gaps to a minimum and make the border look interesting and attractive. Wood glue works well for securing corks.
This looks pretty good.
Two lessons learned here:
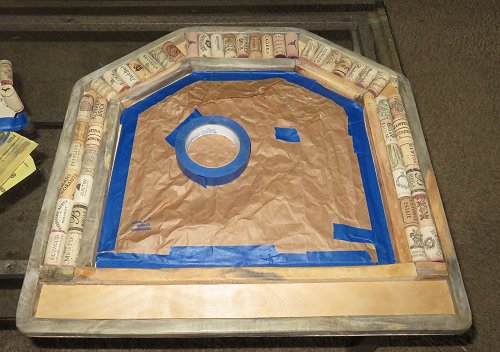
1. Finish the frame BEFORE adding the rest of the pieces.
2. Mask off the frame interior BEFORE applying a finish. Glue tends not to stick very well over time to finishes.
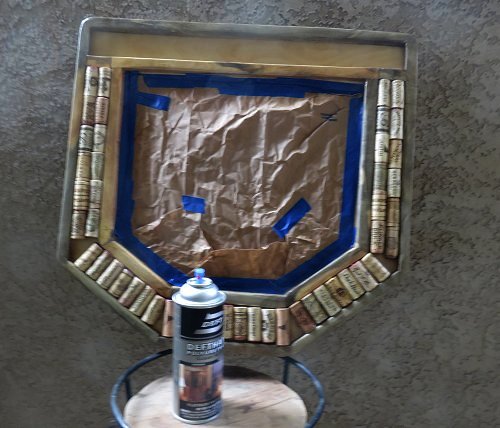
Use the finish of your choice. I am partial to Urethane Clear coat finishes, but have used water-based finishes as well. Satin finishes can look nice too.
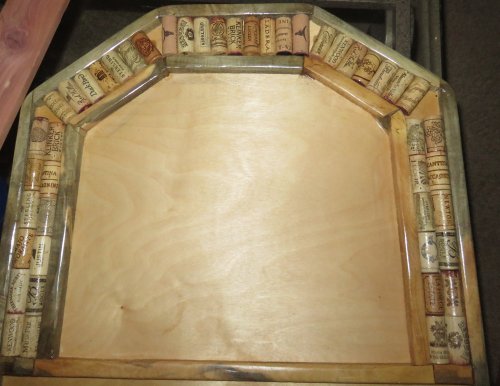
This looks good, other than a few gaps to fill.
Cork modification via band saw.
This looks ok, I think.
The Wine Bottle.
Turning a wine bottle is easy enough. Cutting it in half length ways isn't. Before going to sleep one night, the thought of how to do a better job cutting the bottle in two must have been on my mind and I had a dream.
I was in a wood working store talking to one of the hired hands about my cutting problem and there was a younger man standing off to the side with his daughter who appeared to be 5 or 6 years old, in a red and white checkered dress.
You know those obnoxious radio ads where a little kid in a baby voice says, 'Daddy you are so dumb, Daddy don't you know anything.........' I'm sure you've heard them.
Anyway the little girl looks up at me and says 'Dummy........Don't you know that two halves make a whole?'
And then the light bulb went on.
Turn two pieces of wood as one and when you're done, you will have two halves - no cutting required.
So.........
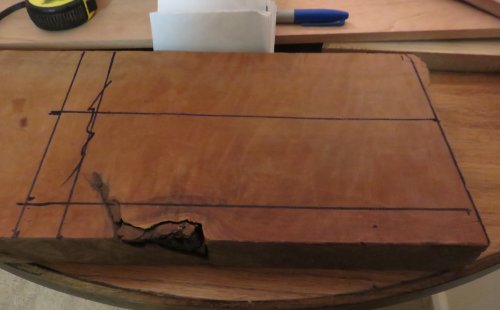
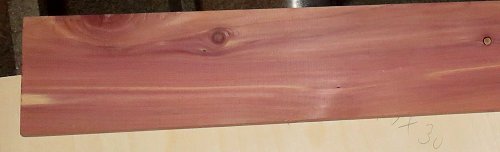
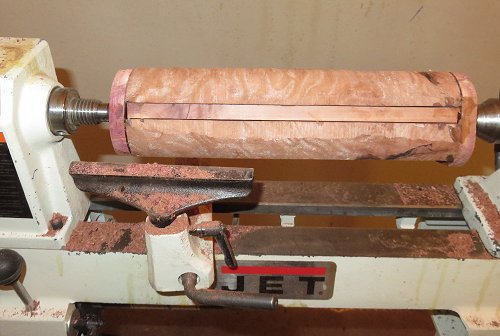
I have an old piece of redwood that should fit the bill. Only problem is, I need @ 3" diameter for the correct size wine bottle and the height of two pieces added together is about 2 1/2".
What to do....
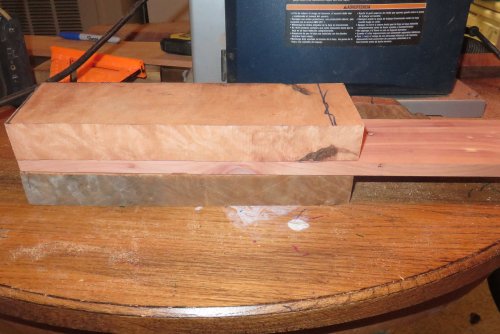
How about adding a half inch piece of cedar. That should give me the correct diameter.
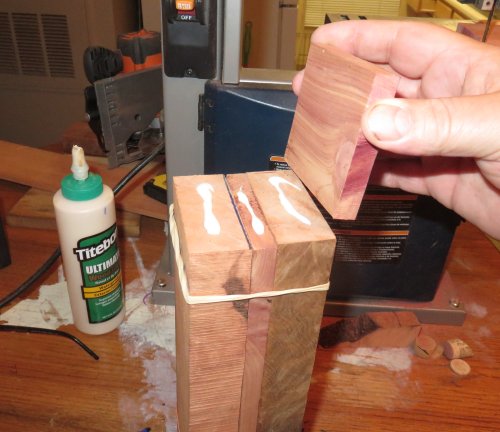
Keeping the pieces together without gluing them is going to be the interesting part. Gluing a cap on each end might just do the trick.
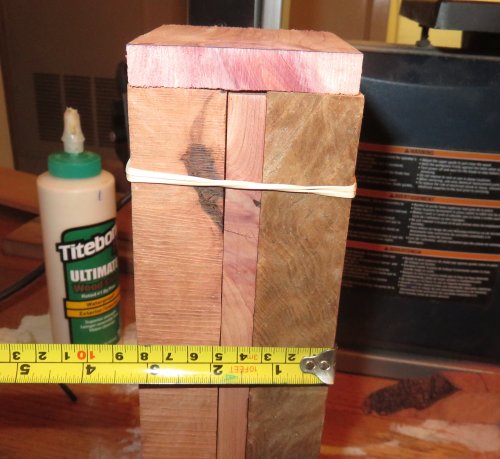
3.25" - this looks ok.
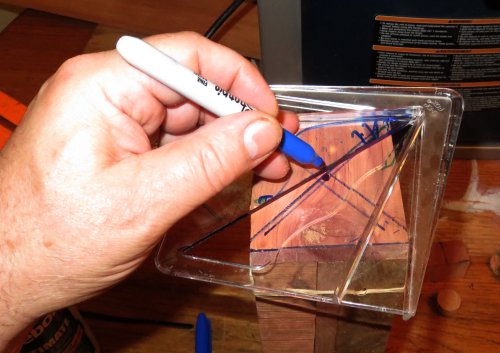
I highly recommend one of these handy center finders for your wood turning tool collection.
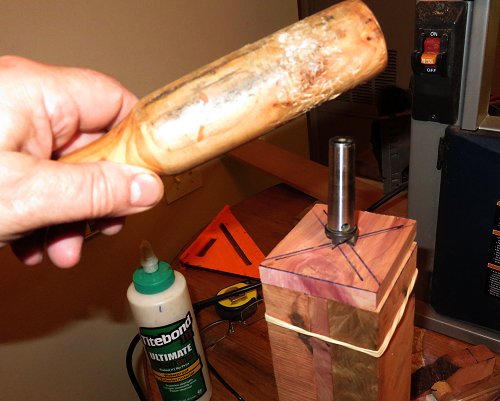
I can never remember the proper name for these hammer chucks, so I'll just stick with calling them hammer chucks.

After the glue dried for a while I thought I'd give it a spin on the lathe on a slow speed to see whether or not the pieces would fall apart and then changed my mind. I added substantially more glue and this will take a couple days to dry.
Better safe than sorry.
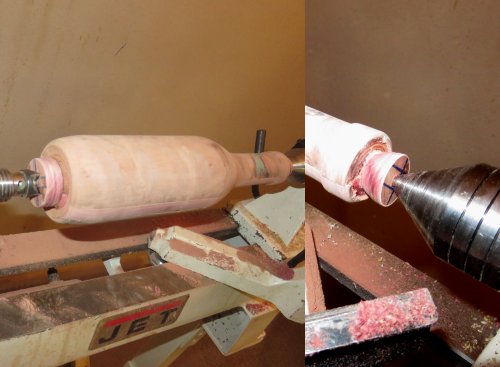
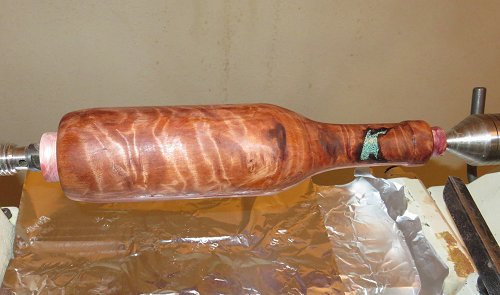
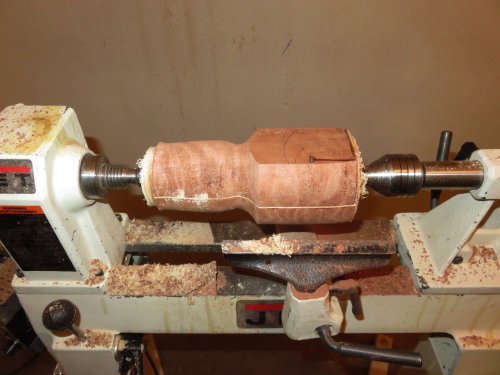
Tho days later, this looks safe enough to turn, I hope :)
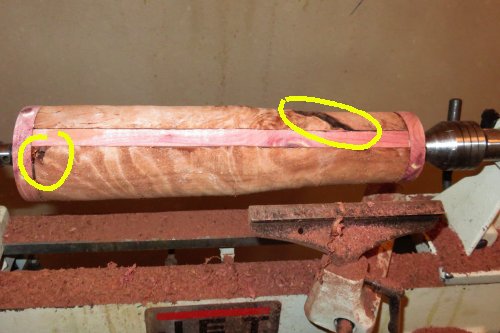
There is a bark inclusion to watch out for but since it is where the bottle neck is going to be, that may turn out.
The one on the left - not so sure about that. Looks like a candidate for a mix of sawdust and wood glue.
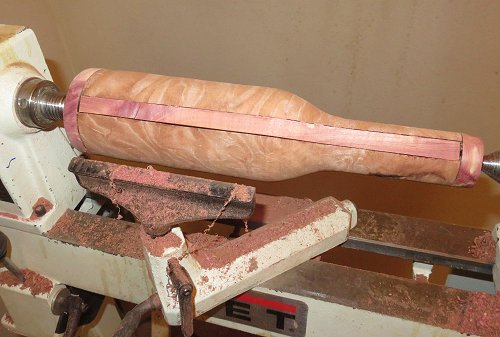
Redwood is very easy to turn, and this dos not take long and......the piece is still holding together!
Redwood is very easy to sand as well. 320 - 400 grit works fine for these kinds of projects.

Well, the bark inclusion was too large to ignore and it gives me an opportunity to use up the last of my inlay.
Anymore I almost exclusively use 'Inlace', which dries hard and is easy to turn and sand.....plus the fact that it does not dull tools.
I guess it is time to trim the ends down as far as possible and still keep piece whole.
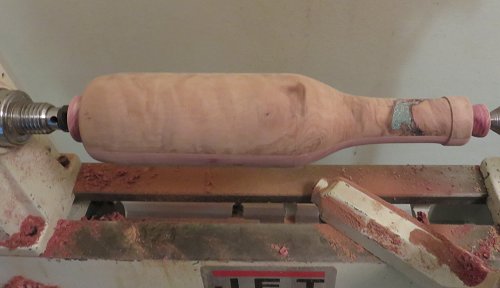
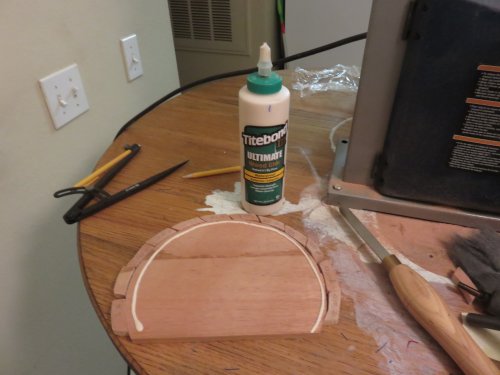
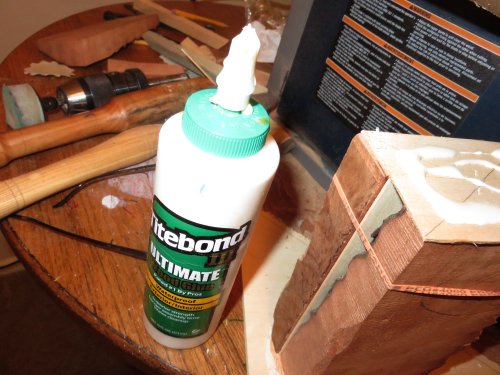
Looks ok so far and still holding together. Gotta love Tite Bond III.
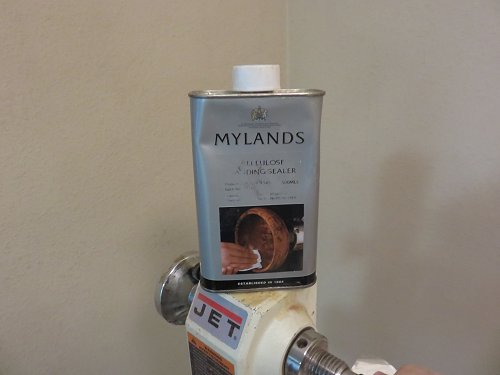
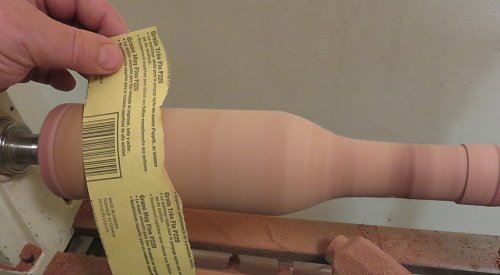
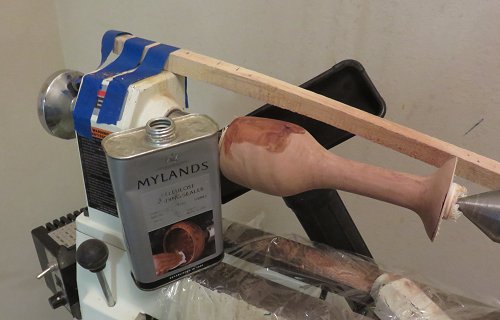
Some woods will soak in finishes like a sponge, making a nice finish sometimes prolonged and difficult.
Application of a sanding sealer like Mylands can make a world of difference. It basically consists of cellulose and isopropyl alcohol, really smells and drys very fast.
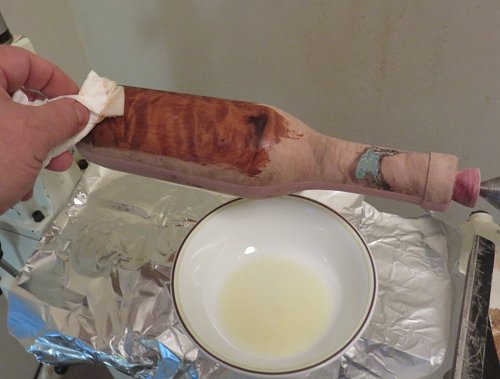
A rag or paper towel works will for application.
A sealer almost acts as a finish and some people will stop right here. However, a true finish should really be applied.
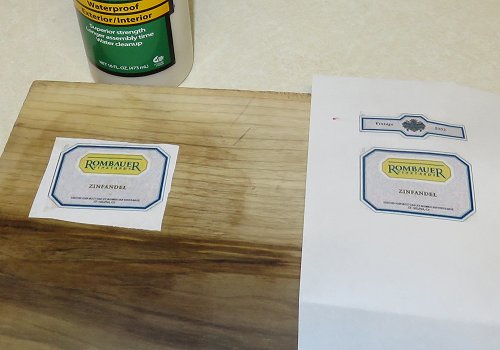
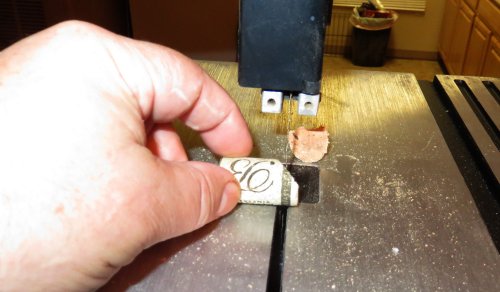
This is an experiment. Instead of burning in a wine label, why not print out a 'real' one?
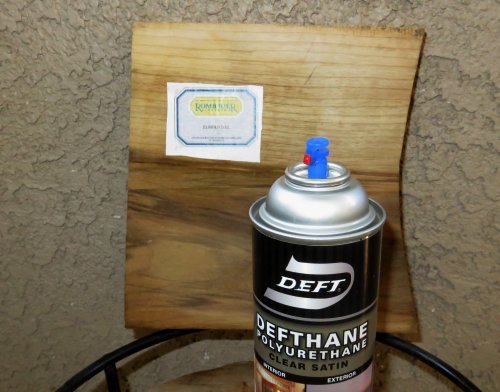
I tried gluing the label on with TiteBond and then applied urethane over the top. No bleeding so far.
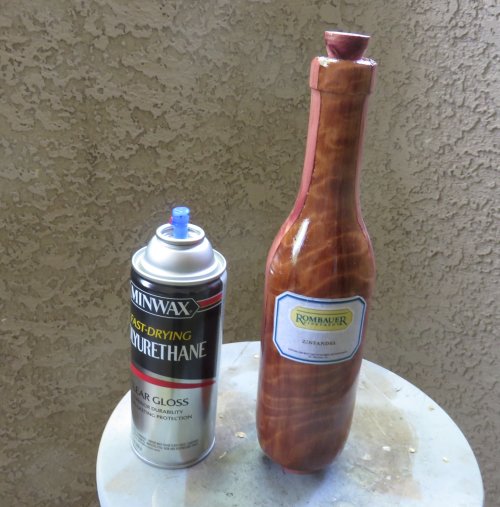
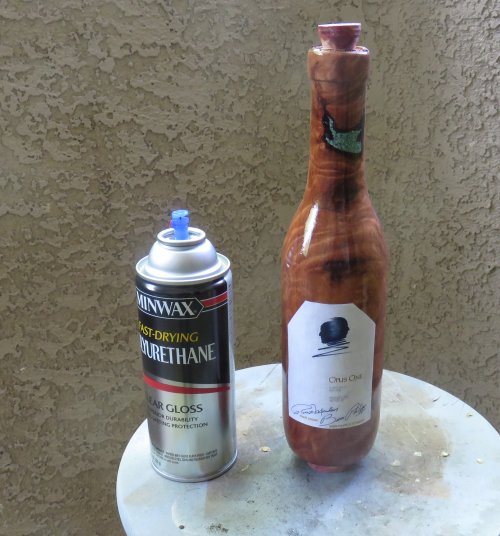
Rombauer on one side and Opus One on the other. We shall see. Looks like I should color in a border around Opus one so it doesn't look as contrasty.
You know, it downed on me after the fact that the excess on top could easily be turned to emulate a cork....
Poplar of this sort is practically white when purchased and the last time I tried staining it, it did not work so well because diorama pieces don't stick to stain so well if it is oil-based and that means something more costly like CA glue.
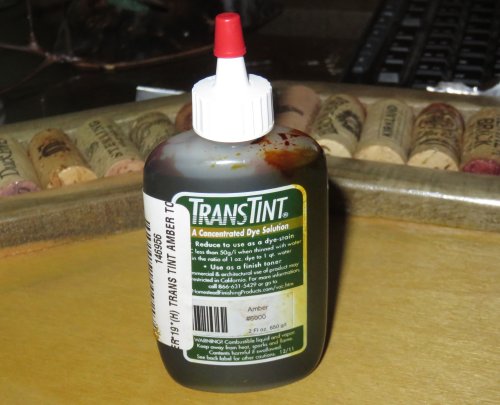
One of the guys at Woodcraft suggested the use of a stain instead, so I got Amber. Transtint dyes are not cheap but they do go a long ways. I'd did not take much dye at all to get a color that I thought looked right.
This looks much better. The dye is even and consistent and.........hopefully CA glue will stick to it.
The Wine Cask
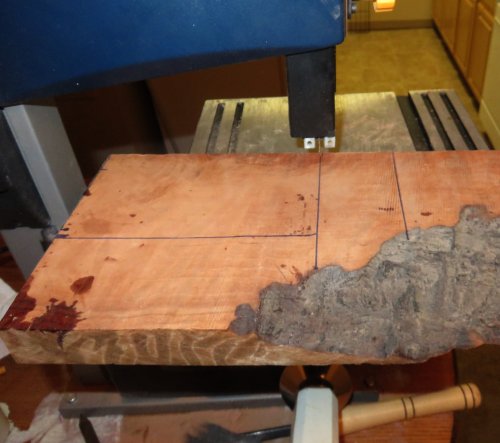
A piece of cedar should work well for the wine cask. Cedar is very easy to cut and can be quite colorful plus, you get the added benefit of your room smelling like a hamster cage!
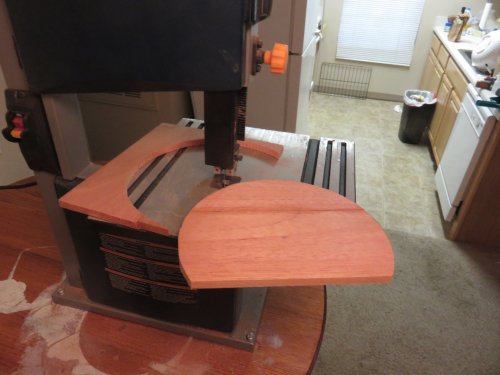
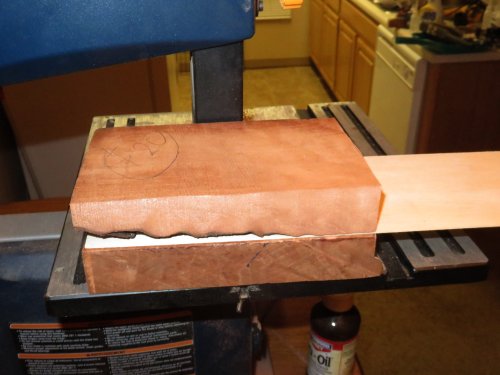
I glued two 4" strips of cedar together to give me the diameter I needed and then cut the piece with a band saw.
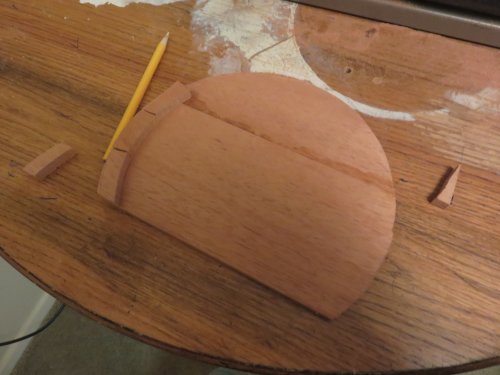
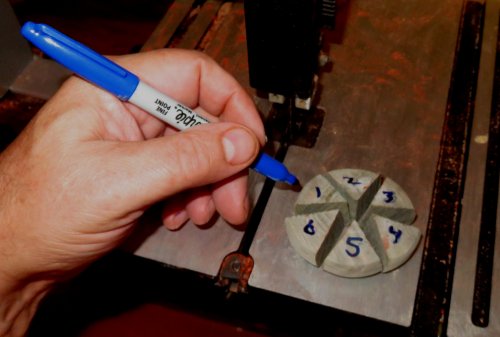
Making the staves is fairly easy because you can use the cask as a template.
Lesson learned from the first time around, number the pieces so you can assemble them in the correct order!
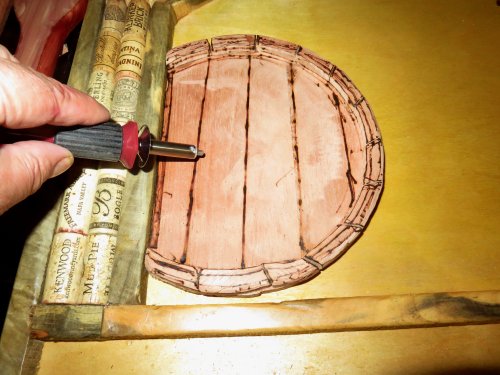
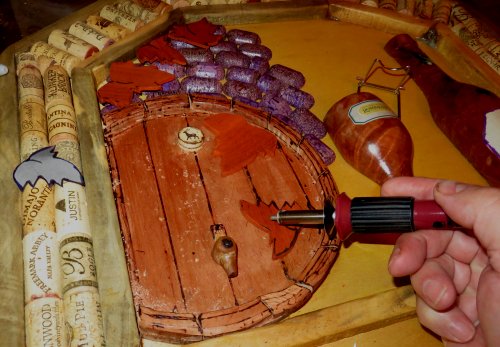
The use of a wood burner can add more character. This is my second burner.
Lesson learned here: Let the burner cool all the way down prior to changing tips. If you don't, you dramatically increase the odds of stripping threads either in the burner or on the tips.
The only thing the cask is missing now, is a spigot and a coat of sanding sealer.
The Wine Glass
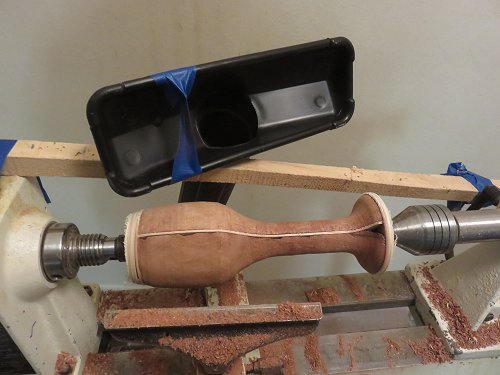
This piece is a leftover hunk from the wine bottle. I should be able get at least one usable glass.
Since I want the glasses to be smaller in diameter than the wine bottle, I am using a much thinner strip of wood in between the two halves.
Gluing the two ends to another chunk worked well enough last time to try it again.
So far so good. This curly redwood is very easy to turn. It does generate a fair amount of dust though and it is about time to upgrade the dust collection system so.........
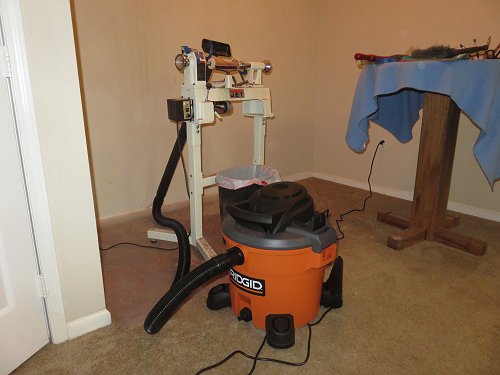
Wheels and everything! The suction this thing produces lifts the carpet up off the floor and believe it or not, it is quieter than the previous 5 gallon model. This is a wet-dry and if using it for dry, one can install a vacuum cleaner bag inside, thus increasing the life of the filter.
The new Rigid Shop Vac has a suction good enough to go down to Woodcraft and get a real suction hood.
The wine glass is about turned down to size and the wood looks cleaner than I would have thought.
A little sanding sealer goes a long ways to applying a decent finish. Without a sealer, some of these wood can soak up exorbitant amounts of finish.
Sanding sealer - highly recommended.
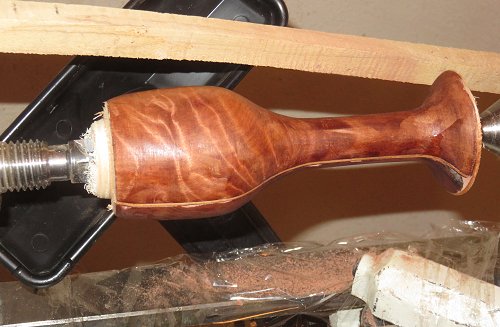
Curly Redwood is one of those woods that can be hard to beat when it comes to character.
The pieces parted off nicely and a wave sanding disk mounted to the lathe is a good way to clean and smooth the edges up.
Looking better. The background is actually not as yellow as it looks - hard to photograph for some reason.
The bottle and glass are finished with a clear coat of polyurethane.
Grapes
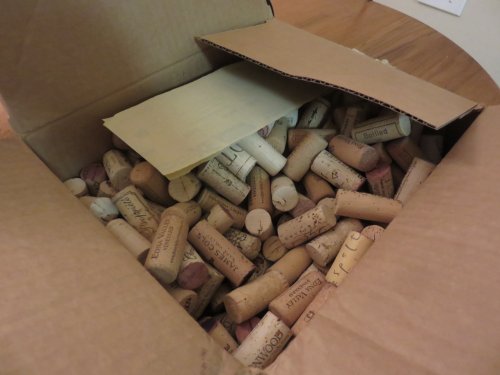
As for grapes, a box of wine corks from Ebay should do the trick, plus some.
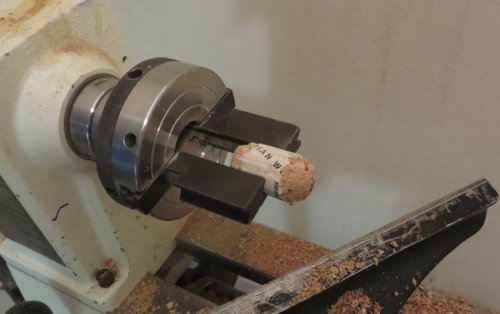
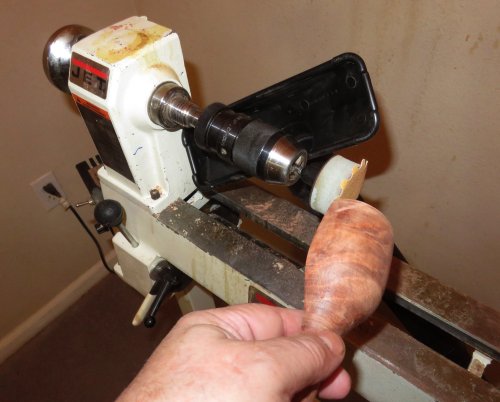
It doesn't take long to turn down cork. The ends are rounded off to hopefully look something like a grape.
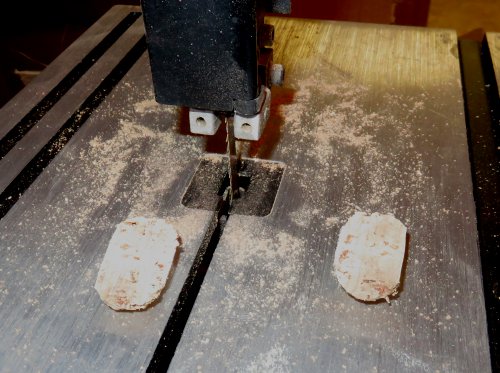
It takes even less time to cut them in half length-wise.
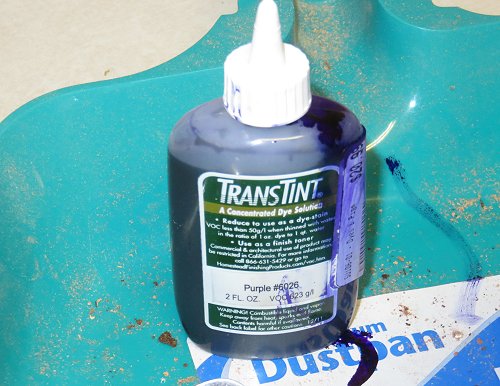
A little bit of TransTint goes a long ways.
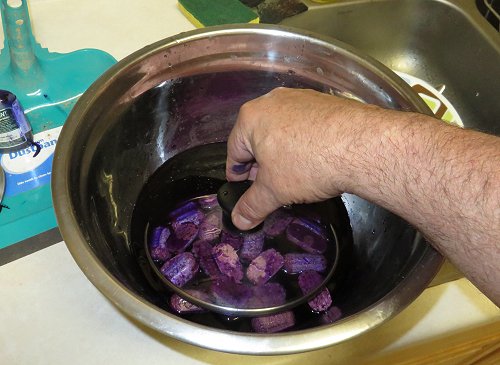
The color looks about right and a good soak should do the trick.
Now for creating a grape cluster.
Looks so-so.....maybe some grape leaves....and a few more grapes
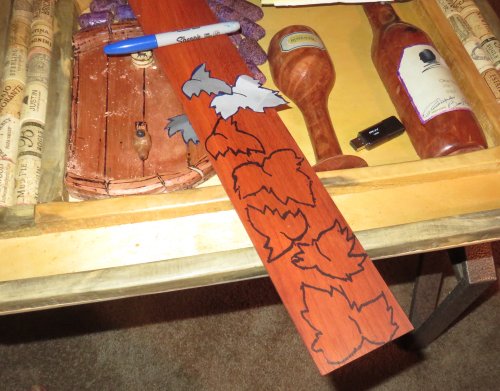
I'm using thinner wood this time.
A wood burning took will help provide a bit more reality.
And if you have wine, of course you have to have some cheese and this cheese round is from a piece of California Buckeye.
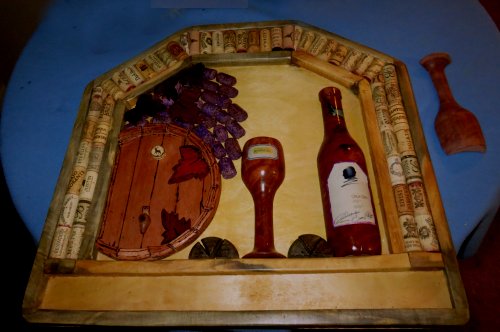
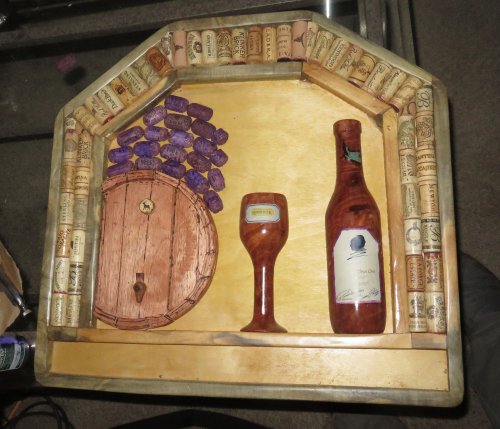
So, here is the end result.
Feedback was as follows.
1. Make the backing board a little darker (I dunno - I kind of like the lighter).
2. Use thinner leaves (Agree).
3. Install mounting hooks (Maybe).
4. Make the bung and the spigot a little larger (Agree).
5. Wine Glass stem could be narrower (Could be, as long as it doesn't explode while turning).
6. Other than that, looks nice!