Green
Wood Bowls
I
obtained another log from the Lawrence Storms to make some salad
bowls.
The wood came out of a pile so I am not exactly sure
what
kind of wood it is.
Probably sweet gum or maple.
Wood from
the
urban jungle is often overlooked in favor of the more exotic woods
available.
Free to me, is very appealing.
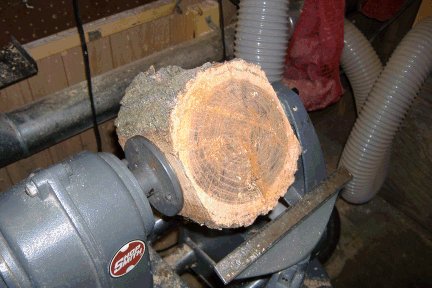
I used a small electric chain saw to trim the top and bottom of the log
and then cut it into four rounds.
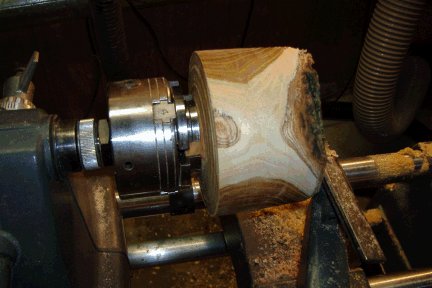
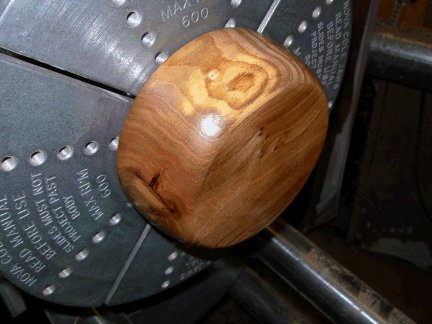
The first round is mounted and ready for turning. Doesn't
look like much at this point, does it.
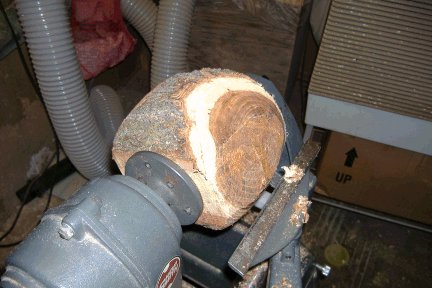
It is not taking long to get the wood round. Another nice
thing about green wood is that you don't
have to sharpen your tools as often and there is no dust to speak of.
Everything falls directly to the
floor.
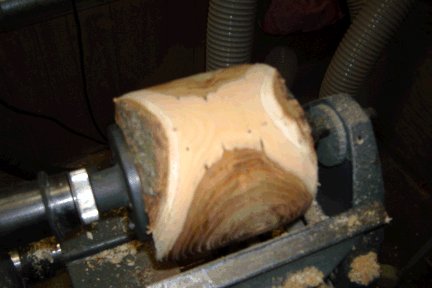
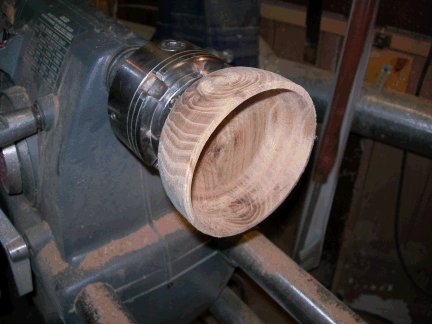
It is time to figure out what would make the best looking
salad bowl and start turning down to size.
The right side is going to become the bowl bottom. The piece
of wood angled in is called a tenon.
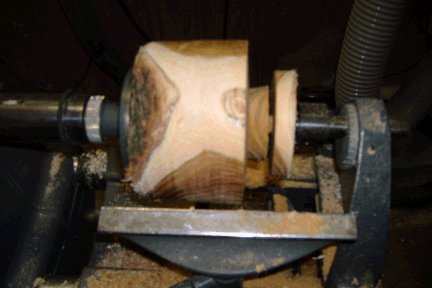
This will be used by the chuck to hold the bowl when turning and
hollowing it
out.
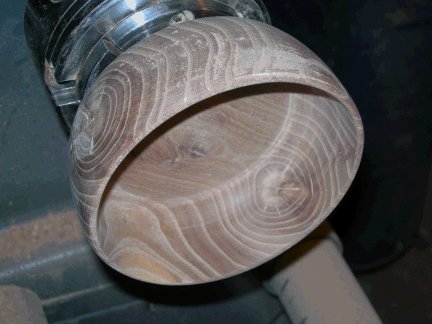
The bowl is now reversed. The chuck is holding the tenon,
allowing me to hollow out
the bowl. Since the tenon is green wood, it is pretty easy to
crush it when tightening down the
chuck. I liberally apply thin CA glue (super glue) to the tenon and let
dry for half an hour or so.
That works out pretty well.
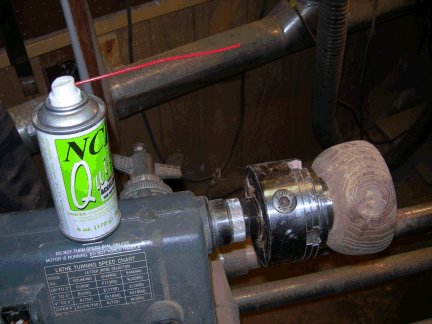
My camera crapped out after taking this photo so I have no photos of
the raw turning in the green
state. I turned four bowls and placed them in three layers of
paper bags for two months. The idea
behind the bags is to slow the drying process and hopefully minimize
cracking and warping.
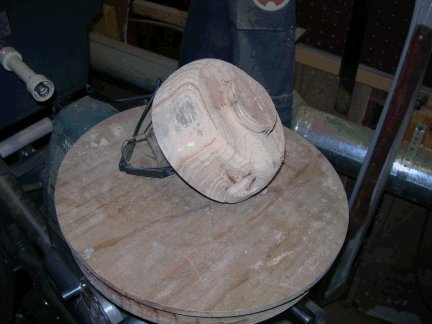
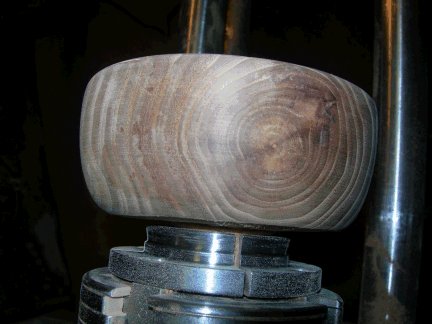
The bowl out of the bag looks a little different , doesn't it. I wonder
how much it warped.
It is not too easy photograph a warp. It measures out to about 1/2"
difference from top to bottom
and side to side. This is commonly called a roughed out bowl.
The first thing to do is to turn outside round. This takes 10
or 15 minutes.

Now it is time to turn the inside of the bowl round and to
take it to
the proper depth and thickness.
I have a heck of a time with bowl gouges although I am getting better.
Being left-handed I think causes some problems too.
So, I use a parting tool to get the walls to the correct
thickness.
I use a combination of bowl gouge, scrapers and sanding
tools to work on the inside.
Other than painting, there is not much I dislike more than sanding.
I buy packs of assorted sanding belts from Cummins or Harbor Freight
and cut them into sanding strips.
That is an economical way to get your sanding materials.
I use grits from 80 to 400.
These bowls will be finished with 400 grit.
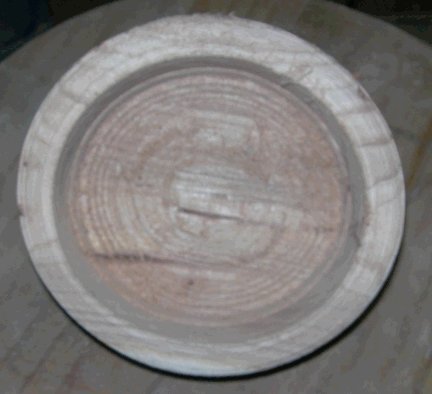
This is sounded to 320 Grit. The inside will be easy to clean
up with a little power sanding.
There is some tear out on the outside of the bowl (the light blotchy
pieces).
These get filled in with sawdust and super glue.
There is a new super glue accelerant out that works considerably better
than the old pump spray stuff that
evaporated out of the bottle faster than you could use it.
Accelerants speed the drying time to a matter of seconds.
That saves a lot of time.
The bowl exterior has been repaired. Now for the inside of
the bowl.
Cracks are repaired on the inside of the bowl in a similar
manner.
I use a Craftsman 3D sander with only one pad for the
interior.
Care is needed in using these types of sanding pads because
it is pretty easy to
inadvertently dig into the bowl wall.
There are sanding pads available what are winged so the edges curl up
as sanding speed is increased.
I use those for the final finishing.
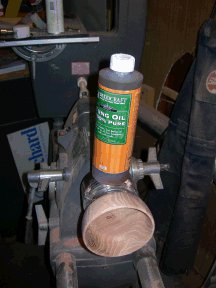
I need a finish that is food safe. I prefer tung oil.
It
has good penetrating properties and looks pretty good.
One
coat
is applied to the bowl interior and exterior.
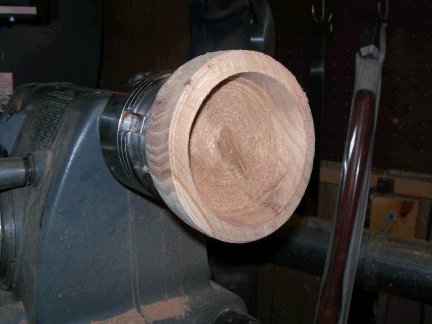
The first coat is applied. Now it is time to finish the bowl
bottom.
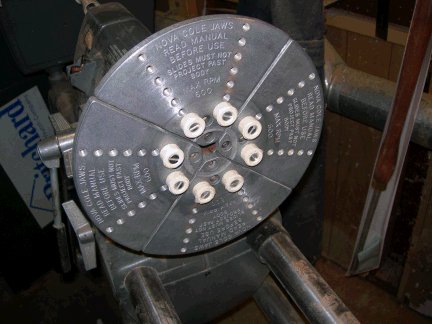
This Frisbee looking plate is in actuality a set of Cole jaws.
Cole jaws are used for grasping the bowl by its sides so the bowl
bottom is exposed for finishing.

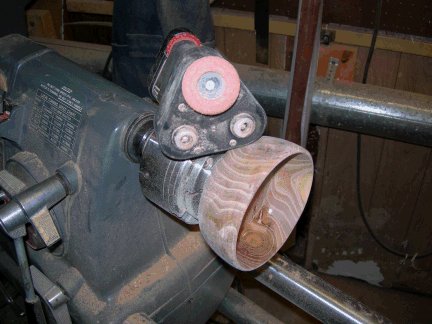
I picked up another time saver - chain saw links attached to
a grinder.
A couple words of caution are necessary for this type of device.
Use double eye protection - Glasses and full face shield.
Use hearing protection.
Hold on tight!
I use this to remove the tenon.
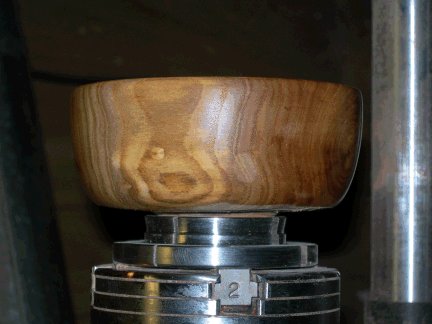
The bowl bottom is then scraped and sanded down. A coat of
tung oil is applied.
All done. Looks pretty good.
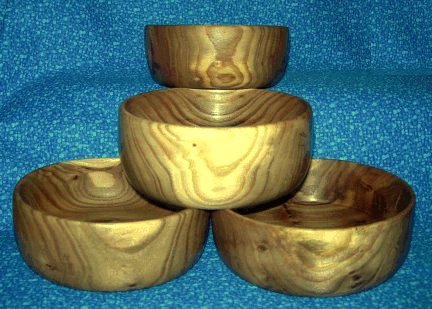
And the end result. Four bowls of approximately........kind
of.......sort of the same size.
No one can ever accuse me of using a lathe duplicator!