Ever Heard of a Noggin?
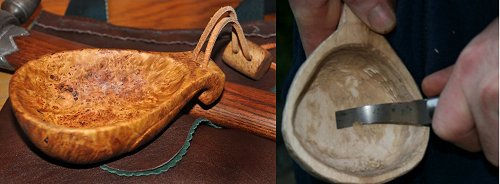
Well, I hadn't and I had a request in to see if I could manufacture one. Basically, noggins are hand-carved bowls and / or cups which many moons ago were used by people who worked out in the field for their meals. They could be fashioned as cups, soup bowls, even steins....and were carved out of one piece of wood, usually a burl. I suspect burls were used because burl wood is quite hard.
One problem with the request - I am not a wood carver but I am a pretty good wood turner. The main issue with something like this is the handle, of course. I had to do some thinking about how one would turn a handle and bowl in one piece and finally came up with what I think is a reasonable solution.
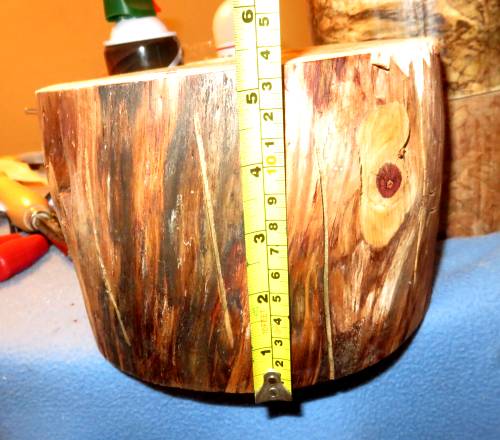
The other issue is one of size, because the request was for something capable of holding around a pint...and that would mean a fair-sized chunk of wood.
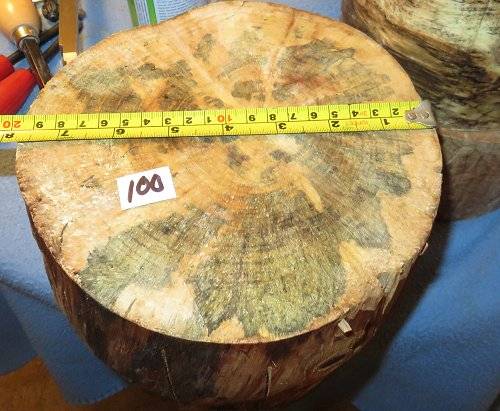
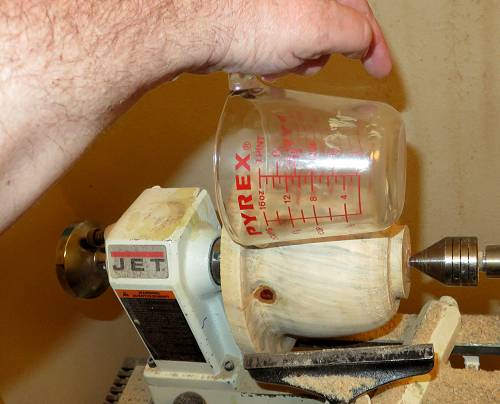
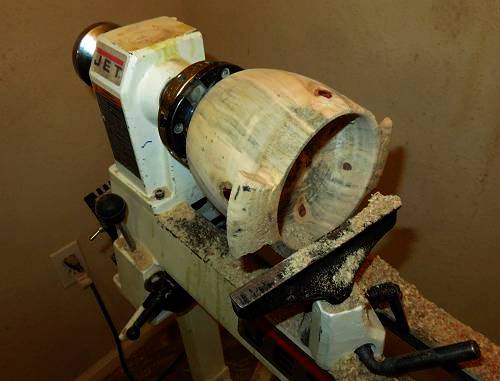
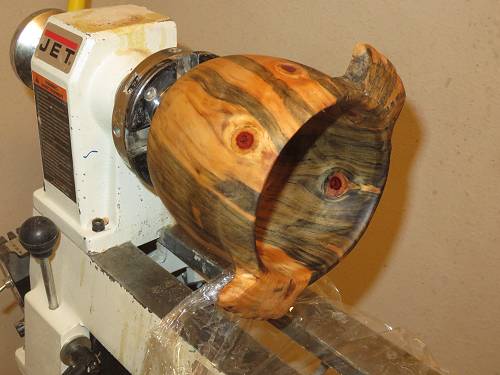
What we are looking at here, is a piece of Norfolk Spruce, which is a type of pine known for its red 'eyes' and unique spalting properties.
Norfolk is a softer wood and quite easy to turn and also takes penetrating oils very well. Since this needs to be food safe, I prefer using pure Tung Oil which is known for its penetrating properties and creating a hard finish. I have ten year old salad mixing bowls finished with Tung Oil and after all those years the finish has held up admirably.
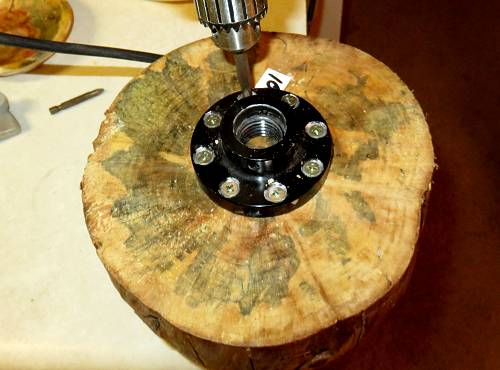
Since the wood is quite soft, one should use all the mounting screws because soft wood means screws can loosen over time and this should be periodically checked.

The red spots are from red sap, when the limbs were removed.
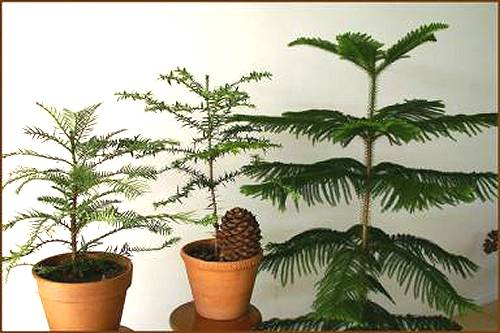
Ever seen those Christmas trees at Lowe's or Home Depot where the trees look perfectly symmetrical and the limbs on all sides are amazingly parallel to each other? That's a Norfolk Spruce. I don't expect you will see many of them in Northern Nevada. They do grow quite well in Hawaii.
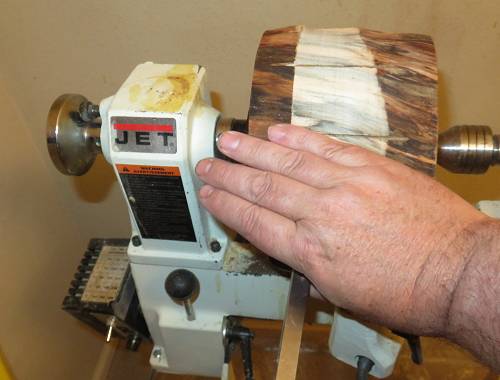
Somewhere along the way I misplaced my Lexan Shield. I am finding however, that my hand actually does a better job containing the flying debris.
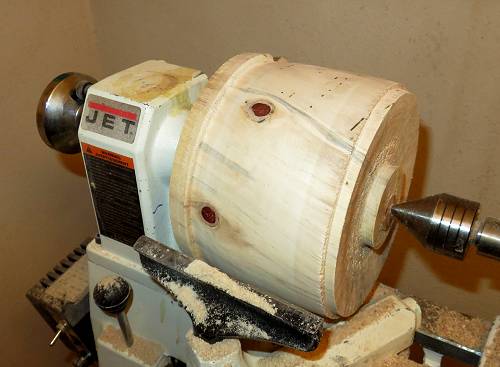
The first thing to do of course is to get the piece round.
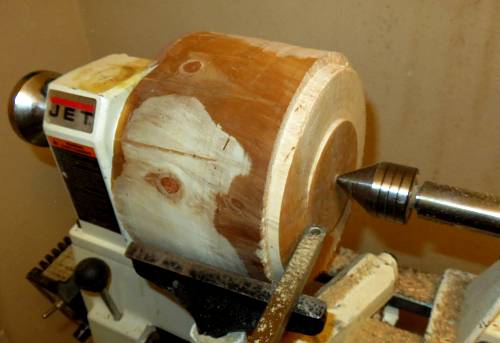
Cutting a tenon is next. This will form the bowl bottom. The tenon is used as a piece for a chuck to grip onto.
One thing about Norfolk, the spalting is generally greater towards the center of the blank so the more you take off, the more color you get. Conversely, the more you take off, the smaller the knots.
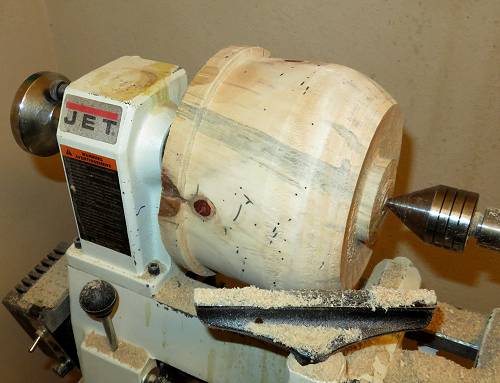
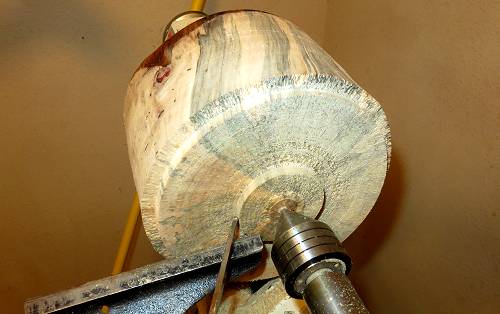
Time to start adding a little shape and maybe some of those bug holes will turn out as well.
The lip at the top is intended to provide material for a handle, or maybe two. It is looking questionable as to if there is enough material here.........
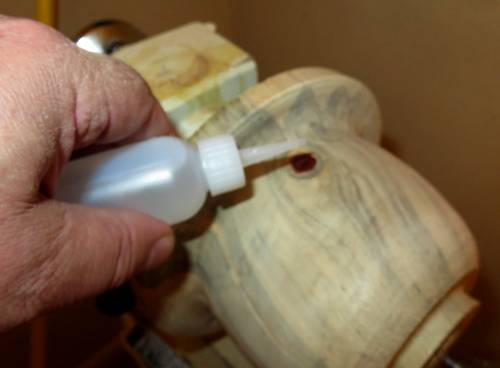
It is always good practice to put a few drops of CA glue on knots, eyes and other wood parts and pieces which are harder than the base wood as these can have a tenancy to crack out and pop out when turning.
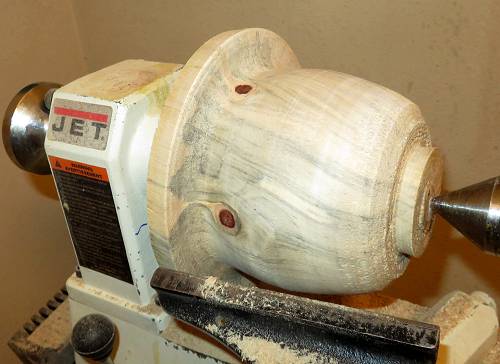
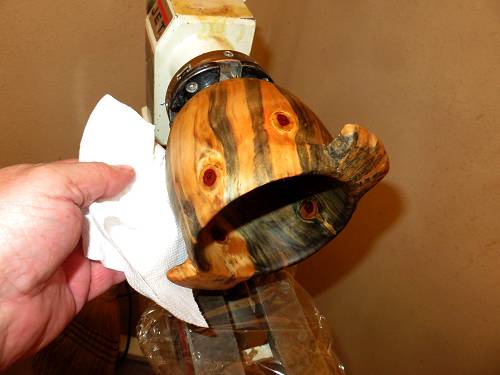
This looks like it ought to hold two cups or so.........

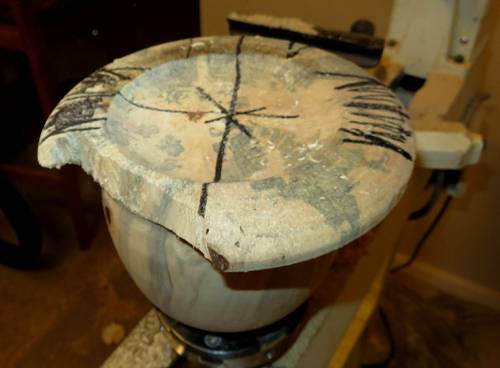
It's time to chuck this up from other other side and start flattening and rounding the top for a better idea as to what is available material for handles.
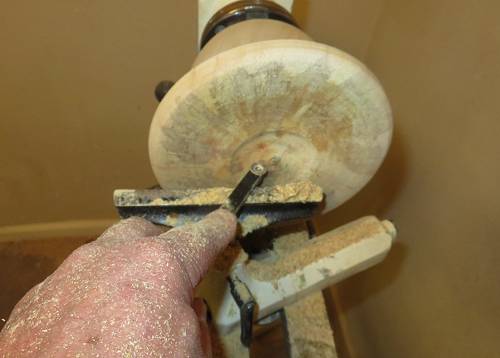
I think the next thing is to cut into the bowl top a bit so as to get a better idea of the bowl inside diameter.
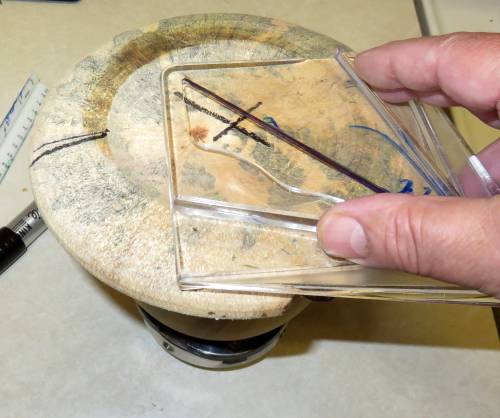
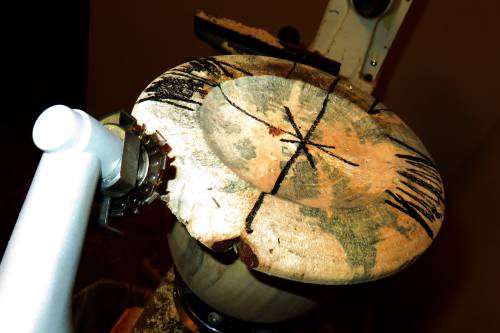
This tool is designed for finding the center of a block or round and the reason for it in this case, is to get two handles more or less across from each other....
...because I'm not so certain one handle will work, given the amount of material left to work with.
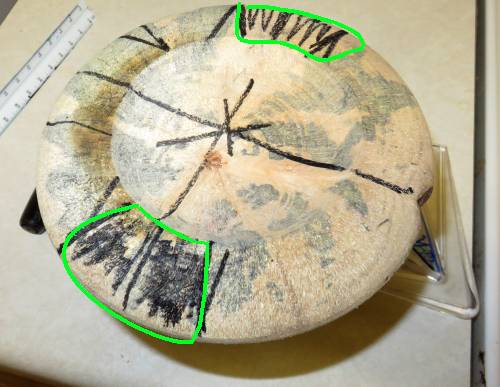
And this is how we cut out the handles.
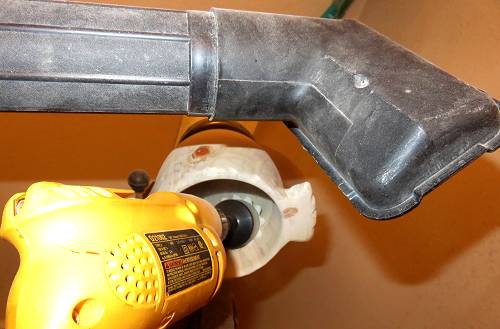
I picked up this Merlin 2 mini-chainsaw cutter for taking high spots off rounds which didn't quite fit on the lathe.
It is also used for carving and it has other discs as well for sanding, fine cutting and the like. As soft as Norfolk is,this shouldn't take long.
Removing this much material takes about five minutes. One thing to be careful of with the Merlin 2, is if you start feeling the motor heat up, shut it down and let it cool off. It is a fairly sturdy tool, but not that sturdy.
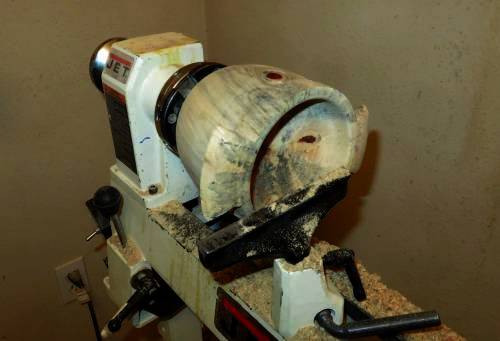
Half an hour later, it's back on the lathe to start hollowing the bowl out.
Norfolk is very easy to work with, however having a case of bronchitis doesn't help so I think before doing any more with this, a particle mask would be a good idea.
One thing about Norfolk Spruce and power sanding, use some caution and take frequent measurements as the material turns down fast when using an aggressive grit.
I am starting out with 80 grit and then on up through 320. Then, I switch to some 400 grit regular sandpaper to put some extra gleam on the 'eyes'.
A can of compressed air is useful for removing dust from the nooks and crannies.
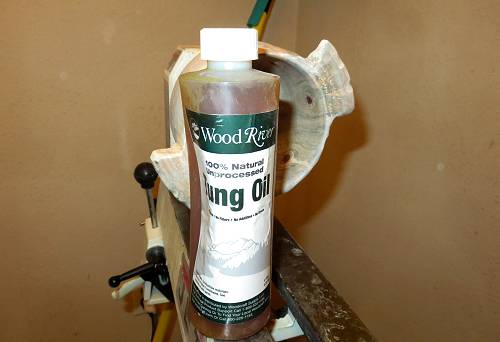
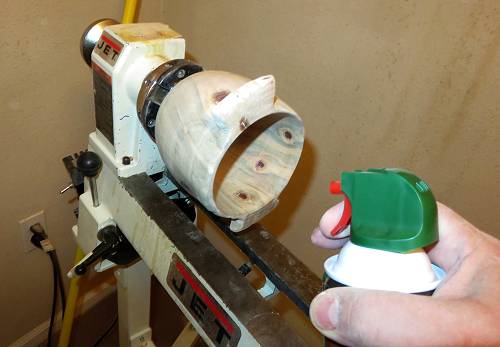
I prefer using Tung Oil as a finish for anything related to food preparation.
The first coat is applied and worked in with the hands and then let sit for half an hour or so.
Cautionary Note regarding Tung Oil on some woods, this piece included.
If you rub in a light coat of oil and it promptly soaks into the wood so quickly you wonder if you put any on in the first place, really slow down and let a day or two lapse in between tung oil applications. This gives oil in the wood time to set and begin to harden because if you don't, this will happen:
Applying one coat of oil after another until the wood won't accept any more and then wiping off the excess may have seemed like real a time saver ......but set that piece aside for a week or so and then have a look at it.
Odds are you will see a finish not quite what you expected. It can look mottled, look like tiny bubbles burst over the surface and in general, looks like worlds worst finish job.
What happens when the piece has too much oil in it, is over a few days it will start expelling the excess oil and that excess oil can be thick enough on the surface that you can scrape the stuff off with a fingernail.
The only thing that can be done is to start over and if you have not ever tried removing a tung oil finish before, plan on lots of elbow grease. Steel wool will do a fairly quick job of removing the old finish but boy, it is still no fun.
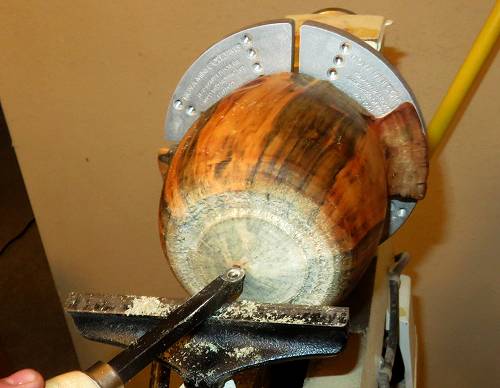
Not much left to do here except finish up the bottom, and that doesn't take long.
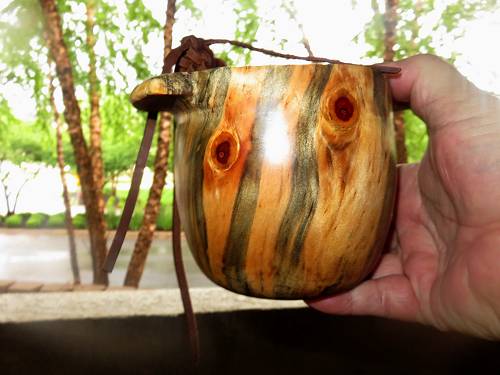
Tung oil does provide a nice finish but building it up takes time and as with all finishes, the better job of sanding...the better the finish.
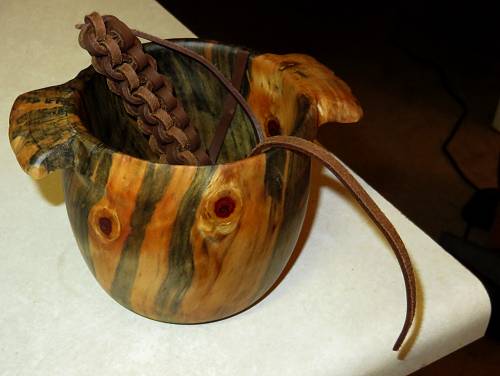
The braided leather is for a carrying handle should one be desired.
I however, am not drilling the hole!