Some Background
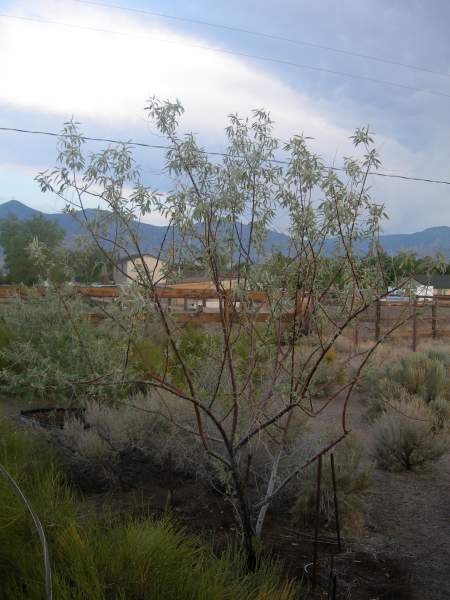
I bought this tree some five years ago in a five gallon bucket and it has done nothing other than slowly die.
Each successive year it has looked worse and worse.
This year (2009) it looks really bad. It is hard to kill a Russian Olive and I am doing a superb job.
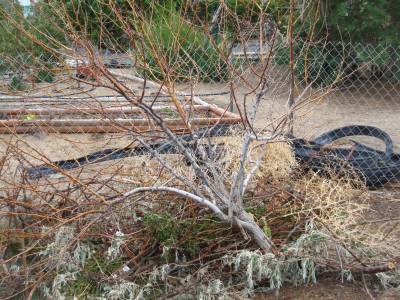
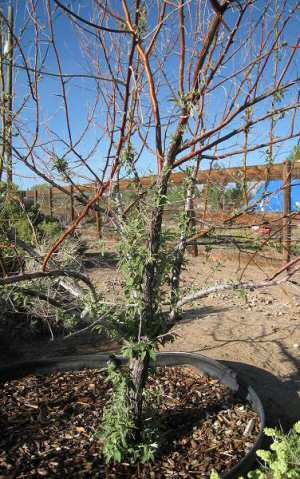
I finally had enough so I dug it up and tossed it in the burn pile. I decided to save the root ball.
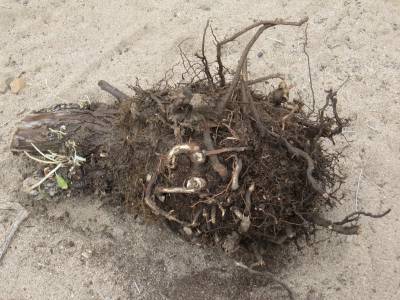
Not much of a root ball after being five years in the ground. Let's clean it up a little and have a look.
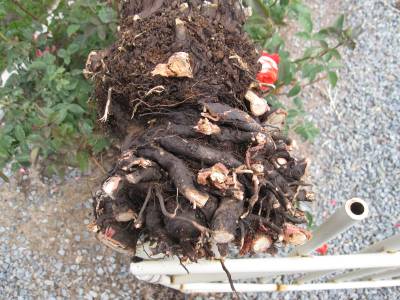
This is why I no longer buy trees in five gallon buckets. The roots are twisted in one direction. There are roots growing back into the root ball. This must have been in a five gallon bucket for a long time. Grrrrrrr......
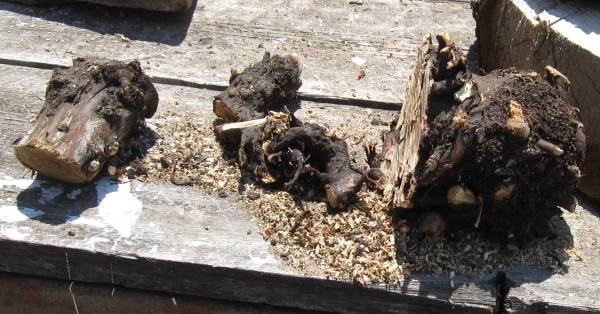
I nuked the rootball a couple times on the defrost cycle and set it aside, wrapped in newspaper and a couple paper bags for a month.
A month later I cut off the junk and came up with the ball on the right.
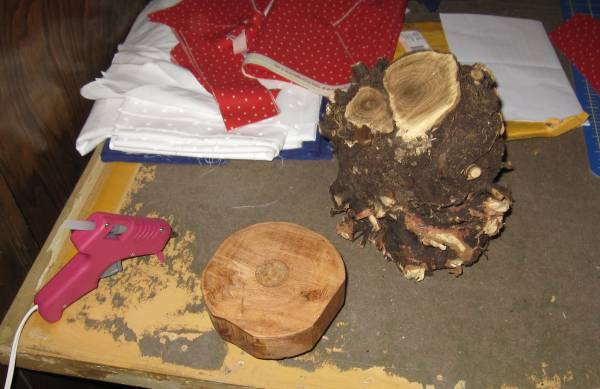
As an experiment I tried hot-gluing the rootball to a sacrificial block instead of using a wood glue.
It failed within minutes. Not a bad ideal though. I wonder if they make different types of hot glue.

The mounted rootball. Not much to look at.

While this is easy to turn, Russian Olive dust does not agree with me. Ended having to use a dust mask.
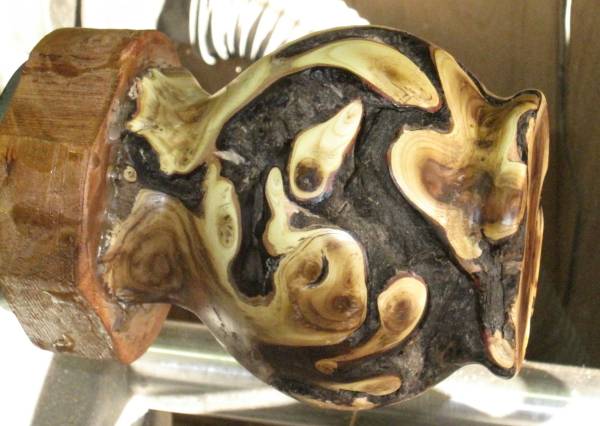
This piece is turning out differently from what I thought. It looks like I am going to have to flip it.
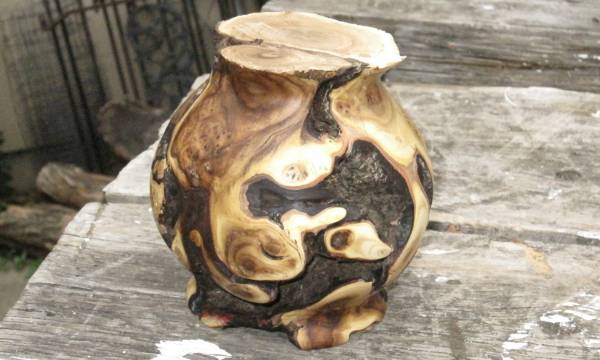
Looks pretty good so far.

I decided to drill this out using a bottoming bit. While this is not the correct application, it is producing the
size hole I want.
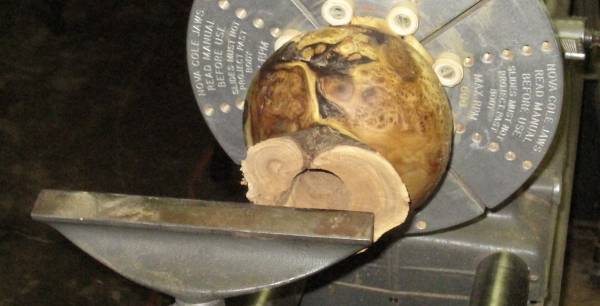
This should be easy. I am going to use a hollowing tool to complete the top.
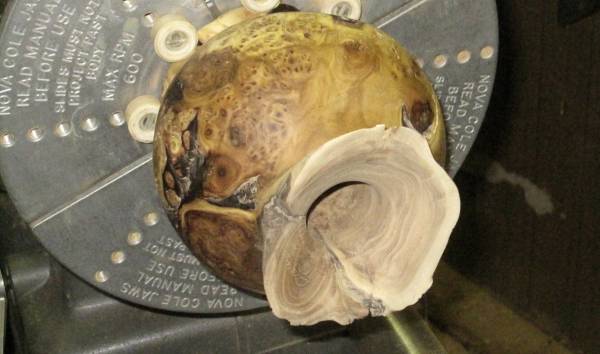
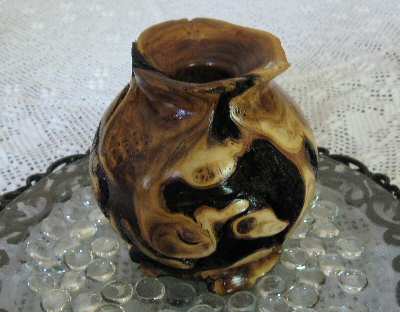
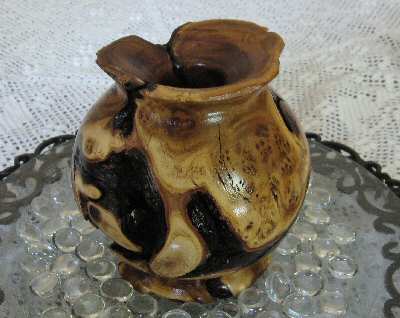
This is turning out very well. Now for the finish (my weak spot).
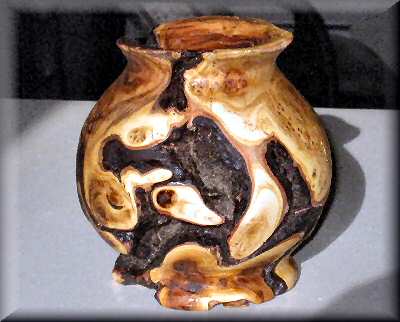
The finish it turns out is going to take a while. I decided to use a Minwax Satin Sheen.
The rootball is sucking it in like water to a sponge.
To be continued..........
Continued....
I had to sand this down a bit and then apply a sealer before applying a new finish. First time I've ever had to do that. Anyway, It turned out very well. Didn't have any more Minwax but I did have Deft Satin Sheen.