This is 2009 and believe it or not and there have been considerable advances in wood turning tools during the last 50 years. If you wish to cling to purist notions regarding wood turning, then good for you. For me, time is more of a consideration than 'purity' is.... and ask yourself if the recipient of your creation will even know the difference.
I would think not.
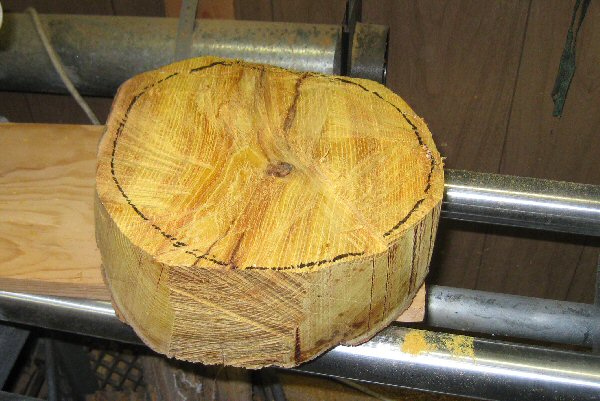
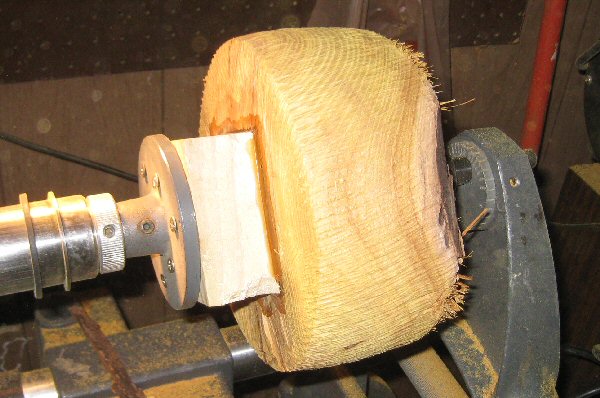
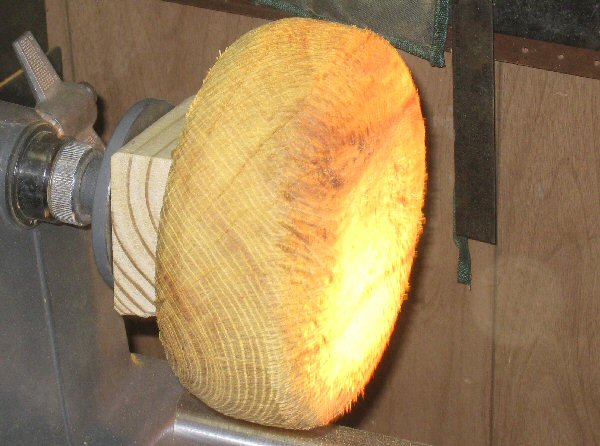
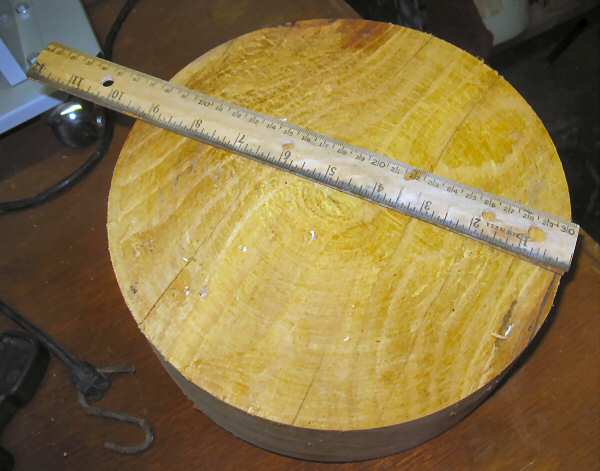
The first thing to do is get the blank marginally round and this is done using a band saw.
This is marginally round and ready for 'Extreme' turning.
What is 'Extreme' turning?
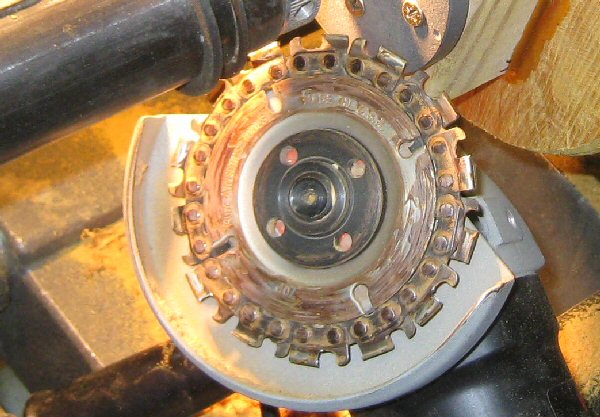
This disk used correctly, can shave hours off turning time. It not only saves time, it saves wear and tear on the lathe, saves wear and tear on your grinding stone and it saves on your gouges.
Cutting Disc Detail
The tool described here is from King Arthur's Tools
This was described this as a second rate tool of choice (why doesn't that surprise me) from certain individuals on certain wood working forums. Commentary from same caught me on an off-day and I was less than impressed with what I saw.
But, in retrospect if you decide to post your turnings and opinions of same to the world, you have to expect that. I would however like to see some of the work these individuals produce if they are ever brave enough to send me a few pics which I would be more than happy to post. Probably be a cold day in hell before that happens and as of August 2010, there have been no takers.
Anyway, not being a total idiot and before I even went down this road, I took the tool down to one of my machinist buddies who also cuts a lot of wood and asked him for an opinion.
He looked at it, tried it out and his thought was that while it was well constructed, PPE was a must and he was interested in seeing someone who had a marginal clue as to what he was doing try it out.
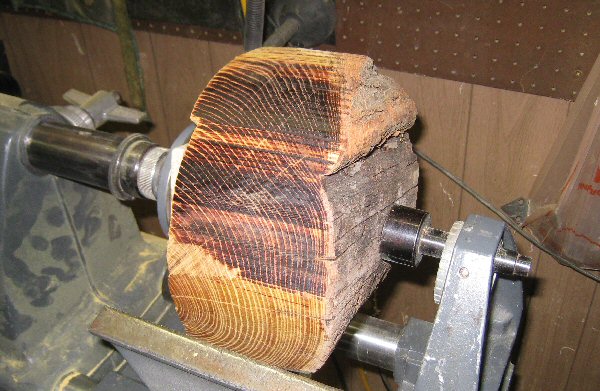
I, being the marginal person in question mounted a spalted maple log, bark and all on the lathe and went to work. 20 minutes later, I had a bowl blank. It was impressive.
I then re-mounted the blank and some 15 minutes later had the blank hollowed out. Wow!
Problem #1
When I first started this exercise I was wearing a short sleeved shirt and regular working gloves. Chips from the evil tool were hitting my arms at high rates of speed which left undesirable blotches on my skin. It ended up looking like a mild case of road rash. I switched to a long sleeved shirt and gloves with gauntlets.
Problem solved.
Problem #2
This tool sent chips everywhere. A dust collector is worthless in this circumstance. I needed a method for containing the chips. I screwed several eye hooks into the ceiling and draped a couple really cheap sheets from Walmart around the lathe. Think shower curtain.
In conjunction with this, use double face protection. As I said, these chips come off at high rates of speed. It would be very easy for one of those chips to bounce off your face, on to the inside of your safety glasses and into your eye. Same principle as when grinding metal in an enclosed space.
Use safety glasses and a face shield.
Notes:
Note 1
The cutting tool is recommended only for specific grinders and they are listed. Ensure you have a grinder that matches the specs which are listed in of all places, the manufacturers instructions. A grinder meeting these requirements is an inexpensive item. Also, there are specific notes as to how to adjust the grinder safety guide to accommodate the cutting disk.
Note 2
Hearing protection is a must. Do not use this tool without good hearing protection. I know what I am talking about. I spent the majority of my adult life working around machinery death to all things auditory. My hearing in 2009 at 52 years of age is as good, if not better than many people in their 30's and it is directly a result of a conscious decision to protect my hearing.
Being raised on heavy metal, the retirement homes are going to just love me. Of course, most my senior neighbors will probably be deaf anyway so that may be a moot point.
Note 3
You need to be focused on what you are doing. If anyone has worked with a hole saw attached to a 1/2" drill motor, you know what I am talking about. Like Senator Craig from Idaho, use a wide legged stance, keep a firm grip and stay away from the grinder. Kick-back would not be a pretty thing.
Note 4
Do NOT think about the need for turning speed.
I use a Shopsmith and a speed reducer when turning bowls using this tool. What I do is this if I am turning a log:
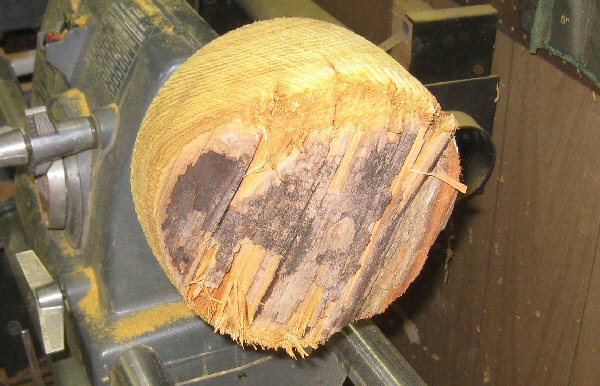
Roughly round the log manually, turning it by hand if you can't get the lathe speed slow enough. In this case that was unnecessary. It was balanced pretty well.
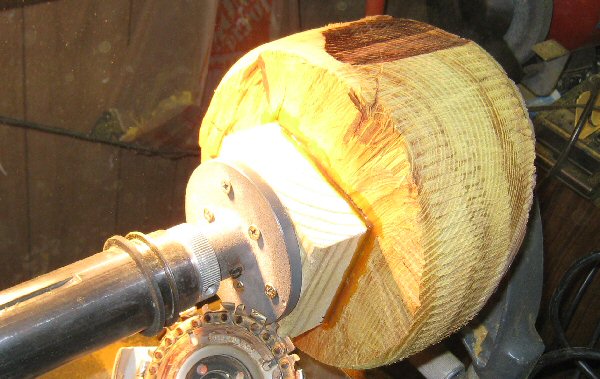
It took about five minutes using the chainsaw blade to get it this round.
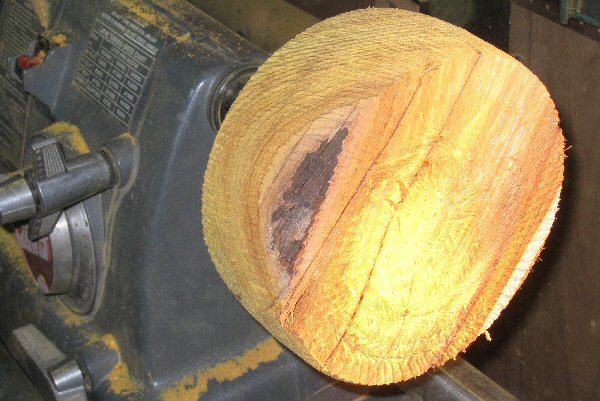
Another 5 minutes or so.
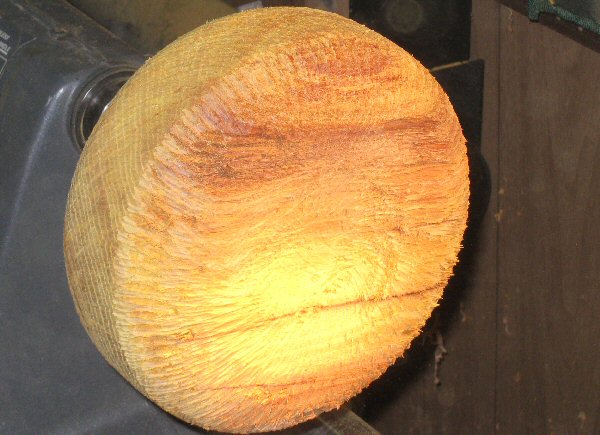
Remove the tail stock support and flatten the end. Takes about 5 minutes.
Some nice color is showing through.
One completed blank.
All told, this took somewhere around half an hour. The blank is now ready for conventional tools.
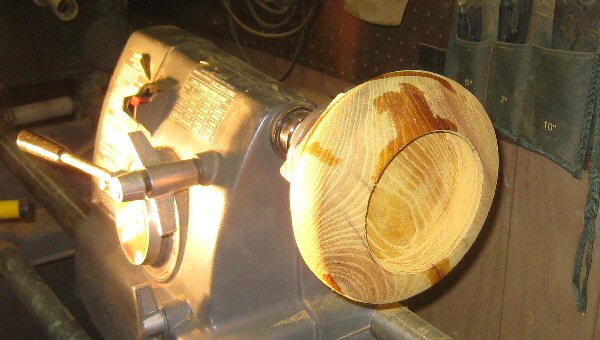
Turning the inside of the bowl.
Follow the same steps as mentioned above but turn a bit faster initially. Go in as deep as you can. This saves lots of turning time. I can't get too far in because this is a smaller blank. Large, salad mixing sized bowls can be hollowed out with the chainsaw blade to somewhere within 1-2 inches of the bowl outside. Incredible time saver.

These chains last a long time and can be resharpened. I might replace these once or twice a year.
Anyway, switch back to conventional hand tools when you have met your objective.
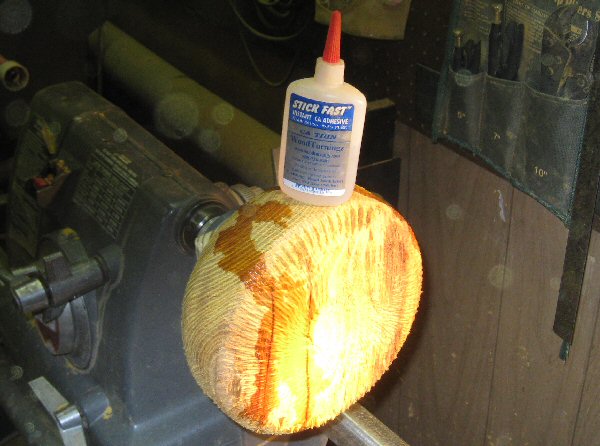
When using naturally dried logs, I find it helps to control cracking by gluing the cracks with a thin CA glue and then let all settle for a day or two.
Hedge Apple is very easy to turn. I continue controlling the cracks along the way.
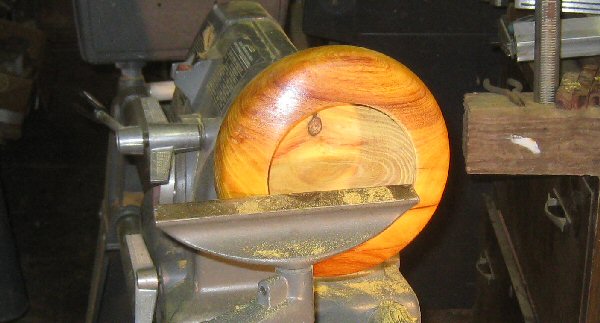
This is starting to look pretty nice.
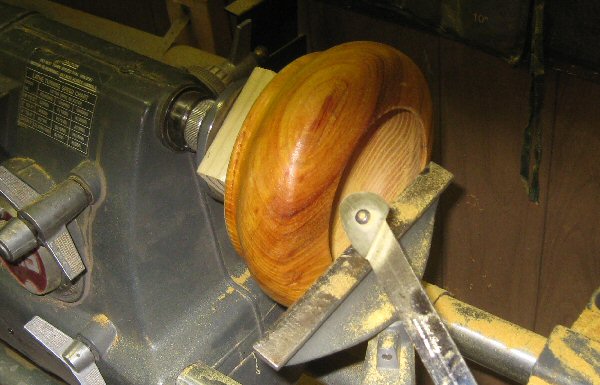
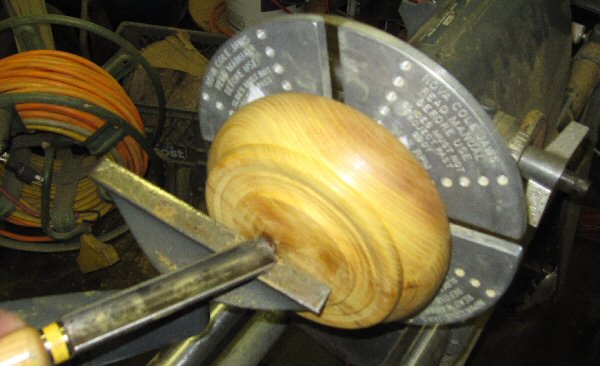
This is an adjustable bowl scraper for those hard to get to places.
They work really well once you figure out how to sharpen the tool. I have found with these tools it works much better to use a conventional grinder. A conventional grinder leaves a nice burr and it really speeds up the shaping process. Use the finer grinder wheel for light cuts and use the coarser wheel if you reallly want to peel some material off.
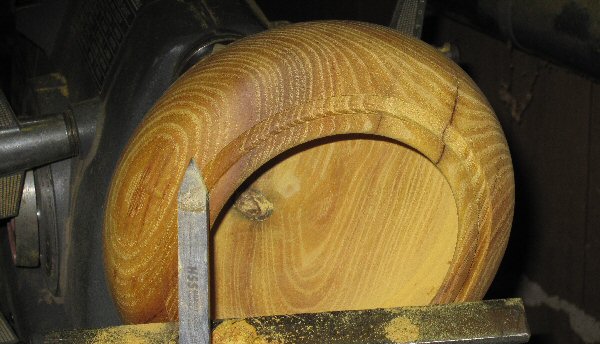
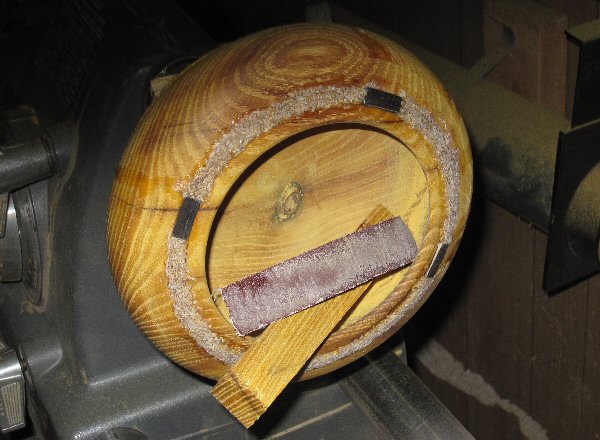
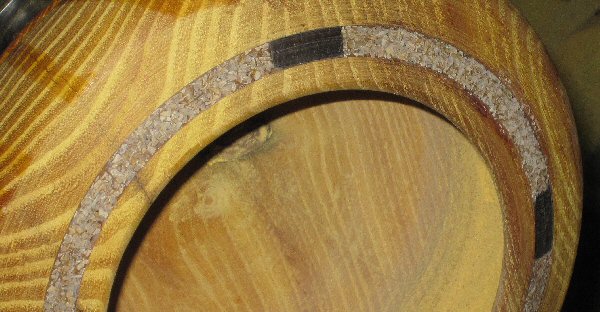
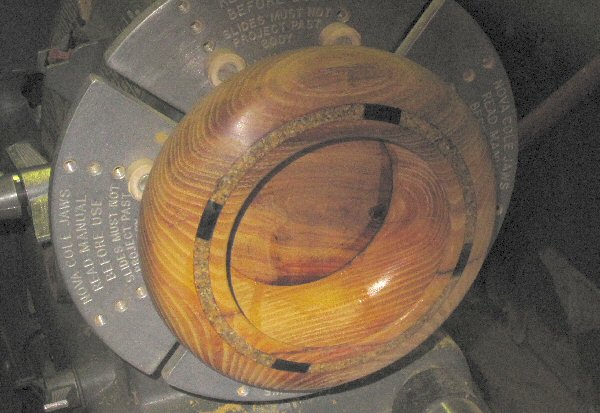
I think I am going to get a little fancier today. A couple of those cracks have me concerned and besides, I have a bunch of yellow jasper and a little ebony to use up.
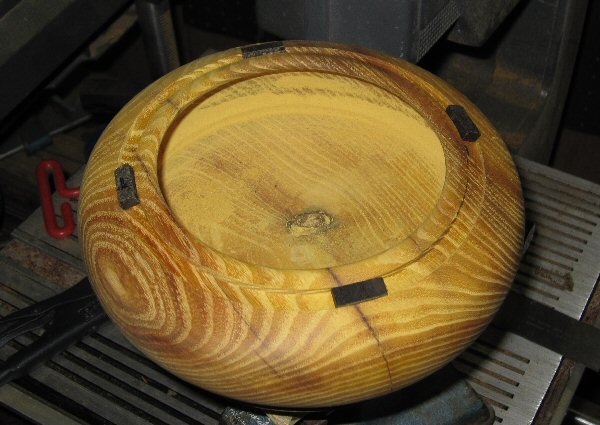
Ebony is strategically placed to interrupt the worst crack.
A word about jasper - this stuff is very hard. Go to Harbor Freight or Cummins and pick up some
cheap, really aggressive sanding disks. 40 grit is a good starting point.
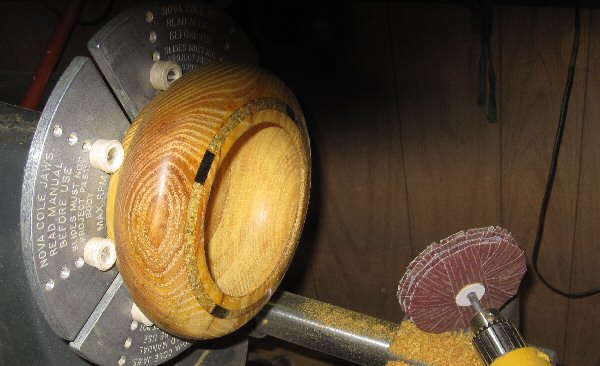
The inlay was power sanded using 40 and 60 grits, and then on up to 120 grit using sand paper and a backing board.
I switched back to power sanding, starting with 150 grit and working up to 600 grit (for the stone).
Time to start working the bottom. This will only take a few minutes and then..............
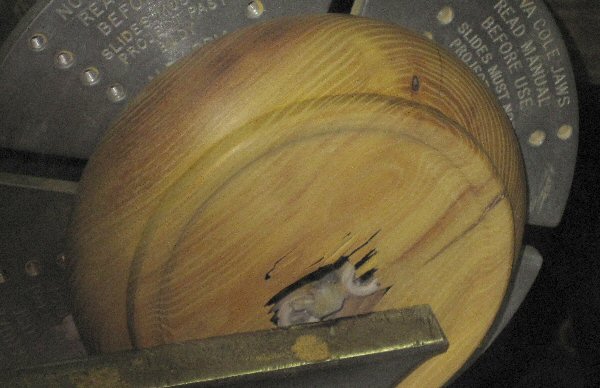
Oops.
This is one of those moments where words fail to adequately describe..............
One thing though, I've spent too much time on this to trash it but this is going to require a pause that refreshes and that generally comes from those little green bottles that have riddles under the cap.
The Fix
I ended up turning a replacement part for the rather thin bottom and glued it in. Although it is a tight fit, some sort of inlay is going to be required and it is not going to be yellow jasper. Trying to turn that down on the inside of the bowl would be a nightmare.
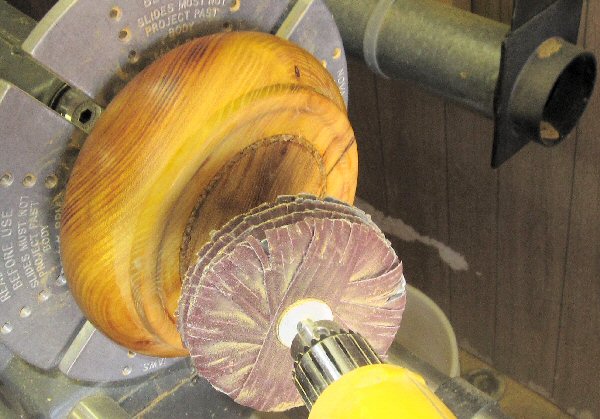
I turned the replacement part back to flush and then decided to try one of these flapper disks.
It did a good job.
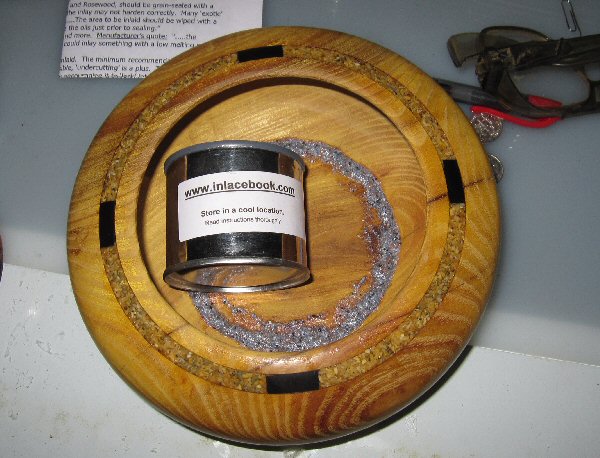
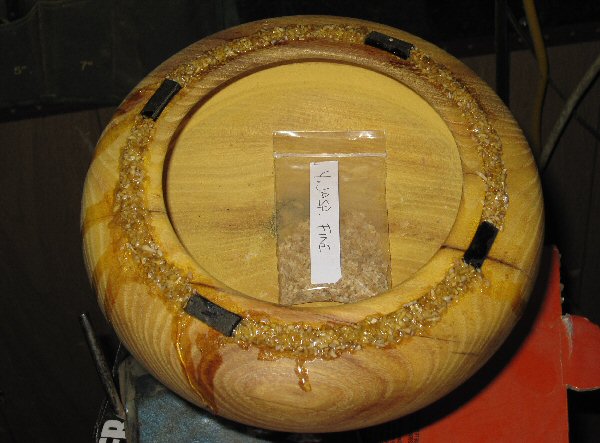
Ever seen this?
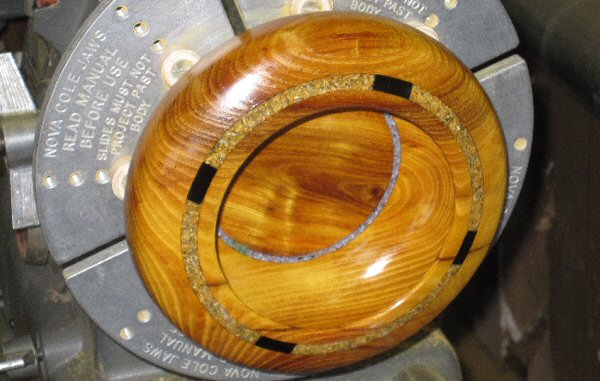
This is a resin based inlay material and I think this mixture is called 'Scott'. It took a day or two
to harden and it turned very easily and sanded even easier. Looks nice.
Mustn't forget the bottom, which is another good place to get rid of more yellow jasper.
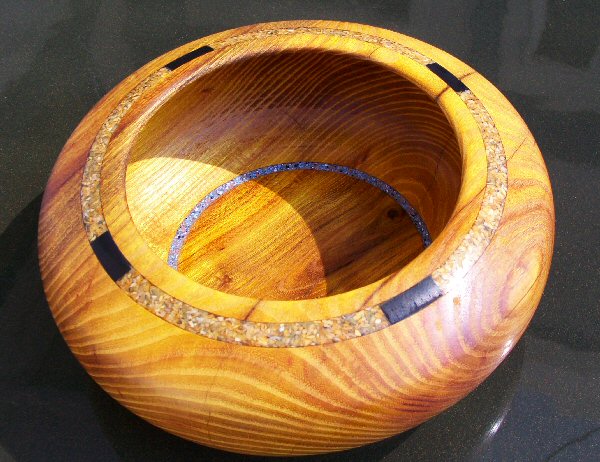
Not Bad.

Cactus Blooms on this little guy are awesome!
Extreme Wood Turning Part II - August, 2010
This is the biggest blank I've ever been able to get out of a piece of hedge apple.
Using my 'extreme' wood turning tool of choice, it took a little over an hour to get it round - and this was from one rough piece of wood. I ended up cleaning the round up using conventional methods because I got a new tool with a slightly different grind. That worked well enough but I don't think it was worth the cost.
I hope to be able to demonstrate the speed in which the bowl inside can be hogged out using 'extreme' wood turning once again.. Don't know if the blank is quite wide enough though. I think it is.
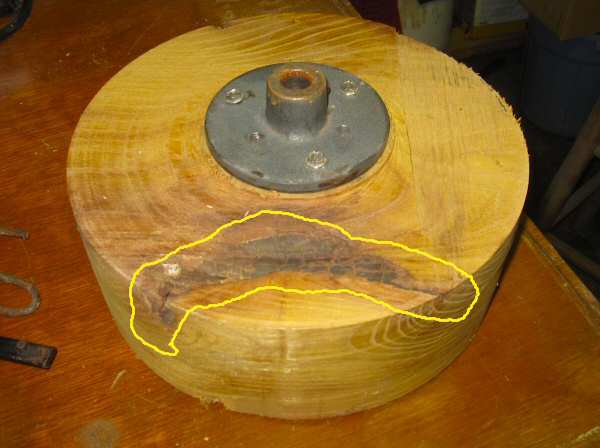
This blank also sports a rather large divot but I don't think that will be much of an issue.
To be continued.............