For this demonstration we are going to use wood straight off the tree.
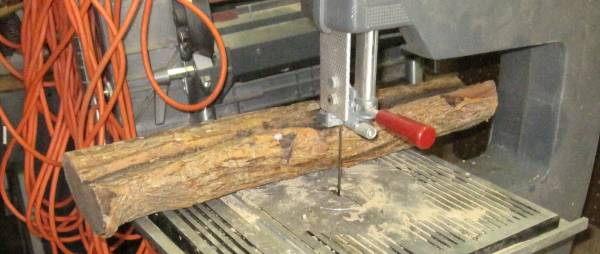
This branch of Hedge Apple has been drying for a while. Looks like a decent piece.
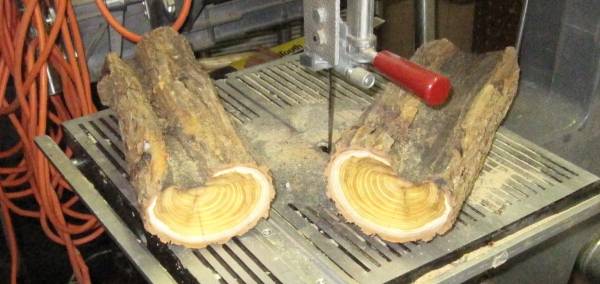
This wood can range from dark yellow to lemon yellow so we will have to do something about that later on.
I can't imagine lemon yellow hair sticks as being a highly sought after item.

Cut the blanks to somewhere around 1" x 1" x 15" and let set for a week or so, as these are more or less dry anyway.
Pitfall #1 - Cutting the blanks too short:

My pin jaws won't accommodate this blank so it is going to have to be turned down a ways.
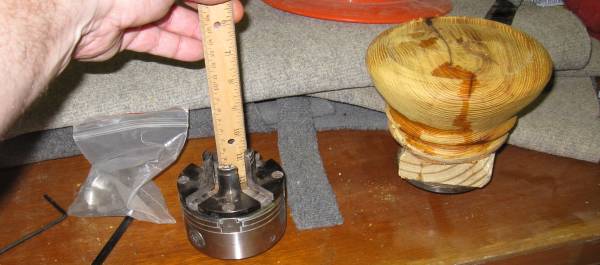
Need about 1"
This blank is around 10 1/2". You need 13" or so for some of the longer hair sticks.
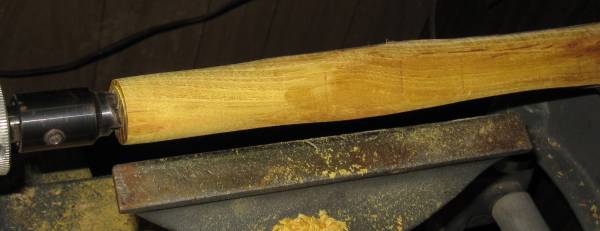
1" diameter for the chuck will work fine.

Don't forget to square up the end that fits in the real chuck. Makes centering much easier.
Time to make the switch. I've used a number of chucks and the Nova is one of my favorites.
You can also stack different sets of jaws.
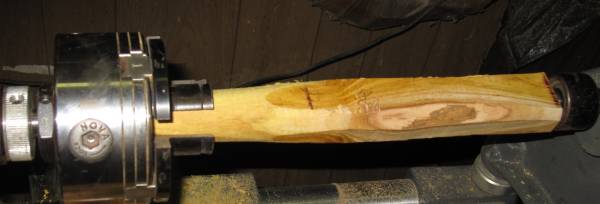
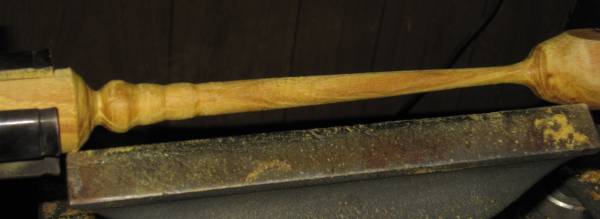
This is the perfect time to see how burning affects the grain while there is plenty of meat on the blank.
I think this will work out well but one of these days I am going to have to get one of those fan-shaped burner tips so the
flame distributes out more widely.
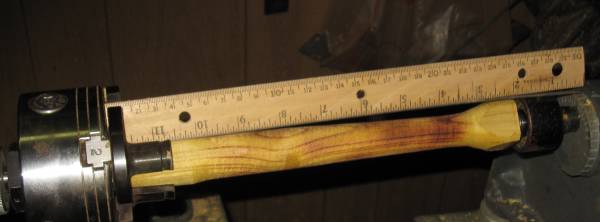
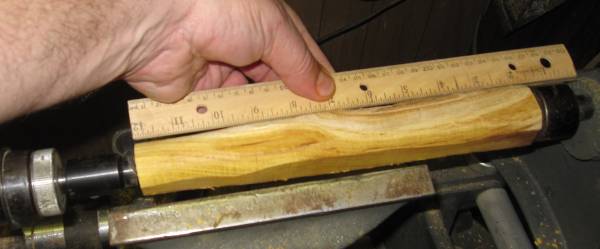
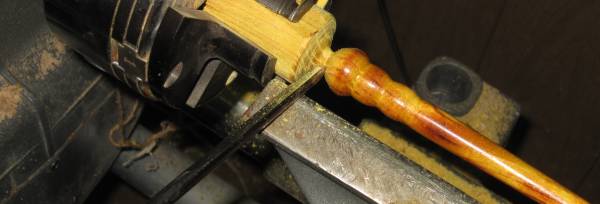
The finished length of this hair stick is going to be somewhere around 7 - 7 1/2 ".
Don't forget to add about 3" to the final length to account for the chuck and the tail stock.
Keep plenty of meat on the tail end for as long as possible.
Also, as you taper the stick, the distance between the tool and the stick increases to a point where
unless you have a shorter guide, you can risk catching the tool on or under the stick, tearing it in two
and startling the heck out of you.
Pitfall #2 - Not Checking the Chuck for Tightness:
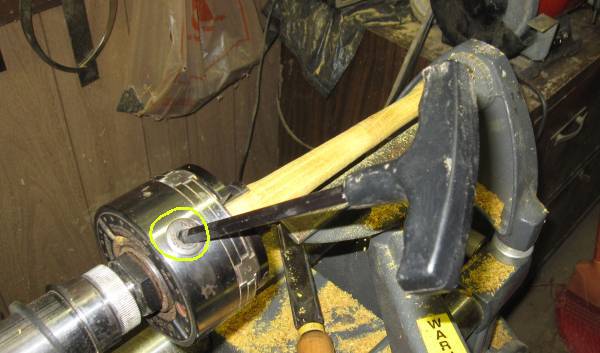
Don't forget to check the chuck for tightness periodically. If the stick moves on you as you get down to size,
you can end up with a lot less stick as you try to get it back to round.

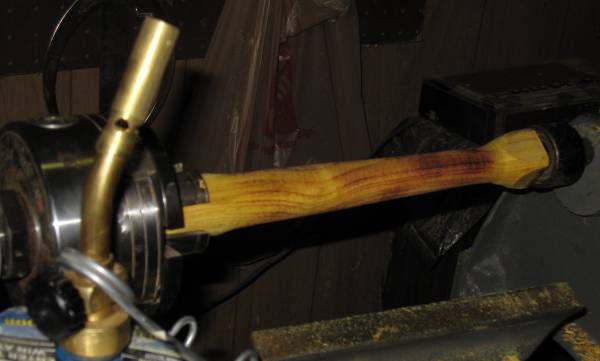
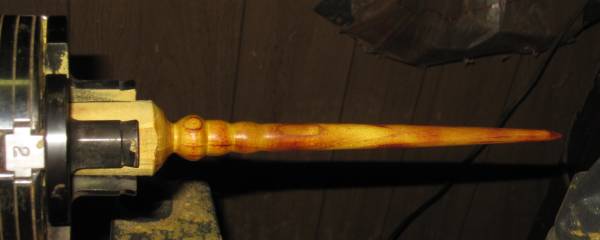
Adding some color will help this stand out. I think the red will look nice.
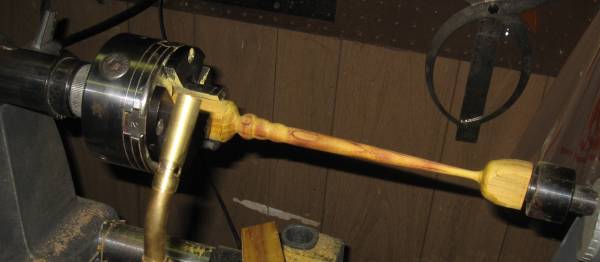
The reddish hue does make it look better.
Helpful Hint:
Apply heat to wood and it can warp. Keep the head and tail stock attached if you decide to do this and take your time.
Let it cool down a bit between heat applications, particular when heating the smaller diameters. Less chance of warpage.
Pitfall #3 - Warpage:
I had one piece where I removed the tail stock first and then heated it. I ended up with a (-shaped hair stick.
It's not easy finishing a -( shaped stick either.
Pitfall #4 - Getting too Rough
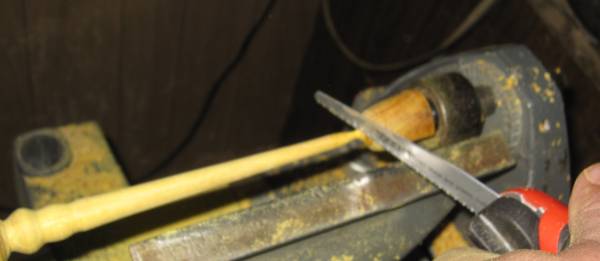
Use some caution when removing the tail stock. Cheap, fine toothed saws from Cummins or Harbor Freight work fine.
Sometimes the wood splits or cracks if you get too rough and you end up with a shorter stick.
One time I cut the end off with needle nose pliers and split the wood a good half inch or so - bad idea.
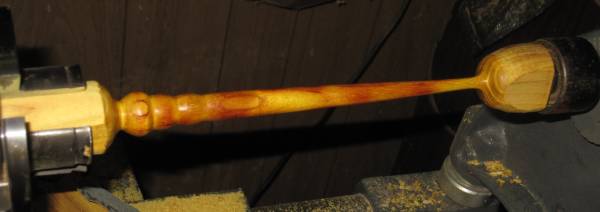
This is still actually pretty well balanced considering the heat application.
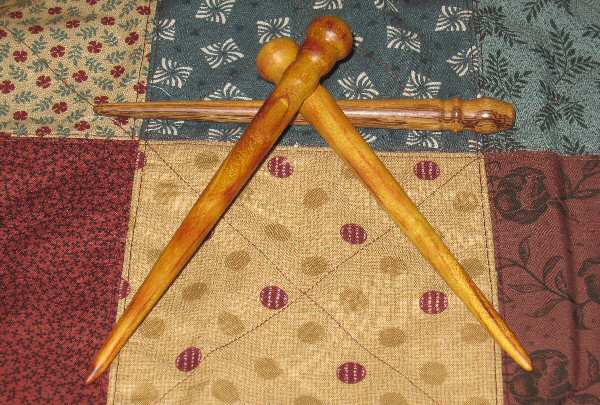
Now is also the time to determine whether or not the hair stick should be weaponized - as in a nice, tempered sharp point.
Requests do come through for these types of hair sticks - some people probably live in rough neighborhoods.
However, you should point out that a really sharp stick also has the potential for poking holes in or scratching up the scalp
when using the stick for its intended purpose - bundling up hair.
It is best to blunt the end of the stick unless the request specifies otherwise.
A mini parting tool helps reduce waste. I hand-finish the top.
Well, that's about it other than a comment about tools:
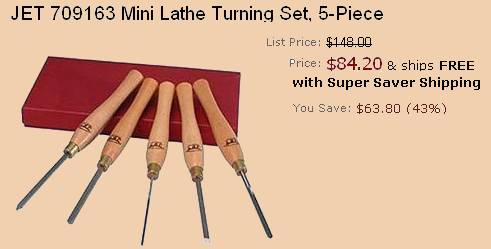
If you do quite a few small turnings, it pays to invest in a good set of mini-tools.
A decent set of tools in a reasonable price range are those sold under the Jet label.
These tools are often on sale as well. About like buying a Sorby tool at a substantial discount.
PSI tools can be purchased at half the price and they work well enough for occasional use but
they don't hold an edge for very long and there are some interesting stories about these tools
if you do some googling - the old 'You get what you pay for .' kind of thing.