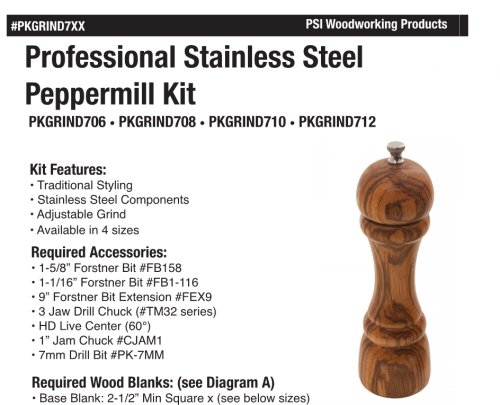
My wife has been wanting a hand-turned pepper mill for a while, and a large one at that. However, I have a mini-lathe so I do believe 12" pepper mills are out of the question without a bed and stand extension.
8" pepper mills look entirely doable.
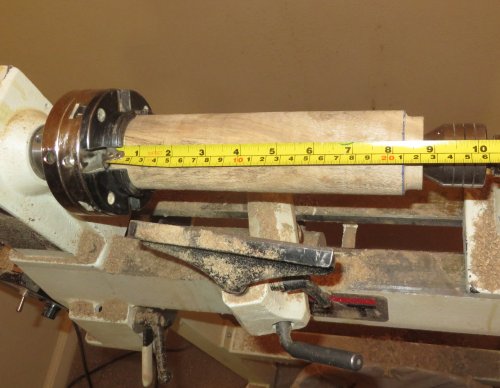
10" pepper mills look iffy, so we will go with iffy.
Yup, 10" looks like about it.
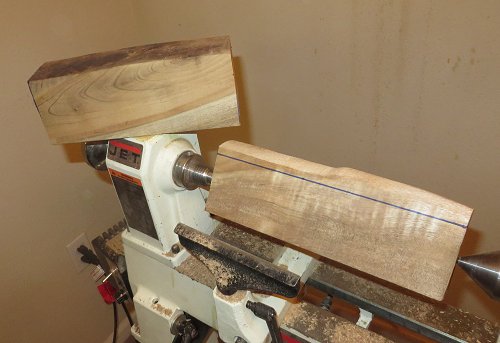
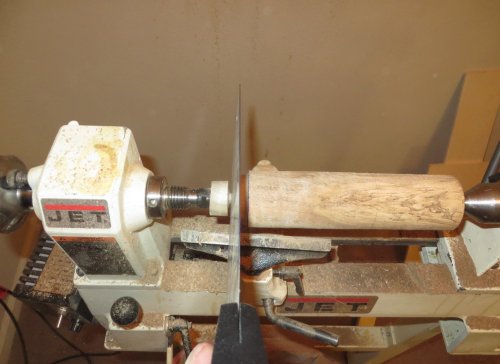
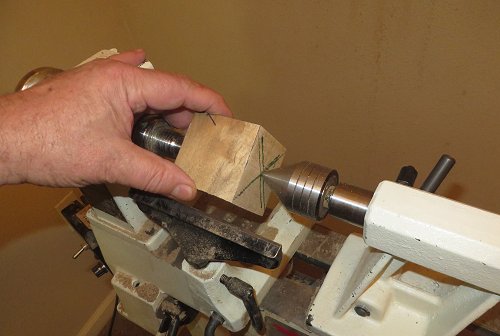
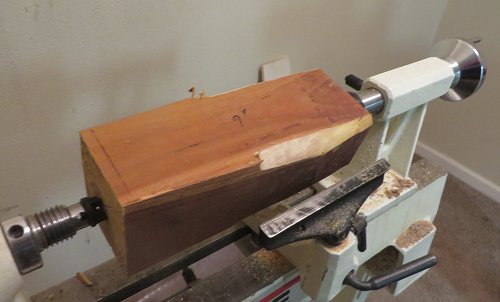
This is a piece of myrtle wood. Myrtle wood is quite easy to turn and is not very dense. Considering that there is going to be a substantial amount of boring going on, less-dense is good.
One side is mounted using one of those pointy chucks that you beat in with a hammer, and the other is the usual live-center.
It is very useful to use something pointy on both ends because it marks the centers and provides a nice divot for Forstner bits.
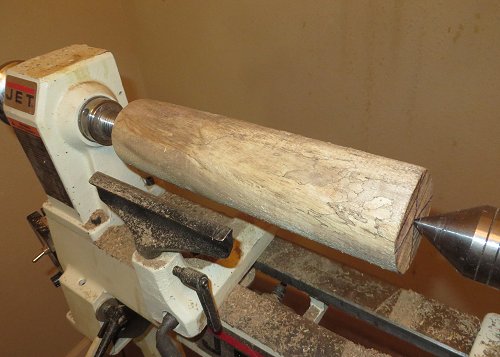
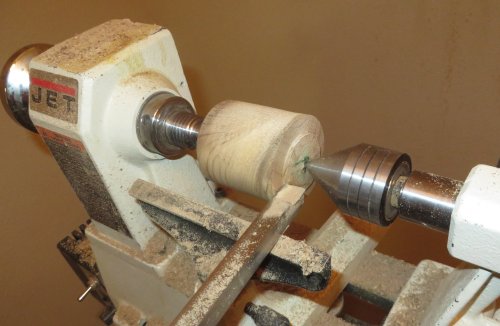
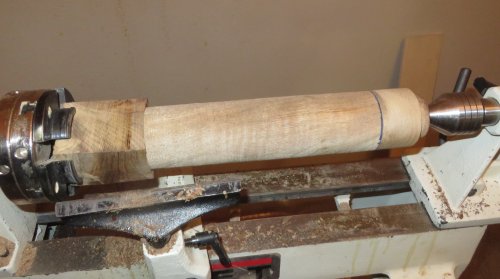
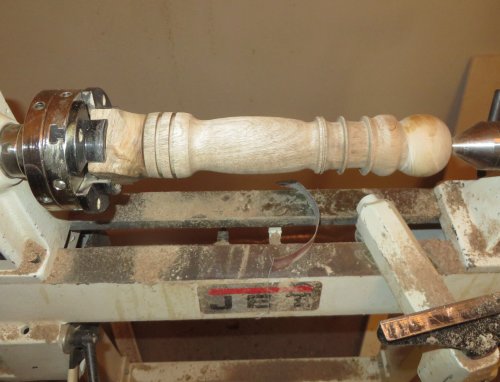
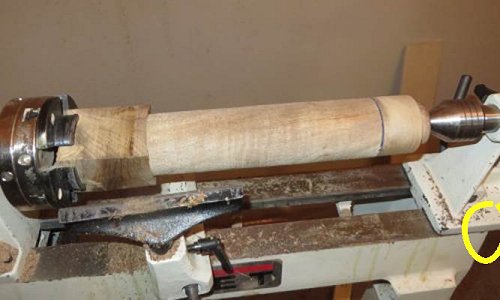
It only takes half an hour or so to get the piece round and believe it or not, this is for the base only.
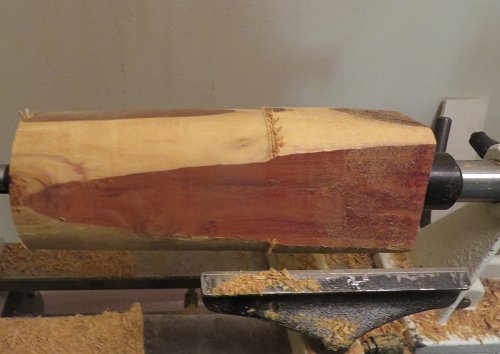
I do like seeing some spalting showing through.
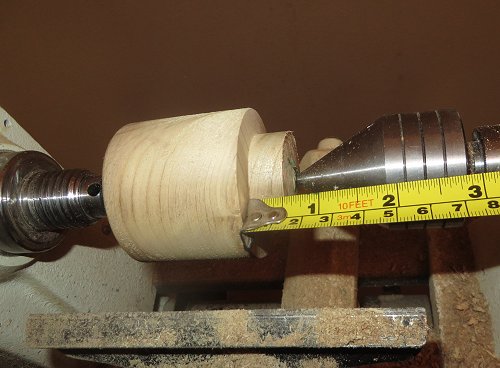
It is a good idea to leave the piece a little long at the outset just in case....
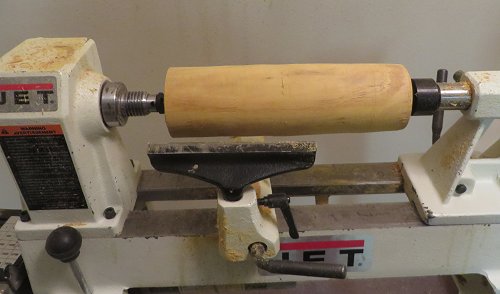
I'm trimming off enough for a tenon on one end.
A few minutes later the tenon is made and the excess is cut off.
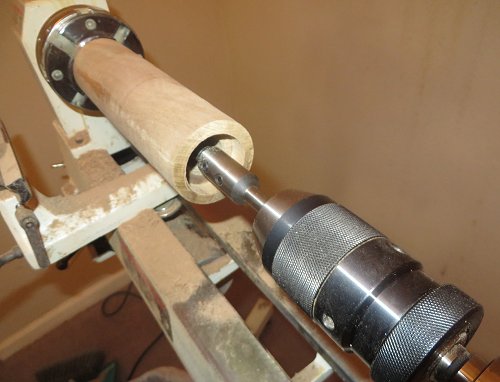
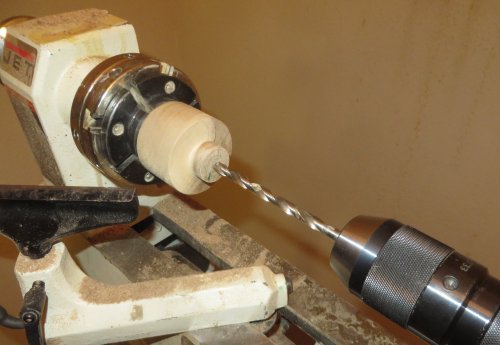
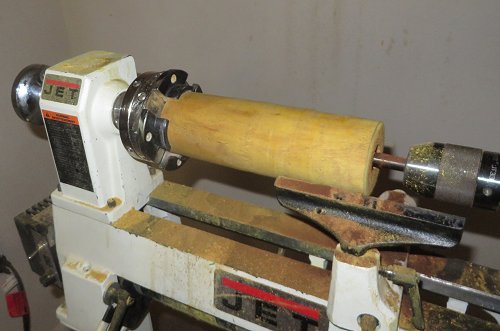
Boring is a bit of a challenge because once the Forstner bit is chucked up, there is not much length for boring.
A 4" extension for the Forstner bit will go more than half way though the pepper mill blank.
Minimum speed on a lathe like this is around 500 rpm, which means it is very easy to smoke a drill bit, and even easier to smoke a Forstner bit. I took a number of breaks to let the bit cool down.
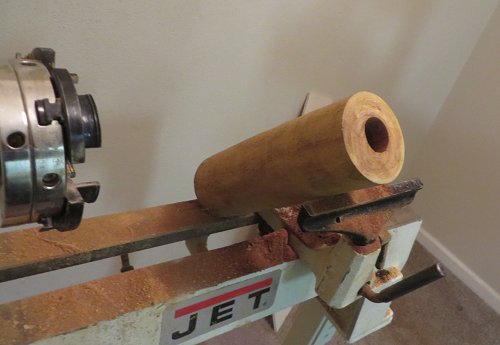
Boring ended up working very well considering the piece had to be flipped once to bore the other end. The match-up was almost perfect!

Now for the pepper mill top....
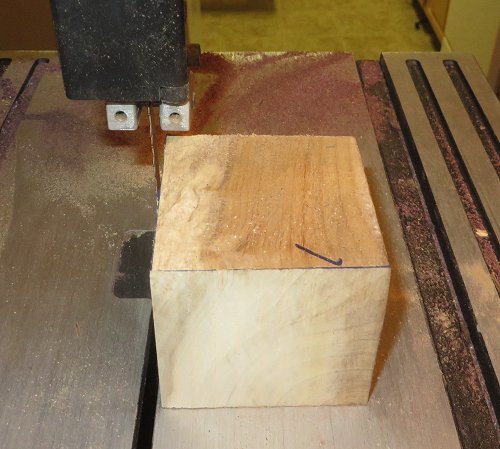
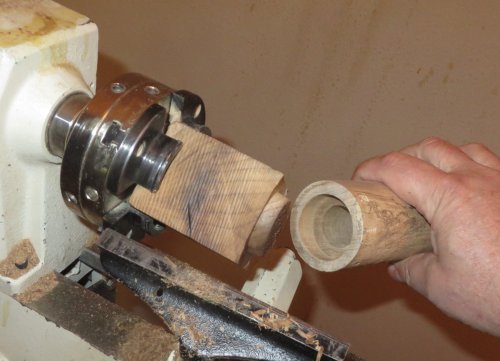
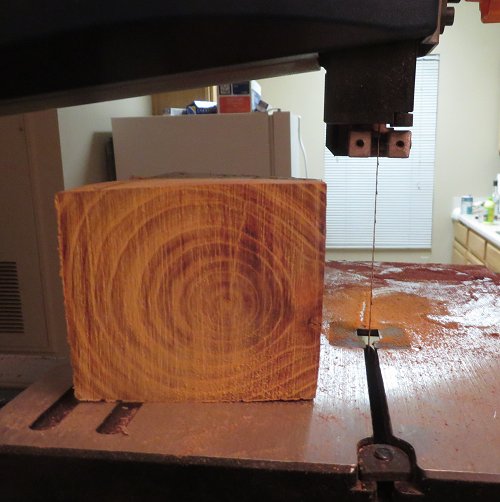
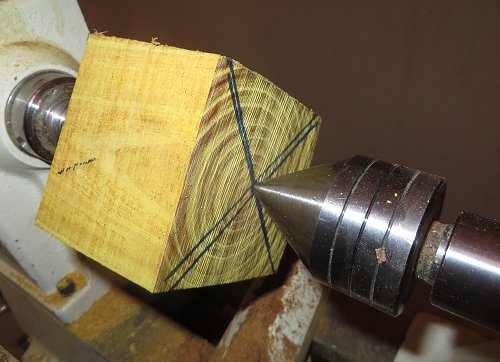
The top I had to cut separately. While it looks square, there is enough room left on one end for a tenon.
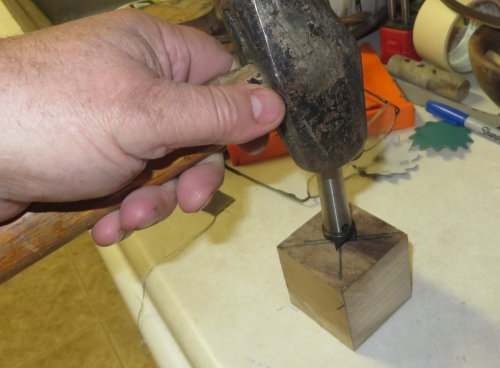
This is the pointy chuck that you hammer in to get a good grip on the wood.
The other end uses the live center.
This won't take long :)
A few minutes later, time to cut the piece which will fit into the pepper mill body.
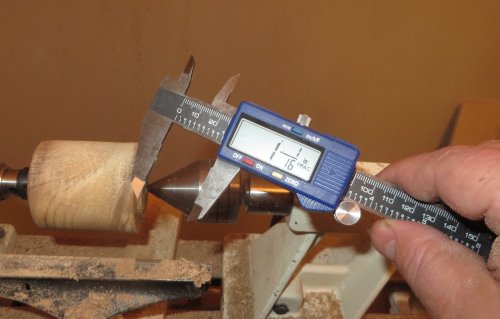
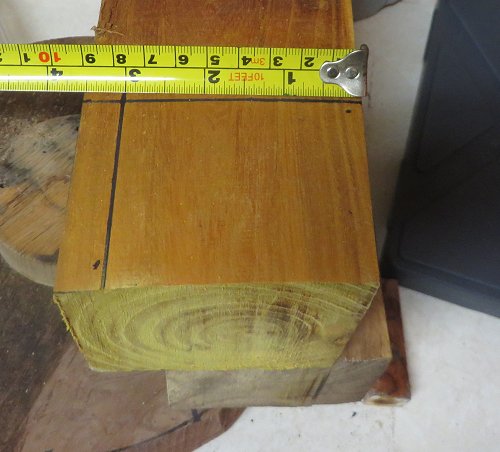
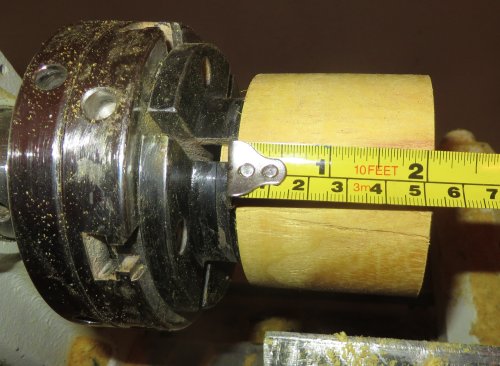
Boy these have come down in price. Digital measurement, English or Metric and it will come in handy for the pepper mill. Measurements need to be fairly exact..
The top needs a 1/2" insert which goes into the body.
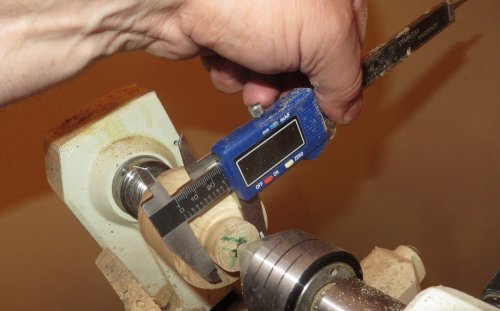
The diameter is supposed to be 1 1/16". Leave it a little wide at first. It is better to end up with a fit that is a bit too snug because you can do something about that. Not much you can do if you have a loose top, except to turn another one.
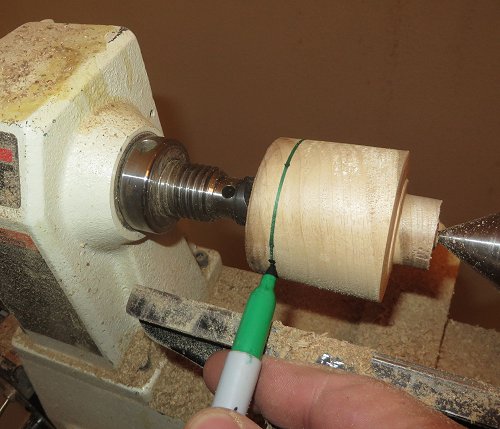
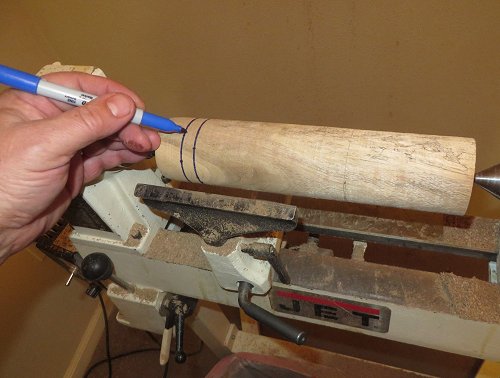
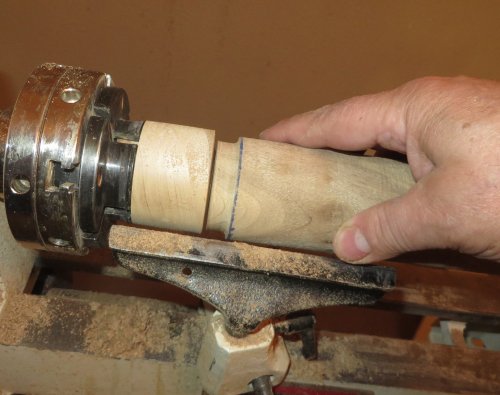
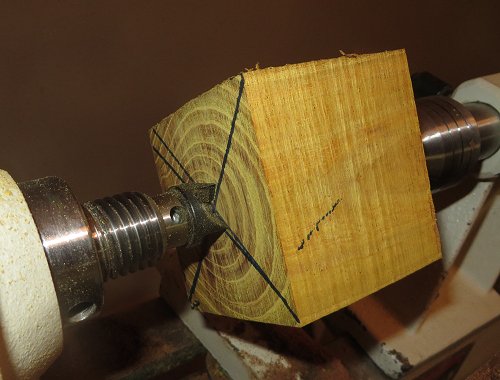
Holding a marker to the wood and rotating the shaft is an easy way to obtain a straight line.
The material to the left of the mark will be turned into a tenon, which will be used to hod the pepper mill top while drilling the 7mm hold for the metal shaft.
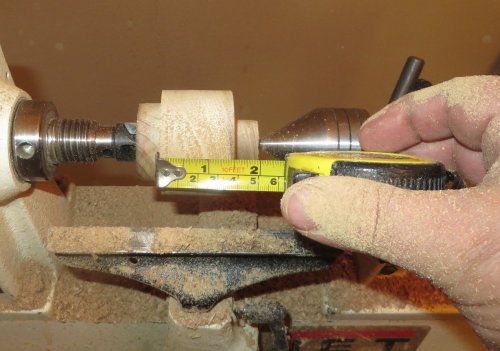
The final mill-top lengh is perfect. How about that!
Flattening out the bottom of the pepper mill top.
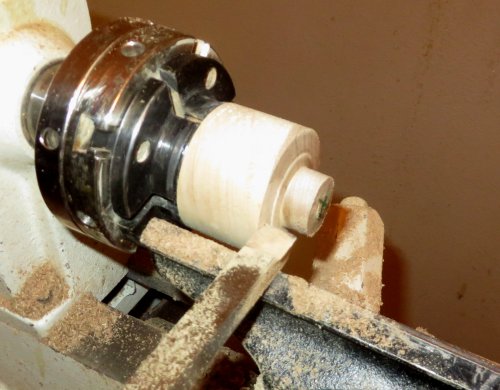
Drilling the hole for the shaft doesn't take much time at all.
A good tight fit!
You may see a little mold when you unwrap the piece, but it is still green and there are no cracks.
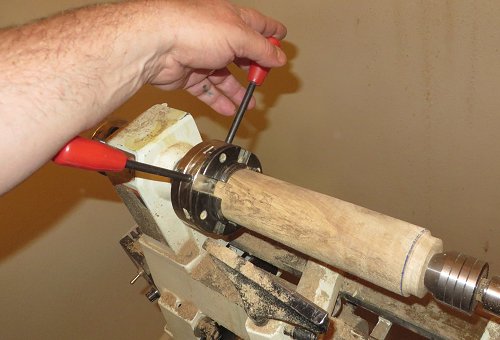
Next, the body is mounted and the piece is cut down to size and the tenon is removed.
Time to assemble the pieces.
The instructions recommend the use of a Jam Chuck, as shown on the left in order to keep a snug fit while turning the mill as one piece.
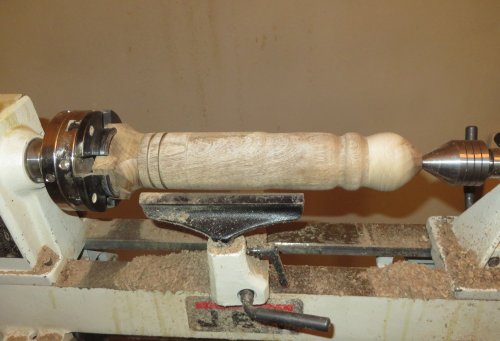
So far so good.
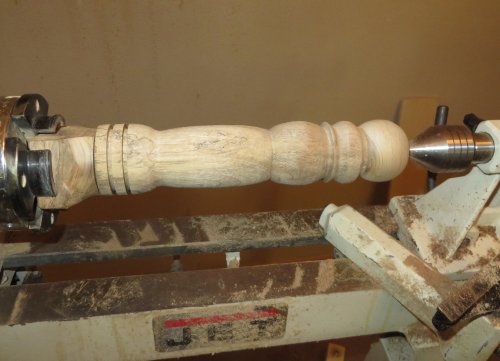
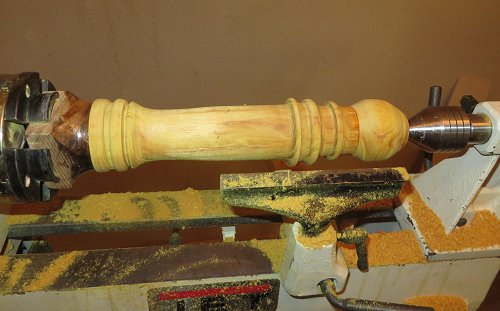
I think I can get a little bit fancier than this...
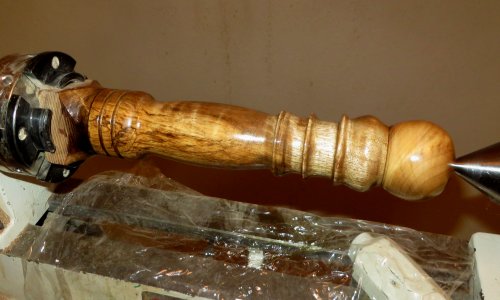
This looks about right. No major hiccups.
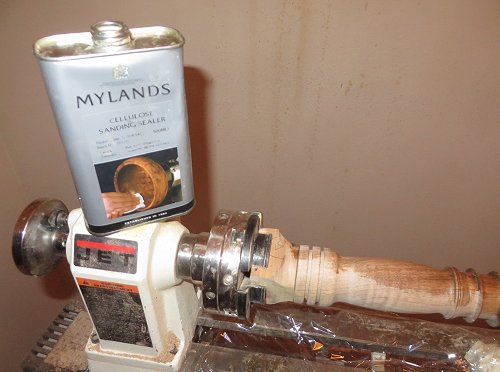
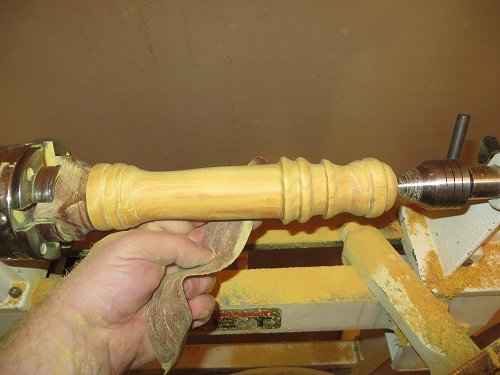
Lately, I have taken to using a Sanding Sealer and it has helped in reducing the amount of finish one normally has to use.
It dries very quickly and one thing....it stinks! Ventilation would be a good thing after applying a coat of sanding sealer.
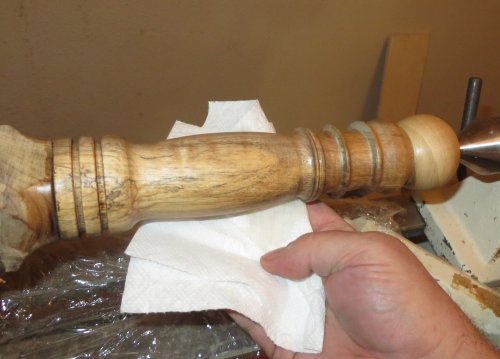
Sealer is wiped on while the piece is still on the lathe and paper towels work just fine for applying the sealer.
The pepper mill was sanded to 400 grit, with a coat of sealer between grit changes.
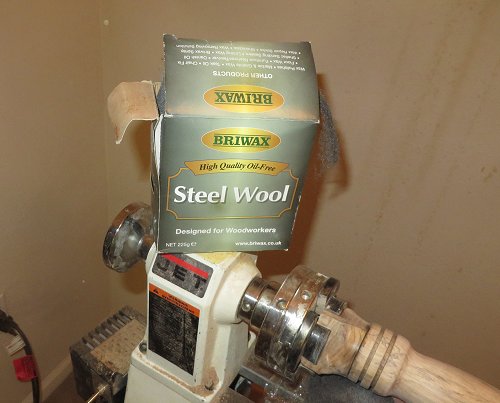
I used a little 0000 steel wool to buff the piece up prior to finishing it.
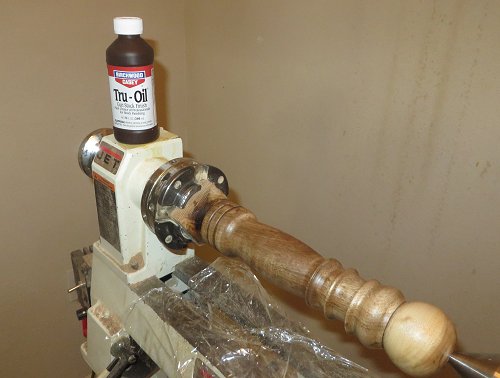
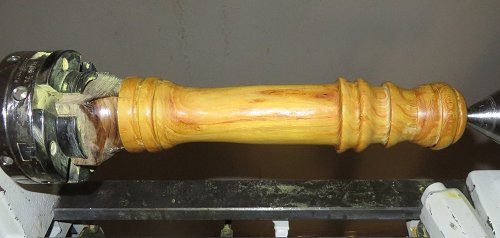
Tru - Oil is one of my favorite finishes and it ought to work well for a stylish pepper mill.
Looks nice!
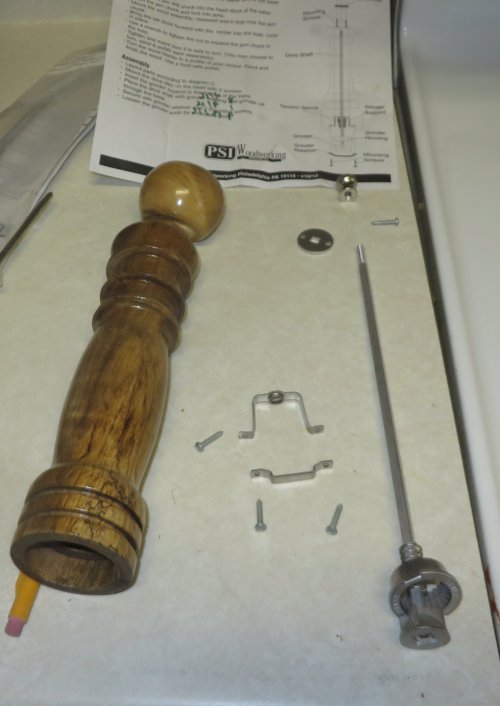
Assembly doesn't take long. The final piece of business is drilling four holes for the grinder mechanism and the rod guide.
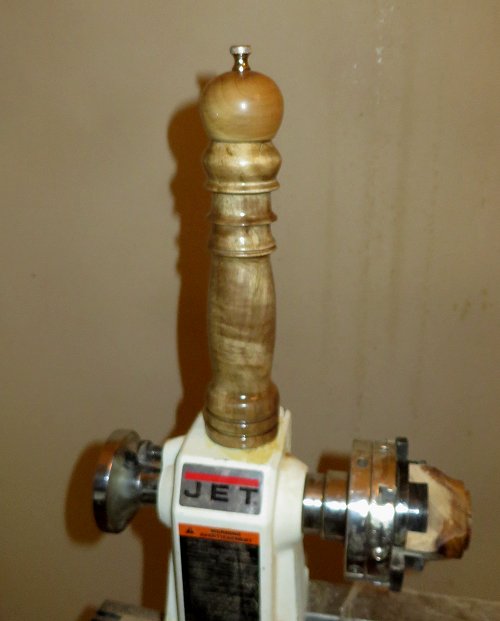
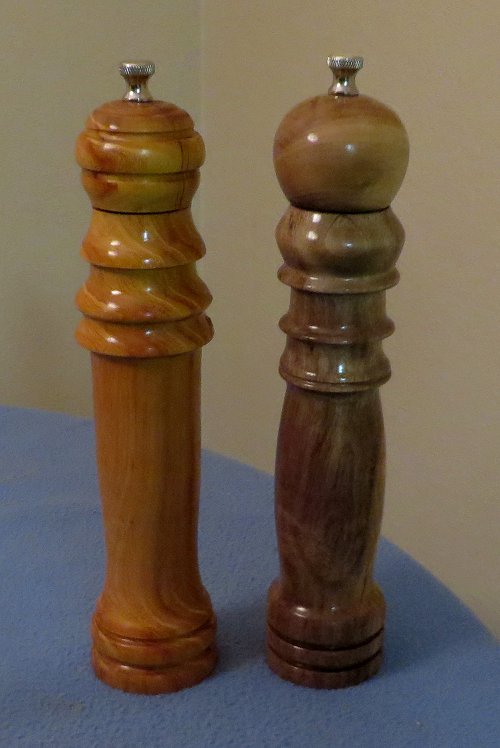
The finished piece. Now if it grinds pepper and the mechanism actually hold up for more than a couple months, we will have a winner!
I bought a spare kit in case I messed up the first one and since I didn't, I have a piece of Osage Orange laying around that is large enough to manufacture on more pepper mill.
This chunk is a ways out of round but on the plus side, Osage is quite easy to turn.
Looks good so far, although I was hoping to see a bit more red coloring.
Boring the holes however took time and the process had to be stopped frequently to let the Forstner bits cool down.
That took long enough............
I had to cut and turn the pepper mill top separately because the mini-lathe does not have enough bed length to support a 10" pepper mill blank........safely.
It is amazing what one can get away with in a one-bedroom apartment (kitchen in the background).
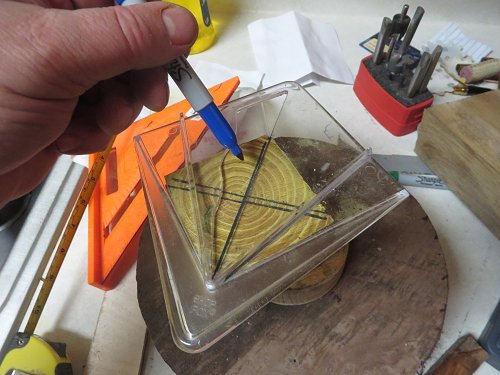
This is a very useful tool for finding the center. Draw a diagonal line from all four corners and then eyeball the center and mark that. Doing it on both ends assists in getting the top well centered when mounting on the lathe.
Pointy chuck on one end and live center on the other.
It only takes about 20 minutes to get the top round, cut a tenon and reverse it. Osage Orange can turn like butter if you go with the grain.
I'm glad I'm seeing a bit more red!
The downside to hedge apple is the dust. Sanding hedge is a great way to dye you clothes and shoes yellow.
More than enough red showing through. I'm happy.
Closing Comments
Turning a 10" Pepper mill on a mini-lathe is iffy. Note the tail stock overhang.
Instructions are here:
This wasn't all that difficult yet the instructions said, 'Difficulty Level: Difficult'
What was meant by 'difficult' is that two or more pieces are mounted and turned simultaneously.
The use of sanding sealer reduces the amount of finish used.
Finding chunks of dry wood 3" wide and 8" long was something of a challenge, and I think sellers on Ebay charge way too much for pepper mill blanks and not many of those are much more than 2 1/4 - 2 1/2" in diameter.
What I plan on doing in the future, is pick up some cheap bowl blanks the right thickness and cut the pieces to size,
That would be much more cost effective.
I think I have a couple heavily spalted hackberry bowl blanks with some cracking going on.....
I might try a couple of those smaller, combo salt and pepper shakers next.
Have Fun!