They say your journey down the learning curve is not complete until you impart some of that accumulated knowledge to someone else.
The someone else in this case is Leonard, a co-worker from Oklahoma who expressed an interest in pen turning........
Why doesn't it surprise me that an Okie would be interested in wood turning.
More on that later.
Anyway, I invited him over and told him to stop off at the Woodcraft store first and pick up a couple appealing pen kits (one as a backup) and some accompanying blanks.
I should have been a bit more specific, I was figuring he'd come back with a couple Slimline starter kits.
WRONG........
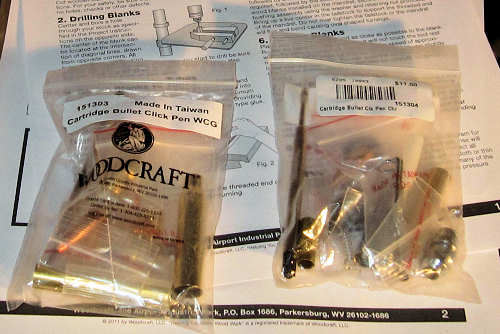
This particular set is not one I would recommend for anyone. Save yourself some grief and use the sets from Penn State instead because these sets are not cheap at around $12.00 a set and the kits from Penn State in my opinion have much better twist and click mechanisms.
You can work around many things, but not faulty mechanisms.
However, I elected to keep my mouth shut instead since this was after all a class in beginning pen turning.
I also figured Leonard would bring back some basic wooden pen blanks - something suitable for the beginner, or maybe a couple more figured wooden blanks.
WRONG
Leonard came back with four highly figured acrylic pen blanks....and the colors?????
Not exactly my first choice for colors at all, but then again....these aren't my pens.
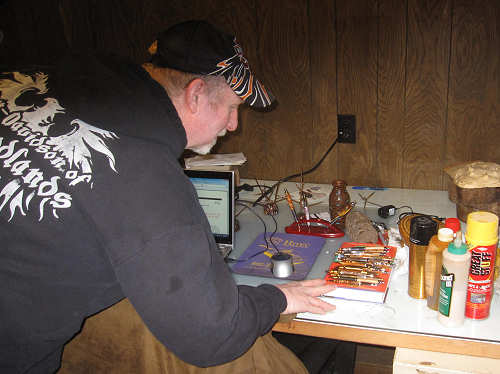
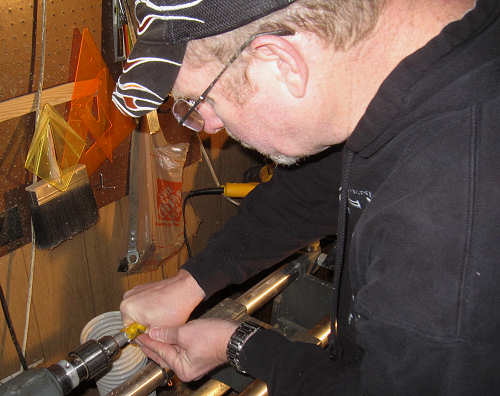
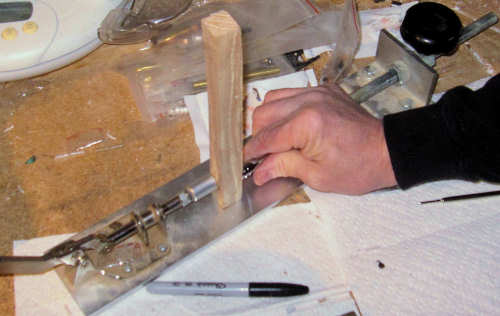
The lathe is set up for drilling the blanks and the warning is issued about easing through the end of the blank and not breaking out the plastic by being too aggressive.
Another thing about these particular pen kits is that quality control on the brass tube diameter was not that good. In the past some of them were too wide, which meant re-drilling to a slightly larger hole than called for (actually, this is often a practical idea).
One down, three more blanks to go. So far so good.....
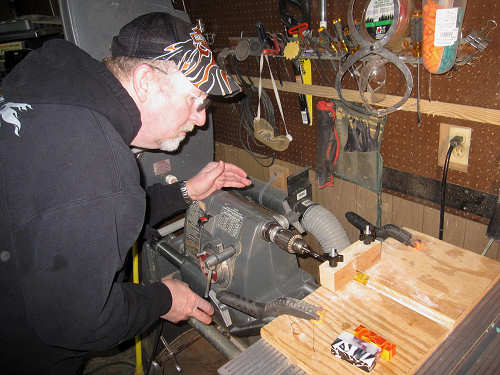
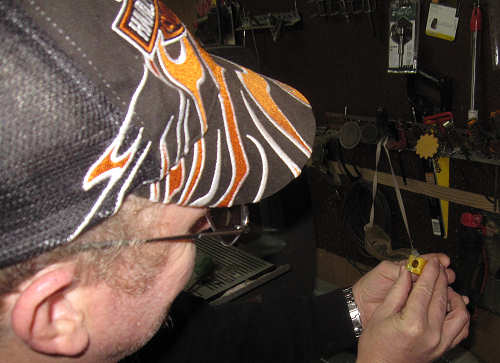
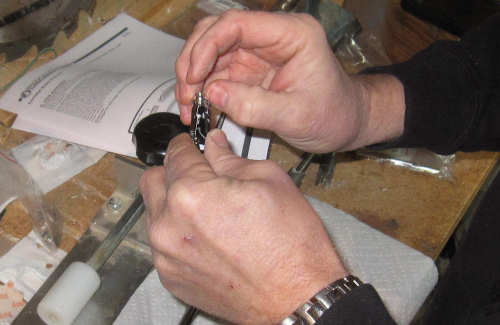
Here Leonard is roughing up the brass tubes and I notice that he appears to be left-handed which for me would be a big plus.
As luck would have it, he is. But still,,,,,,,,,,,multi-orange, multi-yellow, cheese cake, and a black and white blank for a bullet pen????
.......I'm still keeping my mouth shut.

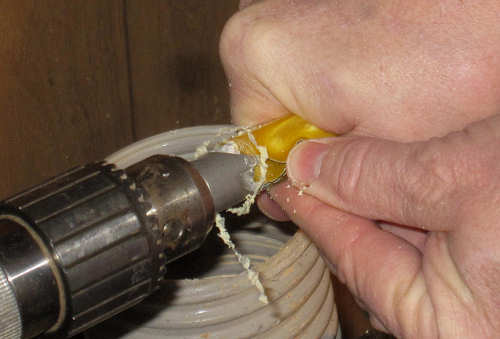
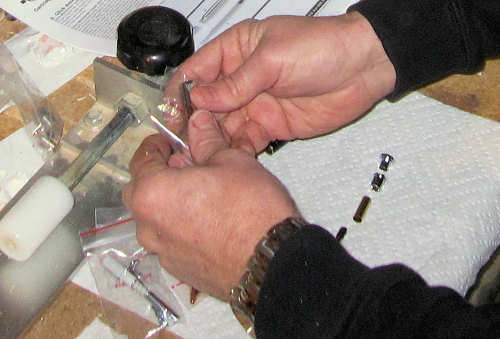
I suggested Leonard choose his two favorite colors and we'd go with those. Here, he is ensuring the brass tubes won't bind before full insertion in the pen blanks.
I've got a couple spare tubes just in case things don't exactly go as planned.

Sometimes if the fit between brass and blank is too tight, the CA glue actually peels off the brass as you insert the tube, leaving you with no glue and a wandering tube.
This is a good reason to drill the hole a bit oversized - you can get more glue in the blank, and you can use medium viscosity CA glue as opposed to the thin. It's a little cleaner.
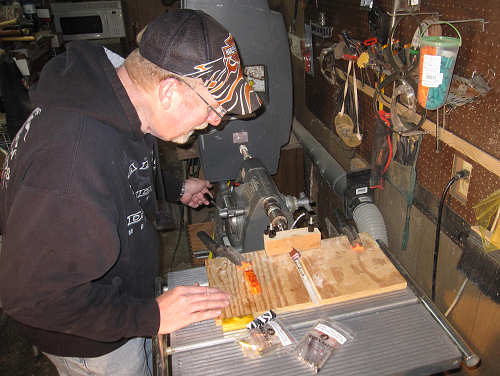
Using a band saw to trim off the excess means the less material you have to remove with a pen mill.
Introducing the pen mill. The mill flattens the ends of the pen blanks.
The blanks should be milled down to the point that you see a shiny brass lip around the tube.
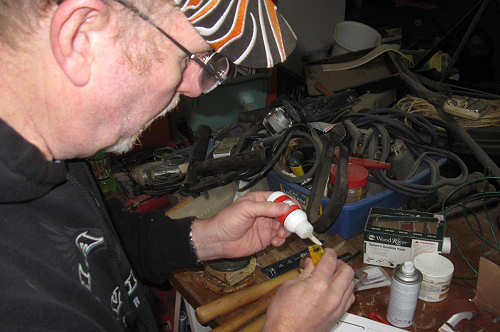
Add some thin CA glue to the blank ends. My theory is that it is just as important to do this procedure with plastic as it is with wood because I think sometimes you have tiny stress fractures which cause problems later on unless they are sealed.
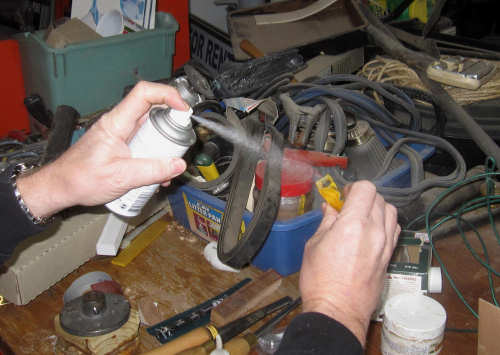
We need to use some accelerent on the ends to speed up the process. February here has been an amazing month. Turning pens in February usually never happens.
Use the pen mill once more to lightly square off the ends after the glue dries.
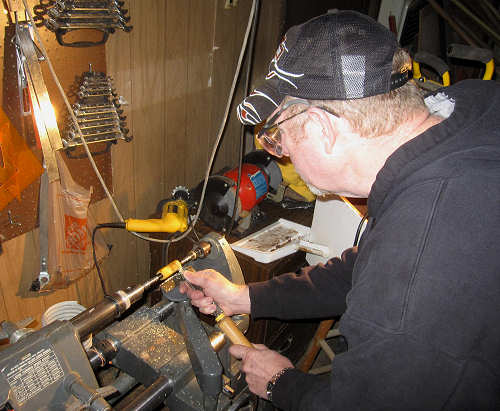
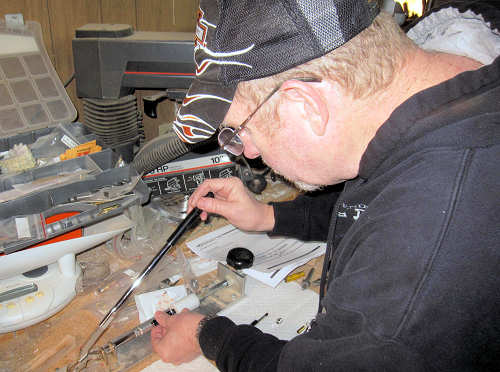
The reason I am a little nervous about turning acrylic blanks the first time out of the chute is that Leonard has never used a lathe, is a total newbie and I turn plastic at high rates of speed for reasons discussed in great detail on other pages.
We spend about 20 minutes going over proper setup, distance, tools and general practice, and why I would have preferred wood the first time out.
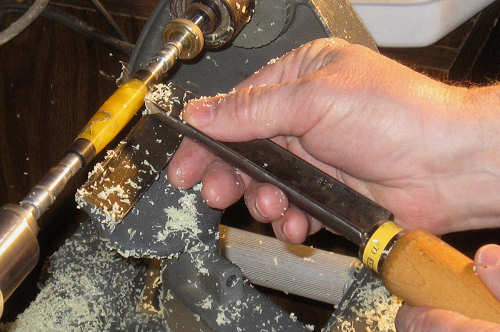
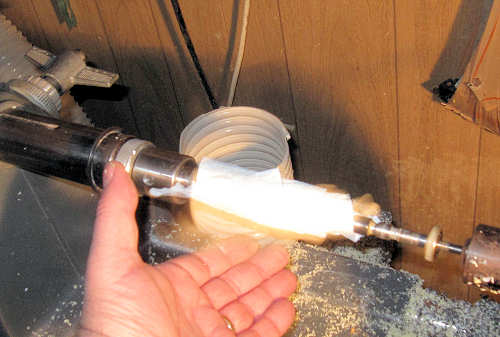
I started this grand experiment by knocking off the edges and high points myself, explaining as I went along. I turned it over to Leonard a couple minutes later.
This is proper positioning of the tool and rest in relation to the turning piece. Leonard is learning to lighten up a little but he's kind of sweeping at the ends, slightly hanging the tool up and that can lead to bad breakout if it persists.
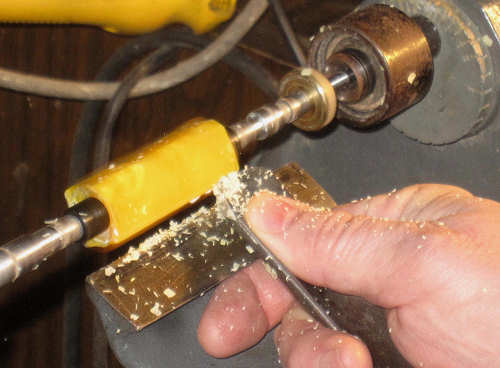
Other than that, look at those flakes! The is exactly what you are looking for. No chipping and the piece feels pretty smooth. Still got a long ways to go though.
Leonard is doing amazingly well. It's taking forever but no major mistakes at all.
All the right things are still being done. The tool rest is being adjusted as more material comes off the blank, The tool is still sharp and the angles all look good.
I also had to ask once more if Leonard was sure he had never done any turning before because it was going that well.
Nope.......never used a lathe.
I think there is probably some real latent talent here.
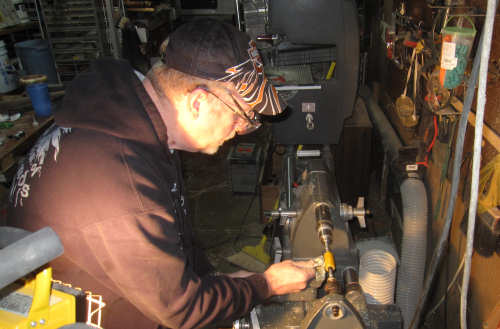
Ok. This looks good. We stop the lathe and have a 5 minute discussion on how to turn flush the blank with the bushing and not explode the blank. There are two basic ways to do this and Leonard opts to go down hill. Not a bad choice.
It also helps to raise the guide a bit higher which helps prevent taking too much meat off and that is critical at this point.
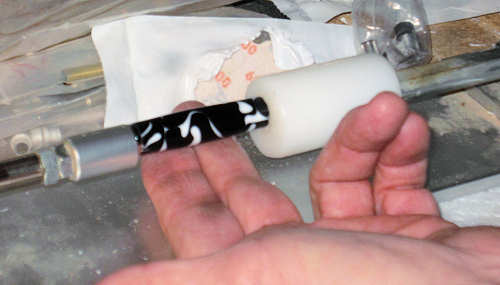
You probably noticed the yellow blank turned into a black and white one and no, the yellow blank didn't meet disaster.
In the interest of saving time, I took over at that point and finished the blank using my custom CA glue finish, explaining as I went. You don't really have time to stop and talk in any kind of detail when using CA glue and expect a quality end product.
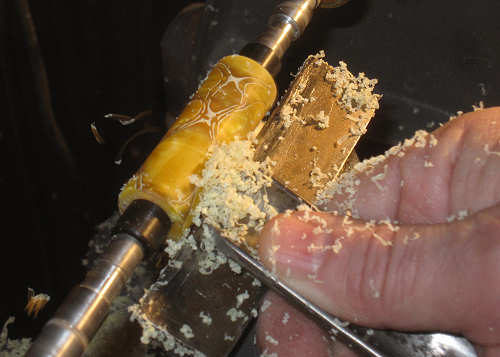
Once the yellow blank was finished, I quickly turned the black and white blank down to approximate size and then turned the operation back over to Leonard, whose job was to complete the turning, do all the sanding and apply the finish.
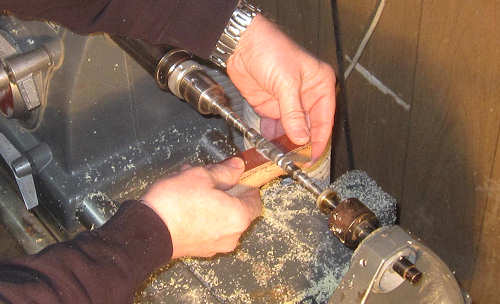
Here, Leonard is knocking off the high spots with 150 grit sandpaper on a backing board.
He needs to keep moving in order to prevent any deep scratching.
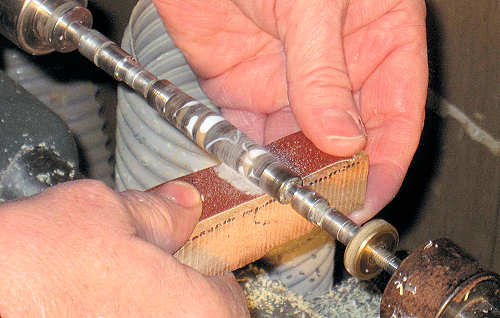
He continues working up through 600 grit, no backing board used.

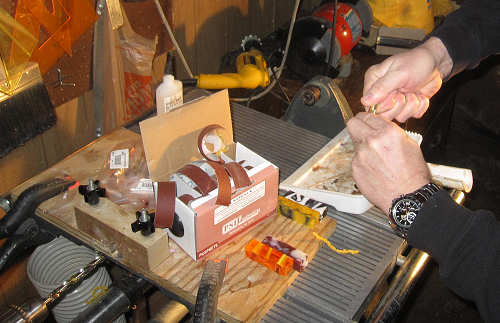
Moving up a few hundred grits, EEE is applied using a paper towel, which provides an approximate 1500 grit finish.
The blank was lightly coated with medium CA glue and EEE rubbed into the the glue.
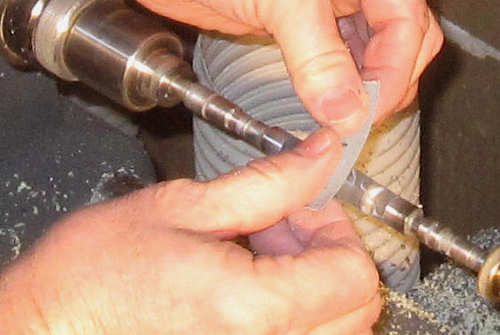
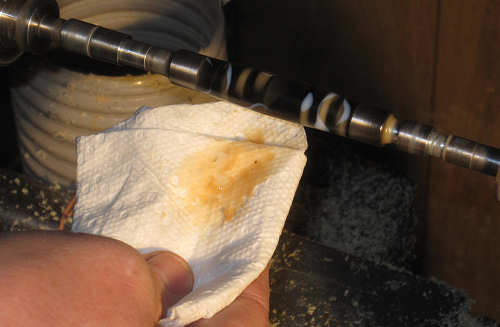
Here, the final finish is begun where the CA glue is applied atop a layer of EEE on a paper towel and then that is rubbed into the piece.
One thing about CA glue, is it is sticky and you do have to hang on to the paper towel or this happens. If that's the worst that occurs during this operation, then I have no complaints at all.
Ending Lecture for the Day:
"Pen Assembly - The Last Chance to Finally Screw Up Your Pen."
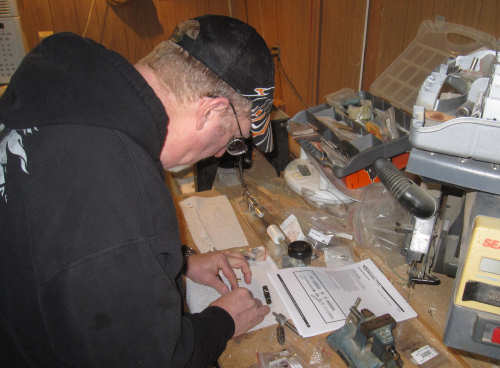
Emphasis is placed on actually reading the instructions, which can be anathema to males in particular.
However if you try to wing it with this particular pen by not reading the instructions,
I can virtually another trip down to the Woodcraft store for a new pen kit.
Lay out the pen parts per the instructions on PAGE 2 if you are using the click style pen.
Here's a spare set of instructions.
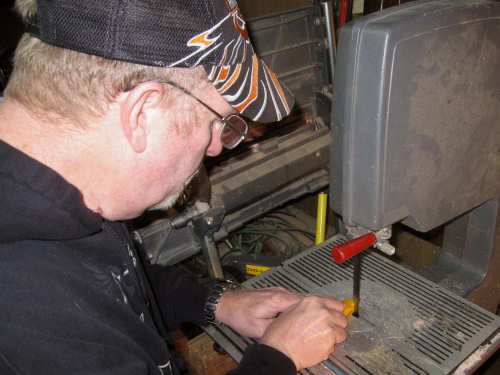
Keeping parts centered using a pen press can be a challenge with some of the pieces in this kit.
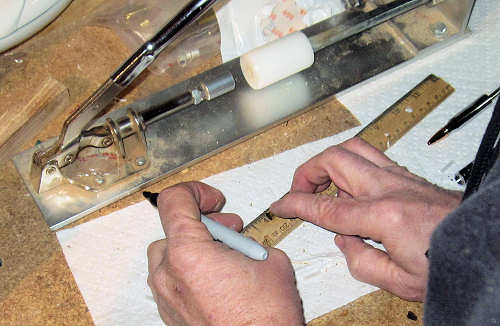
Here is the critical 9/16" measurement being made.
That said, I'd stay away from this style of bullet pen in the future.
Well I'll be.......the silver clip on the black and white blank actually looks pretty good.
Who would have thunk that.....
Using a wood block where fine threads are involved is always a good idea.
Using a chamfering tool to ream out the brass before you start pressing pieces into it is an even better one.
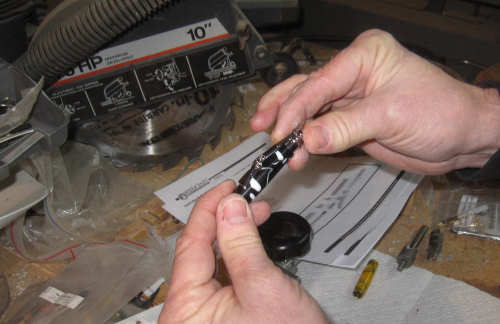
Testing the Click Mechanism for proper operation. This mechanism I think is a bad design.
I'm amazed this turned out so well and if I wished to turn more click-style pens, I would go with the ones from PenState.
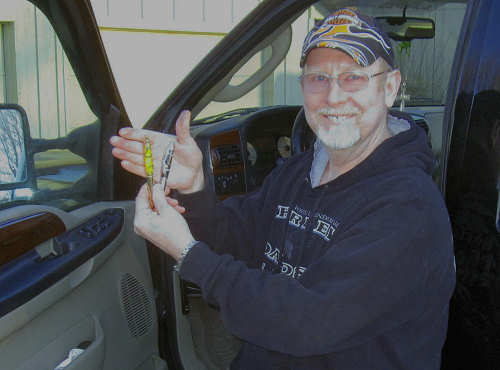
Not bad at all, Leonard.
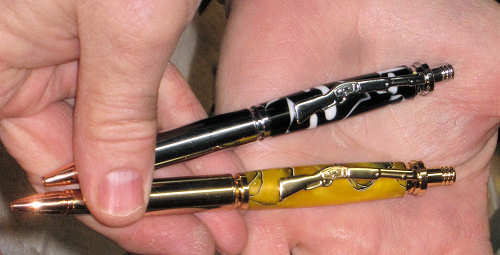
Not bad at all and to my disbelief, that yellow actually looks good with the gold. So much for my previously held views on color coordination.
Closing Comments
I probably get more correspondence from Okies than from any other state when it comes to wood turning and they produce some fine pieces. Must be something in the water down there.
I suspect if Leonard chooses to continue down this path then in the Okie tradition, it will be him giving me pointers a few years from now.
Good Job.
~Dan