
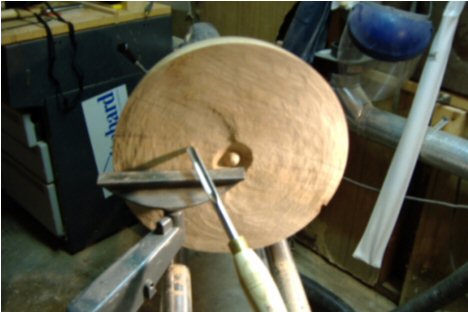
Trouble in the Wind: Look at what happened to my nice flat surface!
When working a bowl you work from the center out. I started cutting the center with the bowl gouge shown here.
I tried to keep the correct angle and pulled the tool rather than pushing it.
I started picking up some vibration.
Notice how the bowl surface no longer looks smooth and there appears to be a noticeable gouge in the surface
at the top of the bowl.
I am still not sure what happened to cause this.
I think I am going to have to go with plan B.
I also noticed a chip in the top of the bowl located at about the 5:00 position on the photo.
I looked closer and it was a knot that cracked and fell out.
After spending a few minutes I located the missing pieces and reinstalled same. The wonders of super glue.
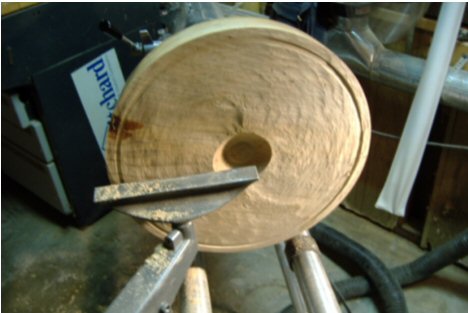
It looks like there is a wobble and there is not much I can do about that.
I think the bowl is really too heavy for the machine. Notice how some of the surface looks smooth and the rest is dented.
I decided to move to plan B.
I used the parting tool to find where the surface would be flat again and surprise, surprise – it appears to be knocked
out of round or something.
I ran my fingers along the outside while it was spinning. It felt ok so I suspect it is a weight issue.
The darkened area on the left is the super glue used to hold the knot in place.
Plan B is to cut a ways into the bowl using the parting tool and then use the rouging gouge to remove the rest
of the wood and work my way into the bowl that way.
Of course all the literature says not to use a roughing gouge on a bowl…..
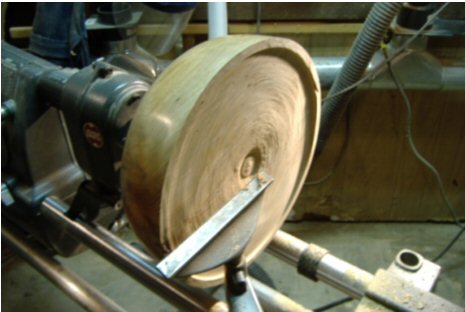
I am going to leave about ½ inch on the bowl wall and gradually work my way in using the left-handed alternate method.
The ½ inch wall thickness can be reduced later when some of the weight is removed.
I think what is going on is the heaviest part of the bowl is the farthest away from the lathe so I think the bowl
is pulling down a little. The only way to remedy this is to remove enough wood to shift weight bowl towards the headstock.
If my theory is correct the cutting should smooth out the more wood I remove.
This is not the way you are supposed to do it but I have little choice.
It would also help if I could increase the lathe speed but I cannot do that without the tailstock support.
The wood is easier to turn this way but it is going to take considerable longer.
10/20/2005
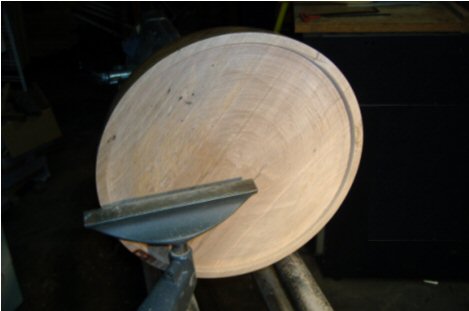
I started out the day relatively well and continued removing wood from the previous day. The surface is smoothing out again.
I may have been premature in my assumption that I knocked the bowl out of round.
The object here is to keep the surface flat. I am using one of Butch’s tools at present.
The tool is a bit more forgiving than the one I am using.
I discovered something else. The base of the lathe is actually interfering with my being able to keep the gouge
at the proper angle in certain spots.
What I actually need for these large bowls is the ability to turn the lathe motor out away from the base
so there are no obstructions.
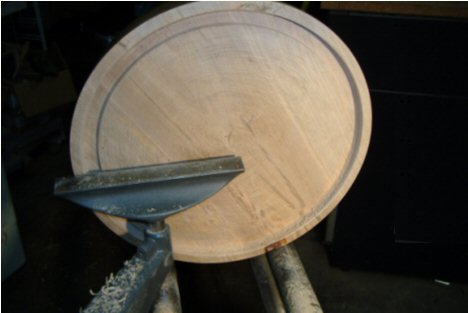
Using Parting tool to cut another 1/4 “ groove.
Well, Plan B is working fairly well so far.
I am ¼” into the bowl and ready to go another ¼”
I begin by using the parting tool and remove ¼” of material from the circumference. I do this so that I do not have to work
the gouge too close to the bowl edge.
I left ½” on the bowl rim in case I lose control of the gouge. It is harder to break a ½” chunk out of the bowl lip than
if the edge was thinner.
I have some experience in this area.
The plan is to remove the remaining material and start tomorrow with a flat surface.
The lathe speed is increased to 200 rpm which is helping reduce the tool chatter.
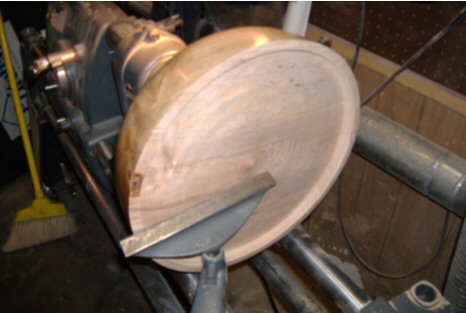
I ended the day ½” into the bowl. There was not as much vibration and the increased speed helped.
The surface is flattening out more.
I ran the lathe to 300 rpm and it seemed to be ok so I will start out tomorrow at that speed.
Butch came in and noticed the wobble. He thinks the bowl is probably heavier on one side than it is on the other.
A large knot or denser wood in one area could be causing the problem
The wobbling should subside the more wood is removed.
I spent only 1.5 hours today. That was enough stress for the evening.
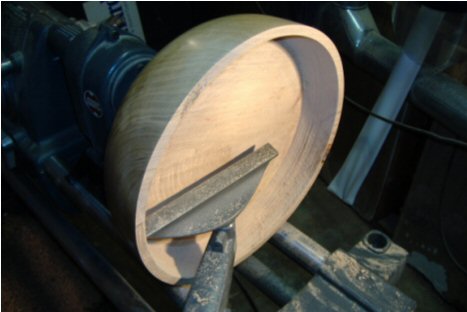
Three hours later I made considerable inroads
Two inches down and three inches to go. I will have to change tool rests after this because this is about as far as
this rest will go into the bowl.
There are rests made specifically for bowls. I picked up one so it should help.
I might swing back by Wood Crafters and see what else is available.
Looking at the inside of the bowl, I can see spalting all ready so the interior should look quite nice.
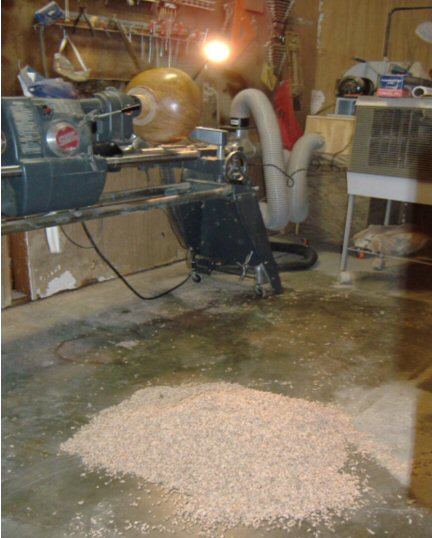
Another impressive stack of chips.
10/24/2005
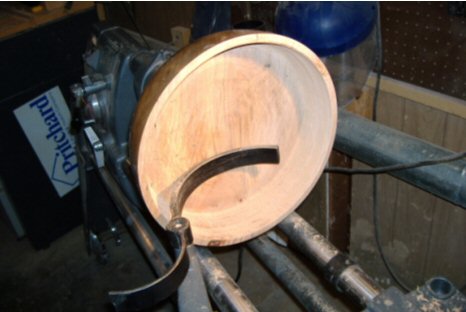
Progress has gotten to the point where I need to switch tool rests. This type of rest is used for bowls.
There is a minor problem, of course.
I originally cut the sides straight and the bowl bottom flat. This is not conducive to using a curved tool rest.
I am in the process of working from the center out, scooping and making a concave surface so the curved profile of the rest
can be used with the eventual curved profile of the bowl.
Work from here out will be slower. The goal is to get the entire bowl to ½” wall thickness.
I figure from there I can safely trim it to 3/8” thick and then that will leave me with another 1/8” to sand and fine tune,
which will make it 1/4 “ final thickness.
10/25/2005
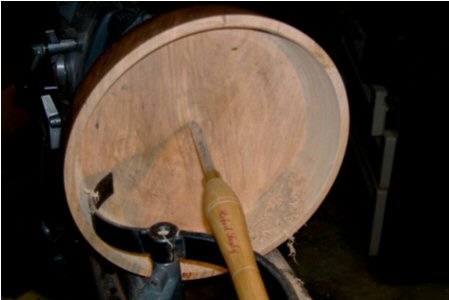
It really helps to keep your tool sharp. After one hour of not really getting anywhere it dawned on me that the tool
was dull.
I made significant progress with a sharpened tool and got over 3” into the bowl.
Pictured is a parting too, which is used to remove the piece from the lathe. It has other uses.
I use this tool to remove material from the sides of the bowl and to dig down into the bowl first before using
the roughing gouge.
This provides a degree of safety in protecting the bowl sides from the inadvertent slip of the tool.

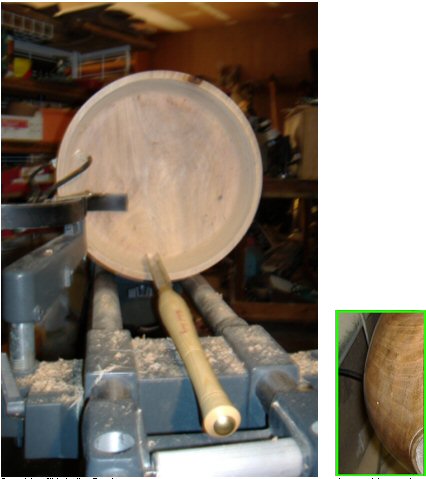
Day 11 after a brief hiatus, got me 4” into the bowl with about another inch or so to go.
The tool attached to the upper left side is a depth micrometer. It is currently set to ½”.
I am going to have to get a larger one to get the bowl bottom correct.
I am at the point were I am making the transition to angling in towards the bottom and
I definitely need a gage for this or I may end up punching a hole in the side of the bowl
where it curves in towards the bottom.
11/02/2005
I did some measuring and figured that I am averaging ½” a day hollowing out the bowl.
It is looking like I have another ¾” to go to get within ½” of the bottom.
Once I have that I need to work on getting the overall bowl thickness to ½” and that may take a while.
I needed to purchase a different caliper because the one available is too small so off to Woodcraft again.
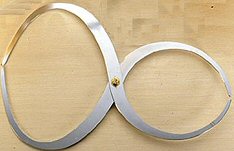
This is a bowl caliper for larger bowls and this bowl is a large one. It is a double ended caliper so when the caliper
is placed on a section of bowl, the other end gives you the measurement.
I saw a picture where a guy taped a small ruler to the other end which was a pretty good idea.
While I was down at Woodcraft I talked to one of the seasoned turning pro’s about my problems turning down the inside
of a bowl left-handed.
He had two recommendations:
1. Reverse the Lathe.
2. Learn to use the tools right- handed.
He also said trying to use the tools left handed and mimicking a right-handed person is a recipe for disaster.
……….Tell me about it.
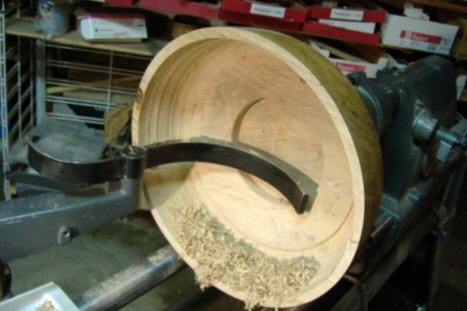
Day 13 started by cutting in the bottom using one of my favorite tools – the parting tool.
I figured I had about ½” in depth left to cut and I needed a 6” bowl bottom so I started from the center of the bowl
and worked my way out to the planned diameter, which actually went fairly quickly.
After that I started using the roughing gouge to remove enough material to blend in the bottom with the sides.
I had to switch tools because the angle was getting to severe for the gouge to Butch’s more user friendly gouge.
The goal tonight is to get enough wood removed that I can start using the calipers where the bowl walls begin angling
in towards the bottom of the bowl, which I will keep at until my hands get tired.
11/04/2005
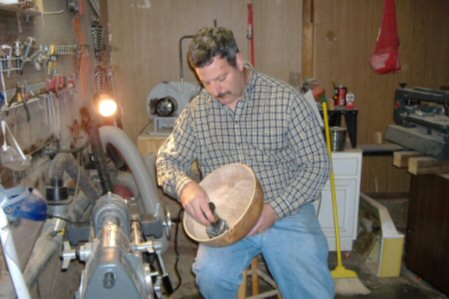
The bowl inside has been cut to diameter. I opted to go with a hand sander rather than using a tool on the bowl wall.
I am using a combination of hand sanding and sanding using the lathe.
The object here is to get it smooth enough to fill in bug holes, cracks etc.
This nifty little tool is the Sears Craftsman 3D sander.
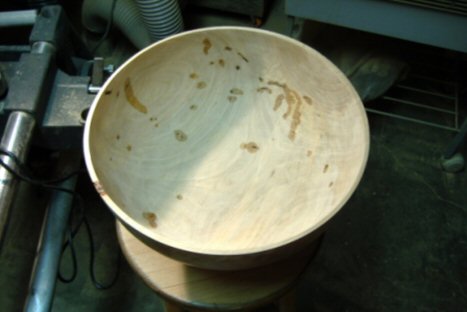
Day 14
– Filling in Bug Holes.
The dark spots in the
bowl are areas that are filled with sawdust and super glue.
This needs to set for a day before continuing on.
Another thing you can do is fill the holes with turquoise or other
material to give it more character.
Since this is a salad bowl there is not much sense in doing that.
I squirted one shot of super glue into the bug holes and on the spalted
areas on the exterior to seal
the wood but other than that left them as is.
The tung oil should seal everything else. It is a fairly heavy
penetrating oil and must be applied in thin coats over time.
Applying too much at one time results in waxy looking bubbles which is
excess tung oil drying on the bowl surface.
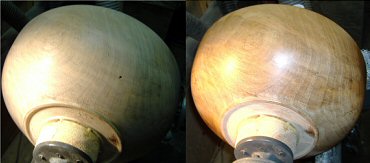
Day 15
– Outside Finished with and without Tung oil
The outside of the bowl
is finished. The first coat of tung oil has been
applied.
This is the permanent finish and will require several coats.
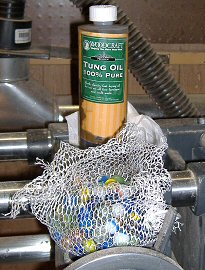
Day 15 – Tung oil
Tung oil comes from the Chinese Tung Tree and has kind of a nutty smell. In its pure form it is food safe.
The marbles are for displacing oil used from the bottle.
The oil polymerizes (hardens) when exposed to air so any air in the bottle will start the hardening process.
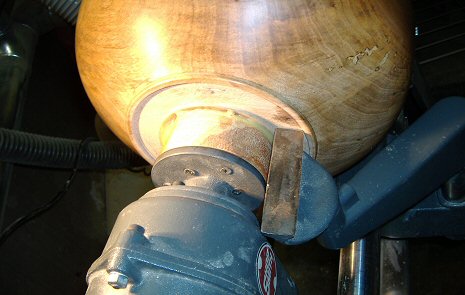
Day 18 – Set up to part bowl from Sacrificial Block
Three coats of tung oil later, the bowl is again mounted on the lathe and the parting tool is used to cut the bowl
from the sacrificial block.
A saw is used finish the job.
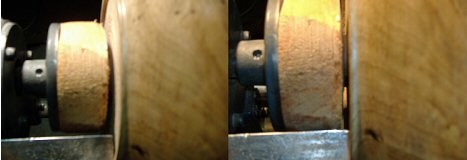
Day 18 – Part bowl from Sacrificial Block
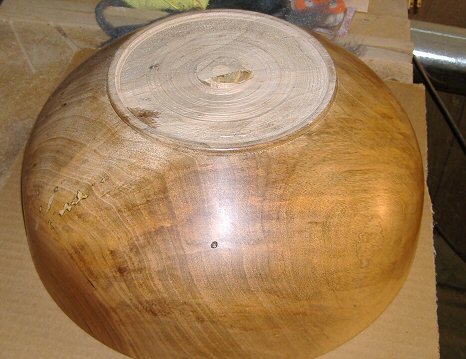
Day 18 – Sand the bottom and finish
Now all that needs to be done is sand down the bowl bottom, sign the piece and apply a coat of tung oil.
I use the little 3D Sander to smooth out the bowl bottom, which takes an hour or so.
Notice the lighter colored ring in the center of the bowl.
This was where the dowel was glued into the drilled out hole for extra support.
I hope I got the math right because this in theory should sand out.
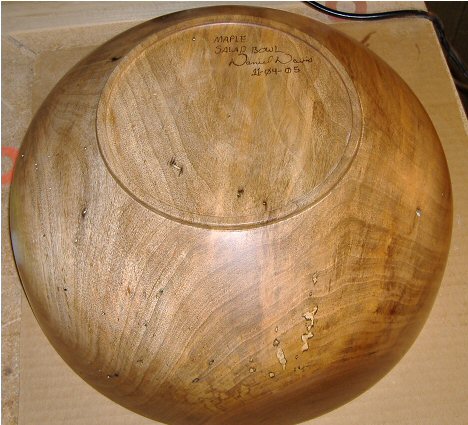
Day 18 – Sanded, Signed and Finished
Sanded, Signed and Finished!
The math was right. The dowel sanded out and it all looks pretty good.
The bowl needs to dry for another day and then I will bring it inside.
The tung oil needs a week or two to harden now.
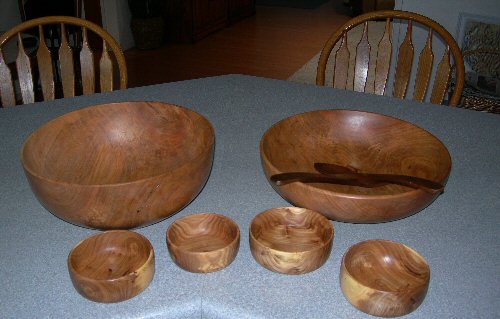
The Salad Bowl Set
Looks like it will make a pretty nice set. The large bowl on the right was my first try.
After that I changed my bowl turning strategy.
