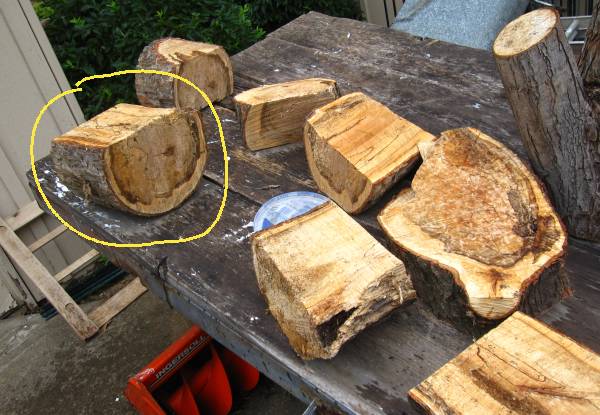
A good sized branch fell down on top of the neighbor's garage and these are the salvaged pieces. Most of these are too far gone do much, if anything with but the one circled in yellow has some possibilities. Still kind of pithy though.
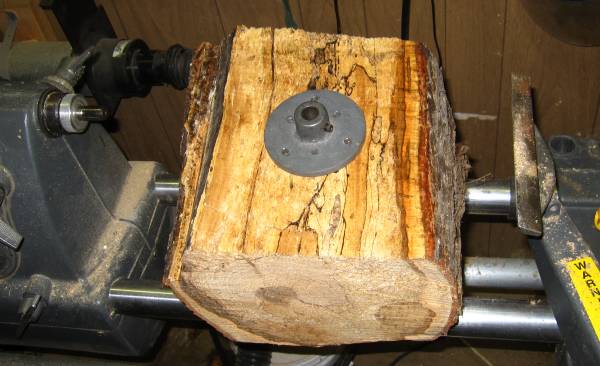
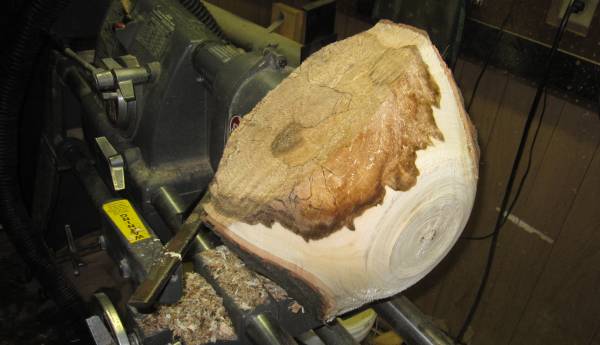
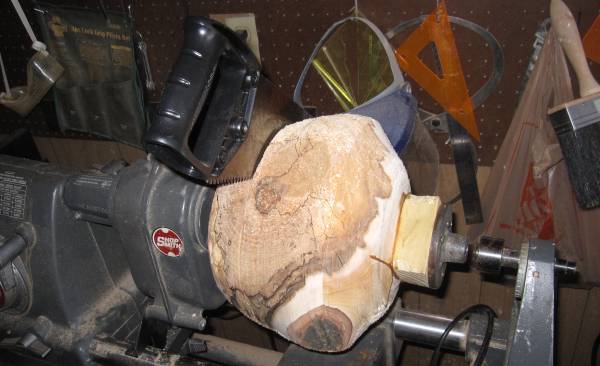
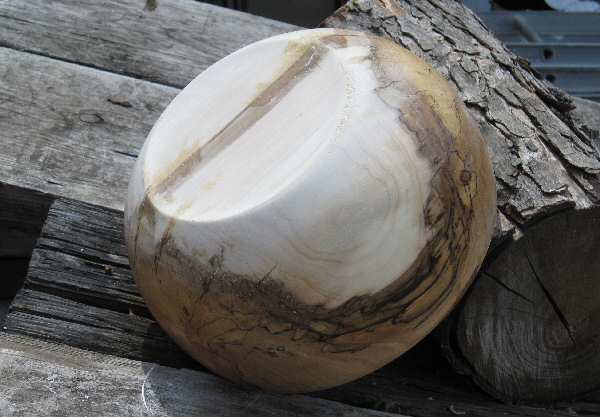
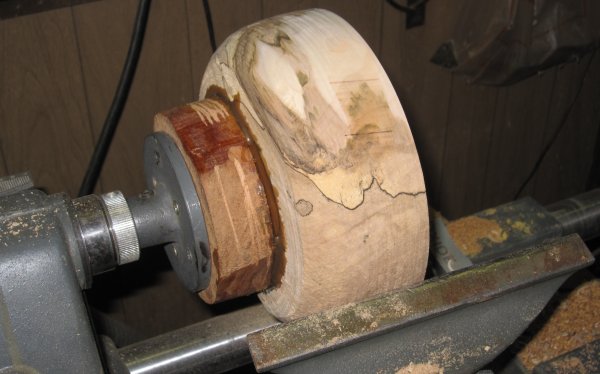
I'm kind of excited about this one. Some very nice looking spalt and lots to work with. Will make a good sized bowl.
Big chunk of wood, though.
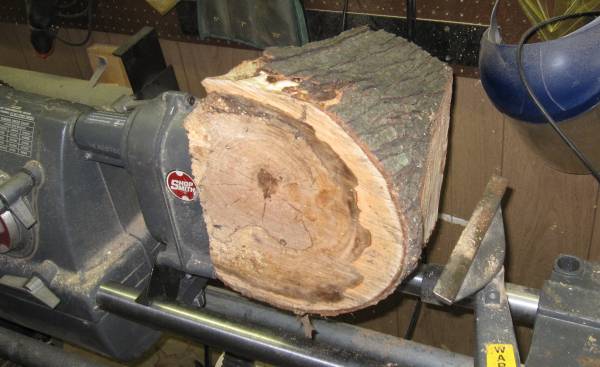
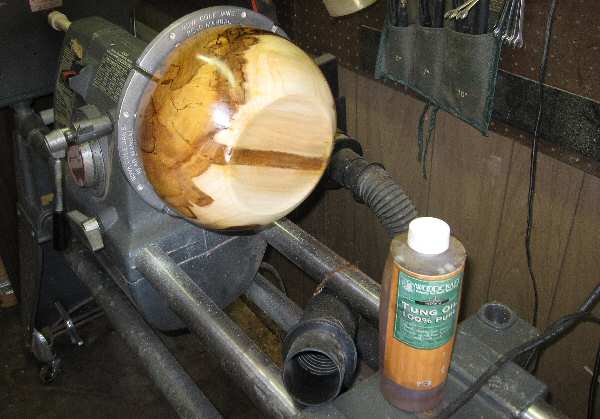
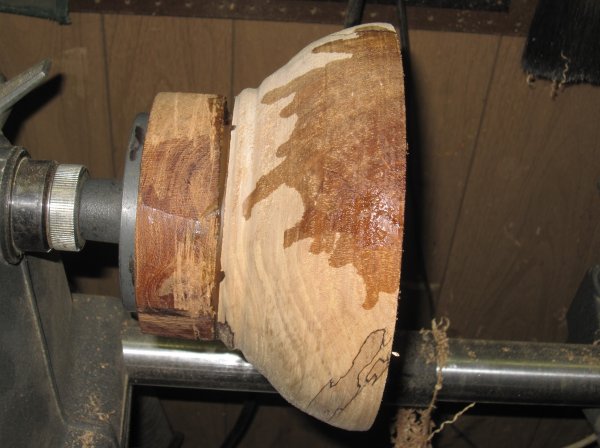
This is very easy to turn....a bit too easy.
It does look colorful though.
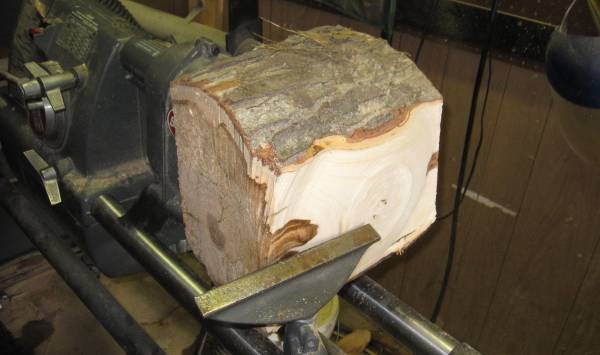
I literally ran into an ant nest. This is one of the disadvantages of wood straight off the tree. Major pith here.
It looks to me like it would be best to cut off four inches or so from this, flip the bowl around and turning the
bowl bottom into the bowl top.
Sometimes you need to think outside the box.
Why does the grinder with the chainsaw blade come to mind?
I know why... if some of my northern neighbors have issues with Lancelot & Squire, they are just going to love this.
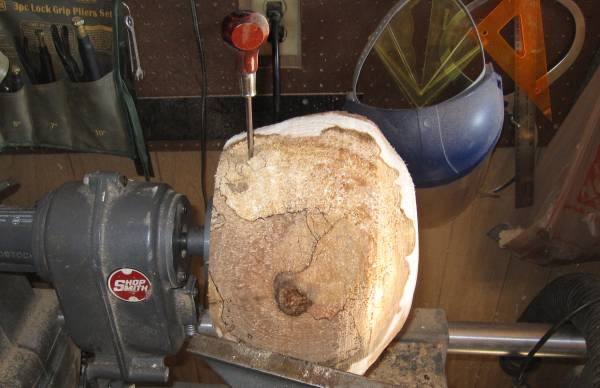
Tutorial: How to Part a Big Round when you don't quite have the Proper Tools for the Application.
Step 1
Use the parting tool to create a nice, deep guide groove in the round.
This will serve as a guide for another highly dangerous tool; one that has claimed many hands, fingers and scraps of skin.
It amazes me it hasn't been outlawed as too dangerous. Perhaps our Teleprompter in Chief can fix that for us too.
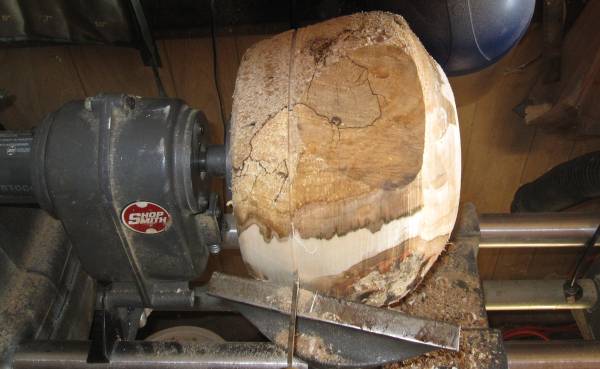
Step 2
Insert highly dangerous tool into the slot created by the parting tool. Set the lathe speed to slow.
A speed reducer on a ShopSmith gets the speed down to something manageable.
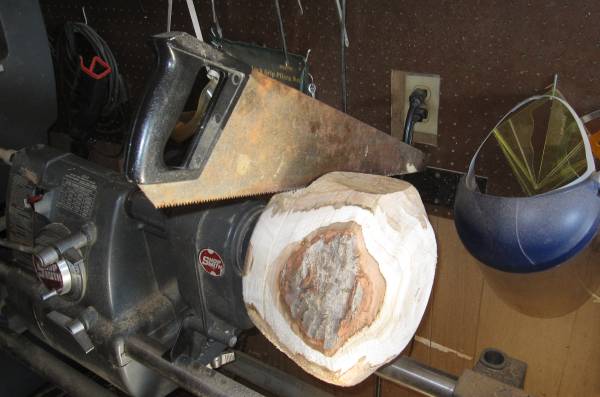
Step 3
Don safety glasses, apron, safety shoes, ear plugs, write out a Last Will and Testament and power up the lathe.
Use a firm two handed grip, a wide stance, say three Hail Mary's and let the lathe do the cutting.
Move the dangerous tool around slightly so the teeth don't heat up and lose their temper.
With any luck you can make it out of this with digits still firmly attached and bladder intact.
Step 3
If you happen to survive this harrowing experience, you might want to give thanks to whomever you give thanks to and then journey on.
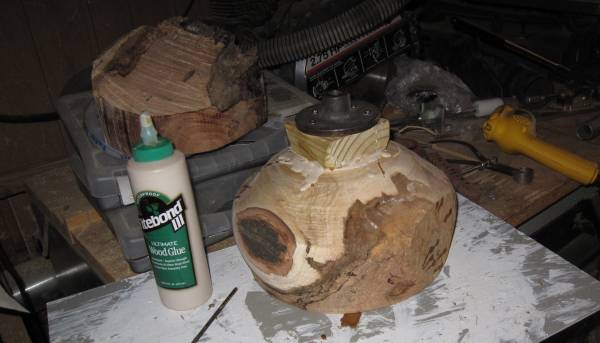
This looks much better and after looking at the second piece I cut off, it looks like it might have enough meat on it for a smaller, matching companion piece.

The bowl is still easy to turn...too easy. A lot of white is showing through as well. Lets leave a little bark on the piece.
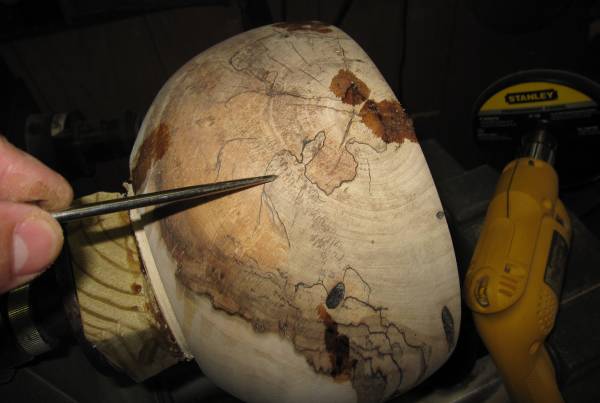
Uh-Oh, large crevasse showed up and it's quite soft. Odds of turning it out? Who knows.

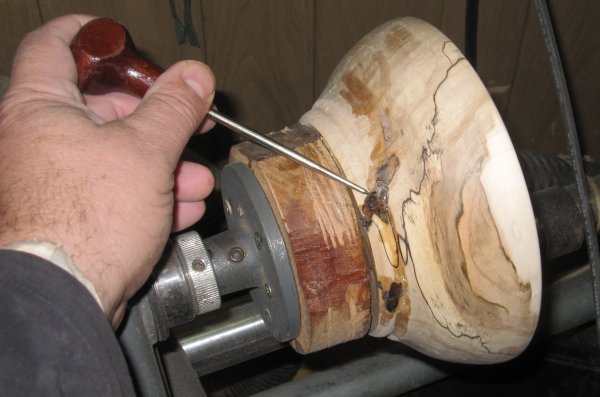
And.....part of the bowl rim decided it wanted to crack out. You know what this calls for, don't you?
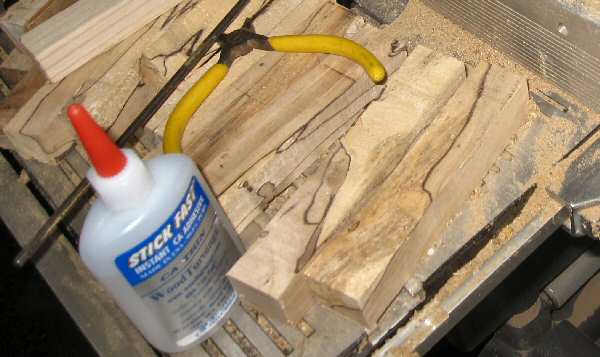
You guessed it, a massive infusion of CA glue over the entire area.
Another issue that crops up all the time is difference in density. There are at least three different densities in this area and what that means is when it gets time to sand, one has to be careful. Under normal circumstances, sanding at slow speeds is the preferable
option.
However if you are power sanding, crank up the speed so you don't stay in one area too long. You'll end up sanding divots into the softer areas of the bowl and the only way you can get them out is to turn them out and try again.
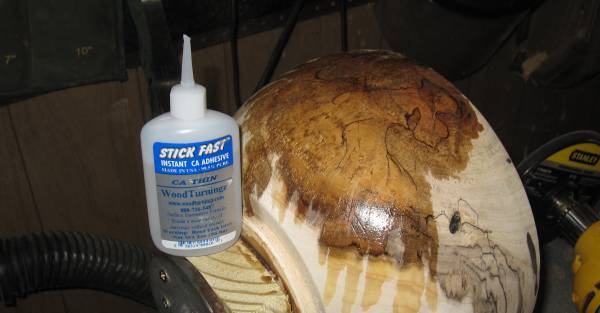
Of course, there is always the great equalizer - more CA glue. Give Stick Fast, a CA glue from Woodturningz.com a try sometime.
It's several dollars cheaper and the glue does not clog up the tip nearly as easily as the stuff from Wood Crafters.
Believe it or not it's still holding together.

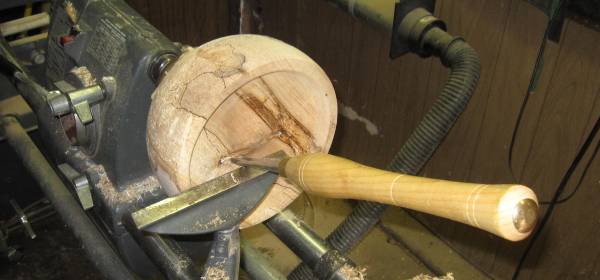
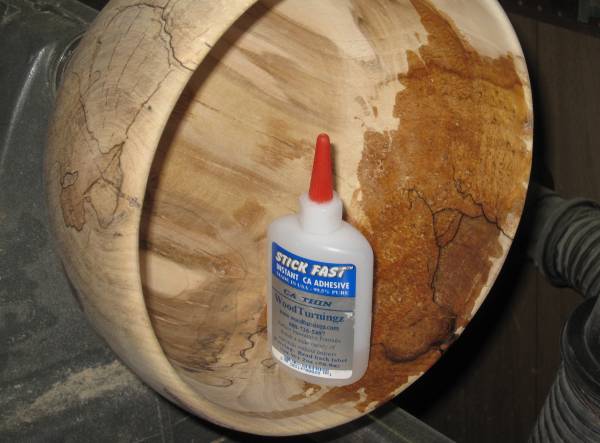
The inside of this fine piece of work is proving more problematic than the outside. This type of adjustable bowl scraper works well once you figure out how to sharpen the blasted thing. It is probably the least aggressive of anything I have and a light touch is required for all this questionable material.
Of course, there are other ways to skin this cat.
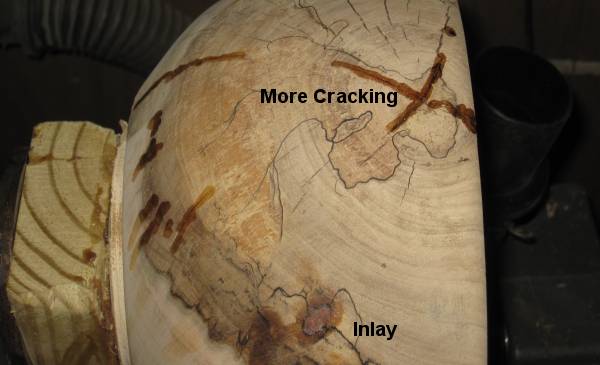
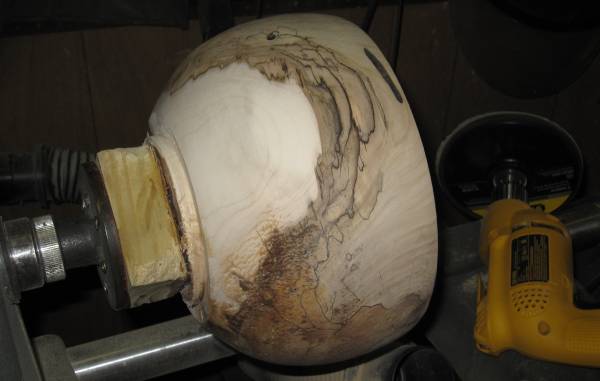
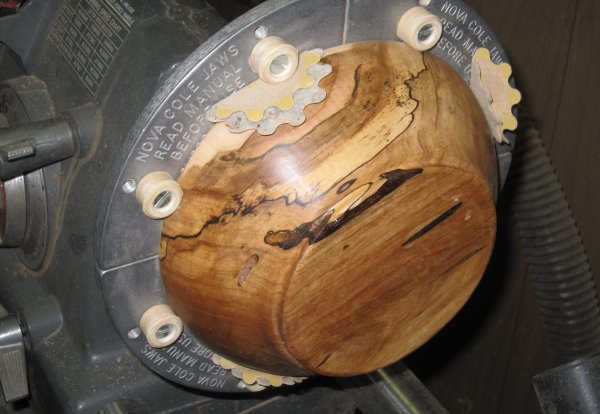
Moving back to the outside, time for more crack control and the addition a some inlay - Indian Sandstone in this case.
Trying for perfection with spalted woods is a losing proposition. 'Reasonably Close' is much more realistic.
At some point you just have to stop. It isn't going to get any better.
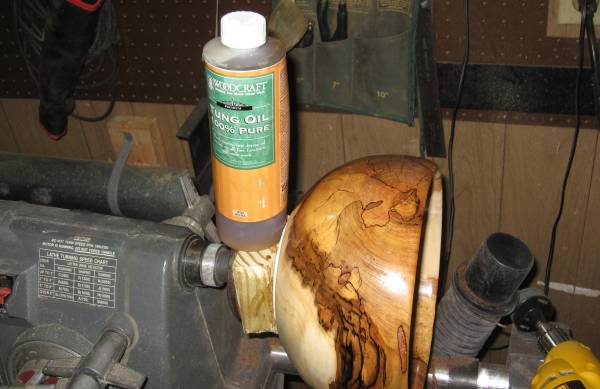
I like to use tung oil as a starting finish because it really soaks in, especially into spalted wood and it gets quite hard.
What works for me is coating the piece with tung oil until it won't soak up any more. This varies throughout the piece.
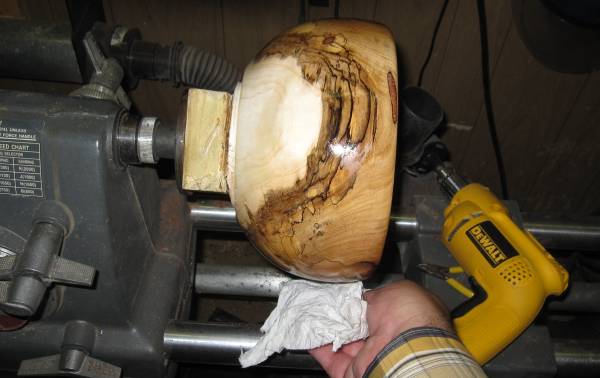
Let it sit for half an hour or so and wipe off any free-standing excess. Let it sit for another 15 minutes.
Turn on the lathe and rub the bowl out, getting rid of anything that hasn't soaked in. Use a little friction.
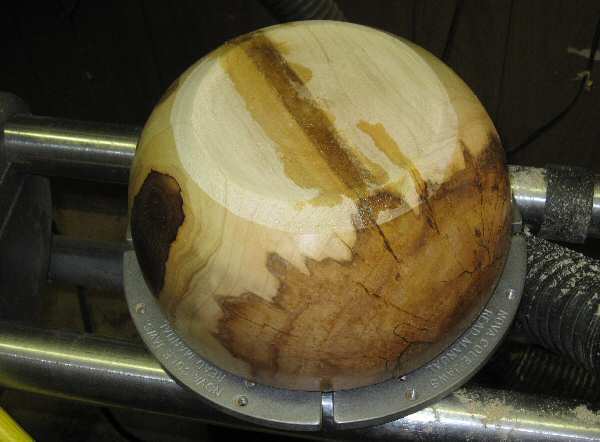
Let the bowl sit for another hour or so and repeat the process.
Excess tung oil will sort of bubble up, harden on the surface and make for a really crappy looking finish if you don't get it removed.
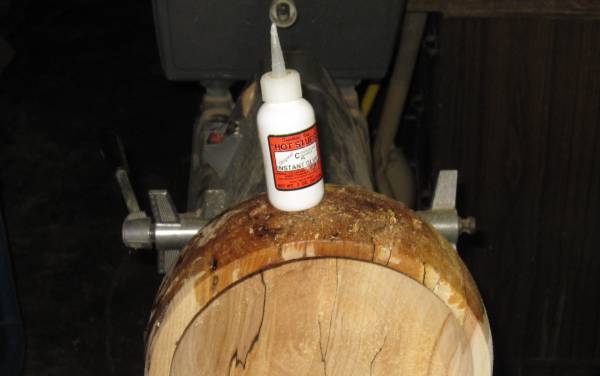
Flipping this thing around, the bottom looks really bad. This is going to call for removing most of the rotted wood and refilling with Medium CA glue and sawdust.
Tilting the bowl at various angles to keep the filler material in place while the glue dries.
A couple days later, everything is dry and ready to go.
I let the tung oil settle in for a couple weeks, then lightly sanded with fine steel wool and finished with a MinWax Satin Sheen.
Not bad, aggravation considered.
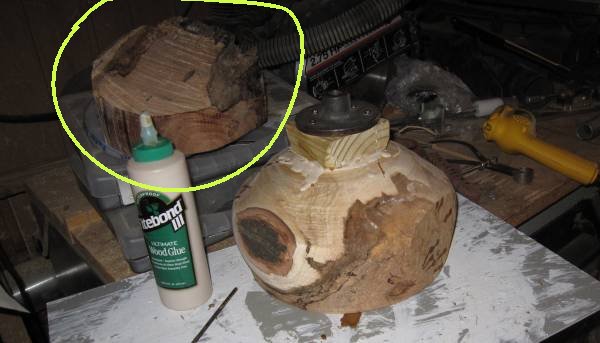
So, what about the piece I whacked off? This is the piece that had the majority of ants in it.
Been turning this a bit and it actually seems more stable than the parent piece.... once I got past the ants.
It's almost universal in that when you get to this area, lots of CA glue is a necessity or it chips out, chunks out, flat breaks out.
These couple areas which are much darker are too far gone to turn out because there wouldn't be anything left.
So, here is a solution:
Get yourself some medium viscosity CA glue and some accellerant. Spray the area with accellerant and then fill the voids up with medium viscosity CA glue. The accellerant sticks around for a while and will harden the CA glue, confining the boundaries. Use this procedure once or twice to fill the void, or as many times as it takes to where the CA glue is slightly mounded up over the affected area.
Now, if this is an ornamental piece then use a final finish which is shinier than the CA glue-filled voids or you will end up with a spotty looking bowl when looking at it under a bright light.
If this is for food, take a piece of steel wool or some fine sandpaper to slightly mar the finish, bearing in mind this advice is for the outside of the bowl. The reason for this is when using a food-safe finish, you want the CA glue filled areas to be indistinguishable from the applied finish.
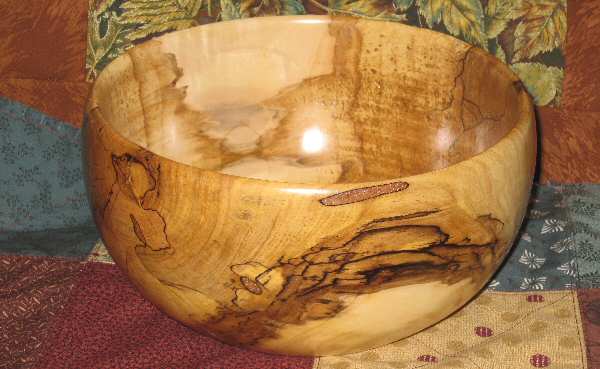
The exterior, as well as the interior of this bowl is finished with Tung Oil - it set about two weeks.
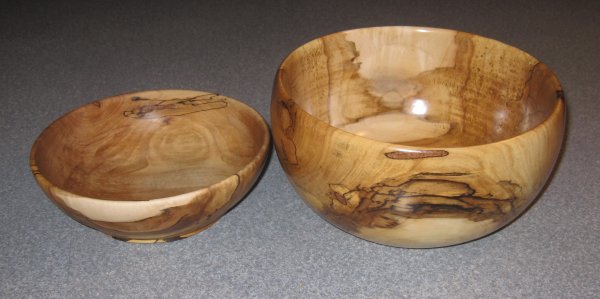
This makes for a matching set. It turned out quite well. Notice the finish on the smaller bowl is duller than the other.
This is because the food-safe finish on the left, and the MinWax finish on the right.
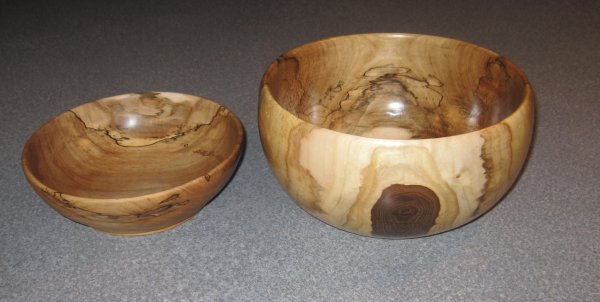
And don't forget........don't be afraid to leave a little bark behind. It can add even more character to the bowl.
What about the rest of the wood? There was enough for a few pen blanks. This wood makes for great cigar pens. The smaller, 7mm pens are dicier because of the material involved.
A bit about Spalted Maple Pens: