Turning a
Black Walnut Bowl with Inlay
One
of my sisters got married last year and I decided to send
along a belated wedding / birthday gift. One reason it was
belated was because I couldn't come to a decision as to what I wanted
to do. I finally decided it should be something
kind of antiquey looking whose origins was unquestionably
American.
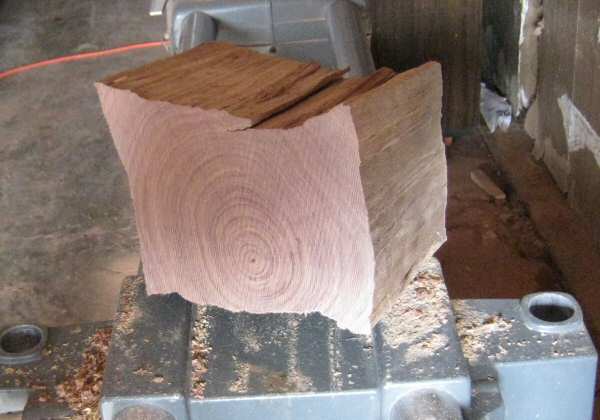
I cut this off a chunk of log which had been sitting around for years.
It appears to be Black Walnut. There are
cracks throughout it so this may be an exercise in futility.

I decided to mount it this way after futzing around with it a bit.
No guts, no glory........right?

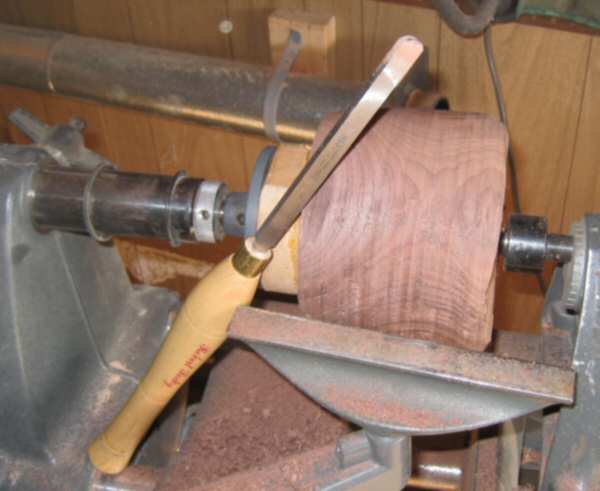
This piece can be turned without having to use a speed
reducer. No guts, no glory...........I think.
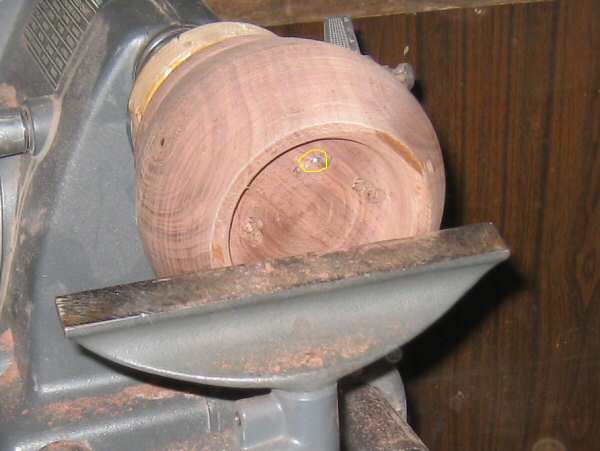
It didn't take long to determine I would need another plan of attack.
The piece turns easily enough but it throws
off large chunks of wood and splinters the size of big
needles. I had to go in the house and remove several
splinters from the hand holding the gouge. I got a dent in my
nose from one airborne chunk.
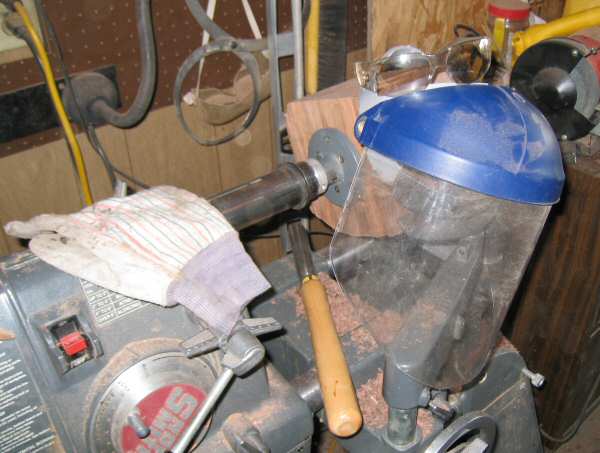
I restarted the lathe with a glove on the gouge hand and safety glasses
plus a face shield.
Turning went well enough except for having to continually sharpen the
gouge and putting up with flying
splinters and chunks of wood. The face shield took a couple
hard whacks.
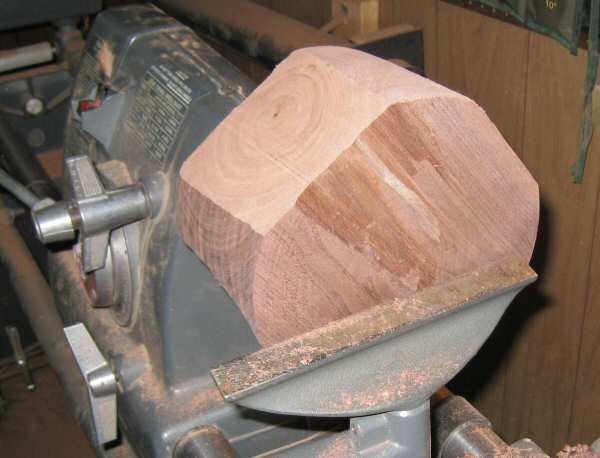
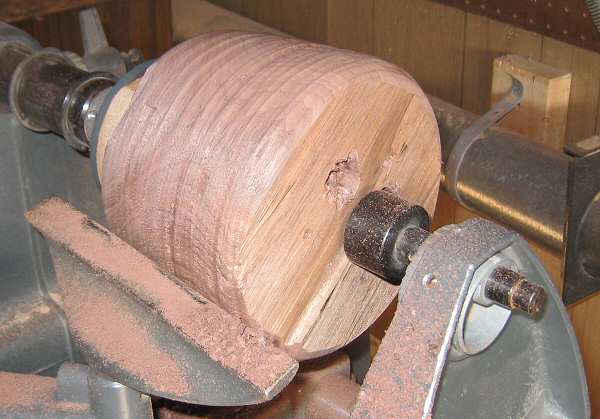
I decided to stop at almost-round and mount a sacrificial block.
I think that turning the block fully round doesn't
do much good if you are going to take it off the lathe. I
have not yet been able to re-mount a block perfectly.
There may be a bit more wood to work with if it is a bit off center
after mounting it again
.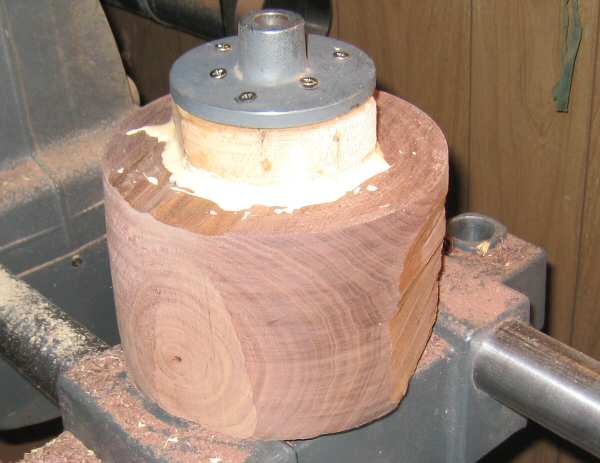
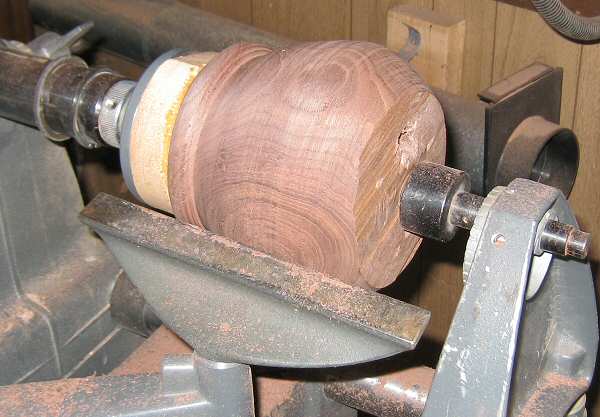
It takes at least a day for the glue to set. I think two days
are better. A nice pattern is starting to emerge.
I am now reasonably certain this is black walnut. I dunno
about doing this cross-cut though.
That may have been a mistake.
End of Day One
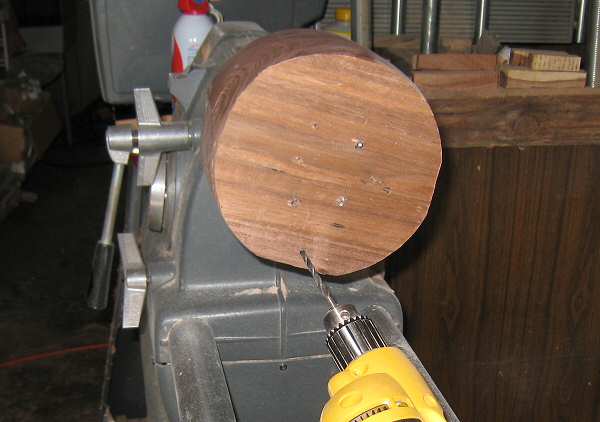
I like using sheet rock screws for mounting. They are cheap,
come in many sizes and provide a decent grip.
Unfortunately, they are not really meant for re-use. It takes
half an hour or so to drill out the broken screws.
This wood is causing me problems. It doesn't seem to matter
how sharp the tool, one small catch and large
splinters fly off. I decided to switch to a bowl scraper and
seem to have better luck with that.
Alas, it is still splintering. I'm cranking up the speed
this time around to see if that helps.
Speed helped.....that, and patience. However, heat
appears to be accentuating existing cracks so
there are periodic stops and liberal applications of CA glue to keep
the cracking under control.
I thought I got out all the screws.
I decided to switch tools again after splintering began causing a
problem. The parting tool worked wonders.
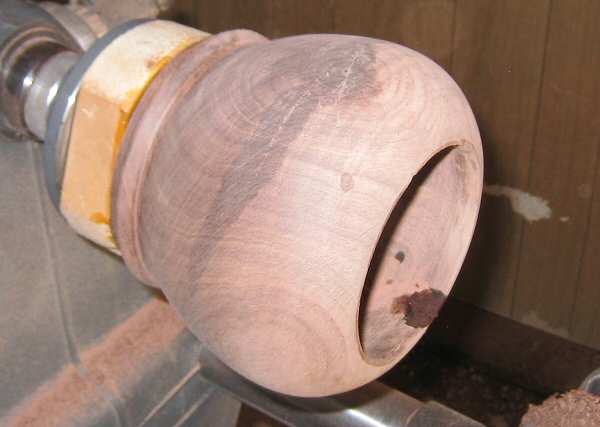
It took only an hour to rough out the inside using the parting tool and
another fifteen minutes or so to clean it
up using the bowl scraper. One splinter took a hunk out of
the bowl edge.
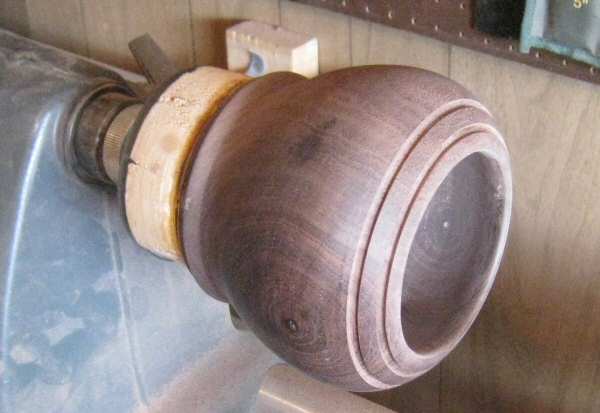
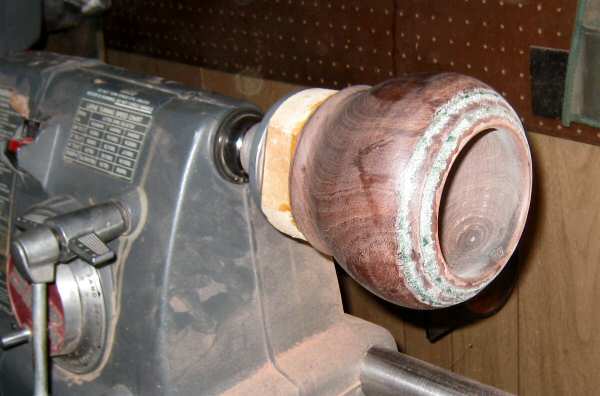
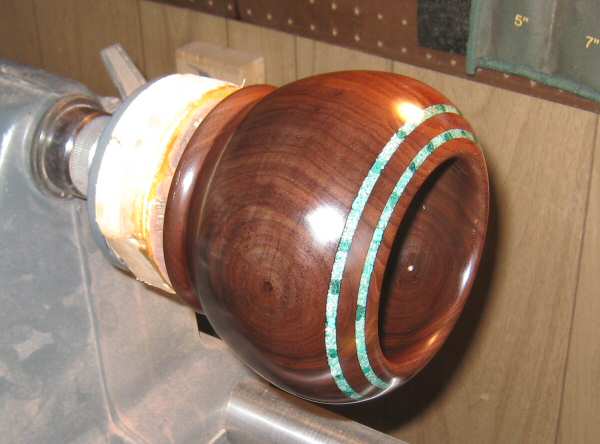
The bowl is sanded down to 300 grit and then two 1/8"
grooves are cut using a parting tool.
Why? Inlay. Inlay looks nice and also helps
distract the eye from wood where there are numerous flaws.
Not saying there are numerous flaws here, but on the whole, this would
look better with inlay.
I thought this would look nice with some inlay so I took a parting too
and cut in a couple grooves
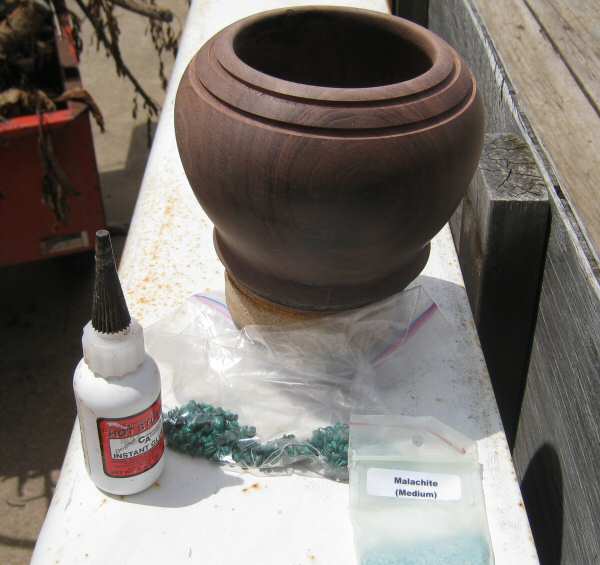
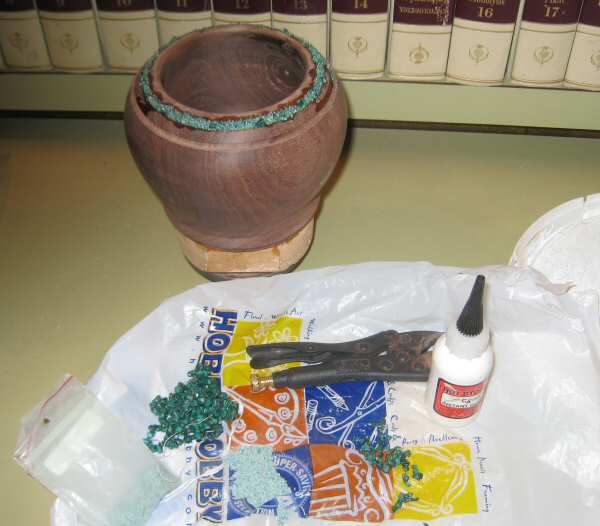
I am going to use pieces from a Malachite Necklace and some crushed
Malachite.
The first thing I do is set the stones. I use a little CA
glue to keep them in place.
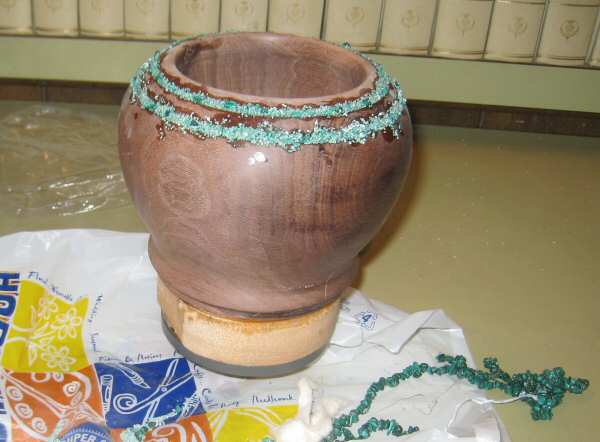
Fill
in the gaps with crushed stone. Do this in layers.
Let the
inlay sit for an hour or so before filling in a second groove, if
you
have one. At this point the first inlay is a semi-solid mass.
It can easily slop out if you get in too big a hurry.
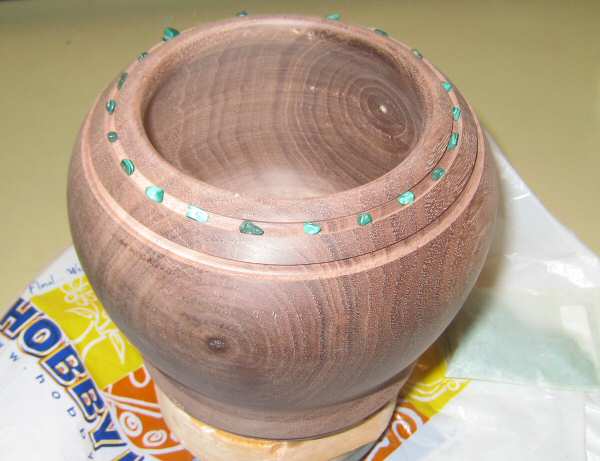
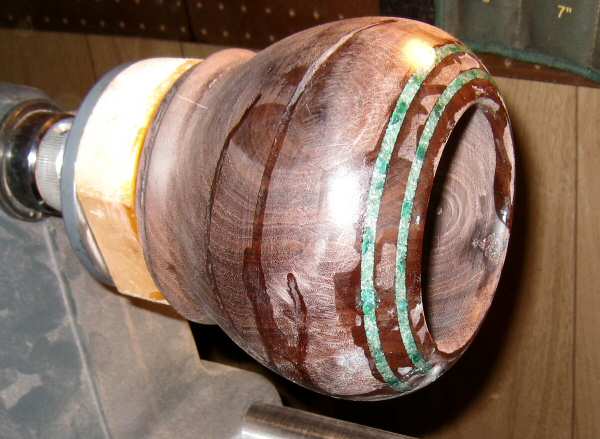
The second inlay is in and everything is filled with glue.
Ensure you mound the inlay material up and over the grooves.
The bowl will sit overnight and we will continue in the morning.
Biggest mistake in this evolution is impatience.
Have a nice glass or Merlot or a couple premium beers and enjoy the
evening.
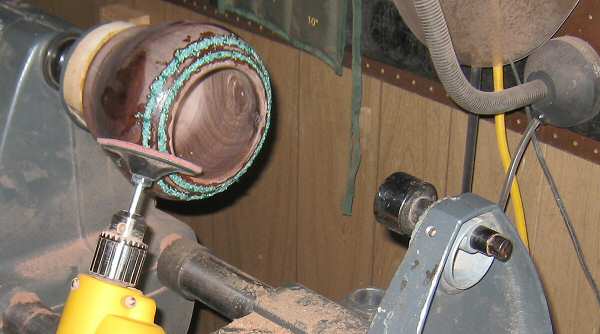
We now get back into the 'burn lots of sandpaper mode.' The
idea here is of course to get the inlay ground down to flush.
For this I use 80 grit sanding discs lightly apply. If you
really torque down on the inlay, 80 grit will tear out stones.
Go easy and expect to use up three or four discs in the process.
It's getting there. One thing that helps is to sand down all
the high spots first and then start the serious sanding.
I
have the inlay turned down to where I want but I still have a problem
which involves the base, which is a problem area of mine.
I tend to
pay too much attention to the contours of the bowl itself and forget
about the base. What I end up with is a bowl
which looks like it was chopped of from the stock and never completed,
which is the case here. I am going to have to
change the contour a bit to make it look acceptable (to me)
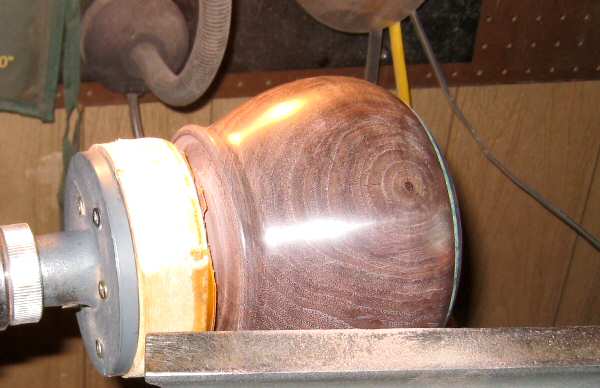
This looks better to me. Now for the final sanding.
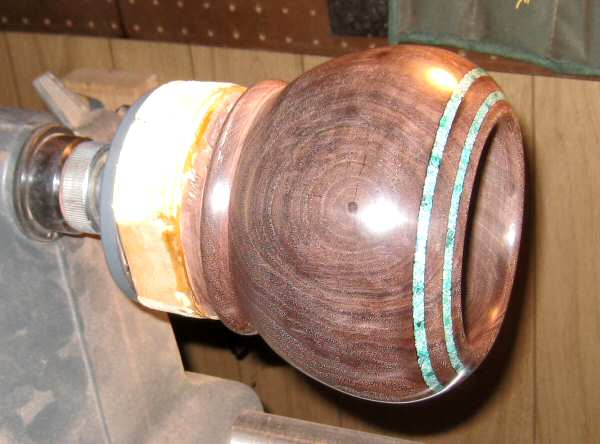
I
sanded the bowl down to 600 grit and am working on getting all the
minor scratches out. If you are a perfectionist, this is a
difficult
task. I am not necessarily a perfectionist, but I
seem to see things no one else sees and that is probably because I know
what I am
looking for. At some point you just have to stop. I
am stopping.
This
walnut stock is so splintery and unstable, I am going to take
an
additional step and apply a coat of Tung Oil. Tung oil
soaks into the grain and I think it helps reinforce the wood.
Here we have Tung Oil applied after about three days. There
are a couple areas which absorbed less Tung Oil than others.
I will apply one more coat after a day or two and then proceed from
there.
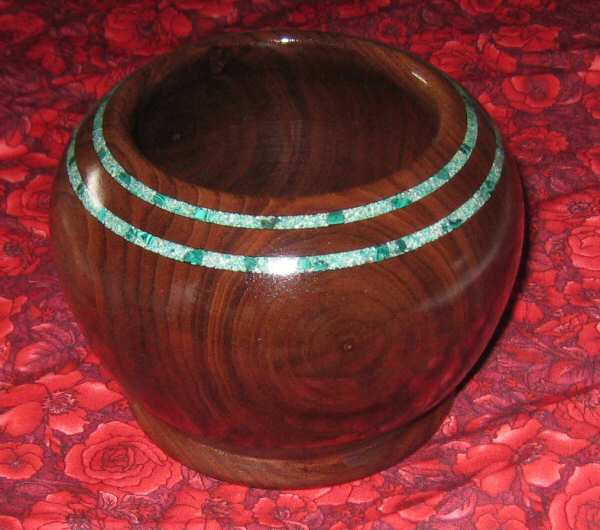
Finished with Minwax Clear Gloss.
Be careful with this kind of wood. Talking to other people
about black walnut yielded similar experiences when turning.
Use care and use a full face shield and gloves during the initial
turning.
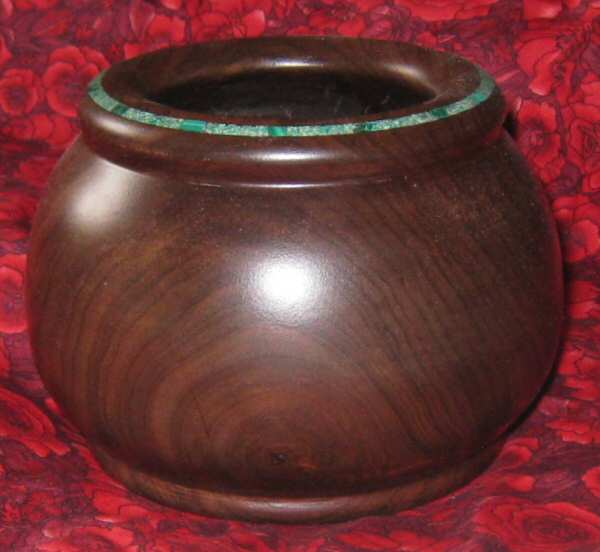
Another black walnut bowl with a Minwax satin finish.