What to do...........
How about a bowl and a couple Wall Street II pens to start with?
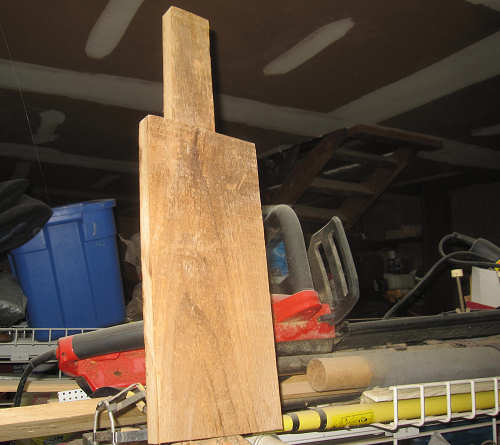
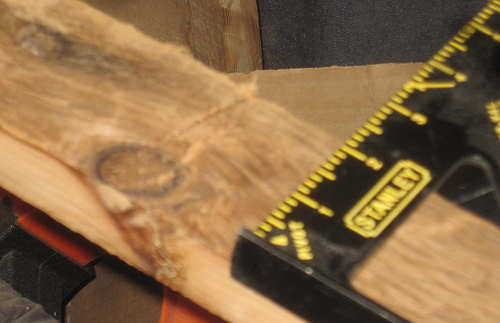
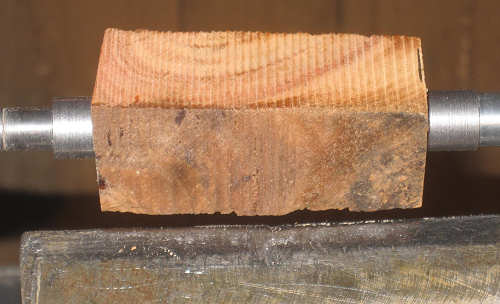
It's not every day one comes across 100+ year old barn wood in any kind of reasonable condition.
These pieces come from Northern Missouri.
This wood is very light. It smells like pine, maybe. Some of it has a sort of a patina on it.
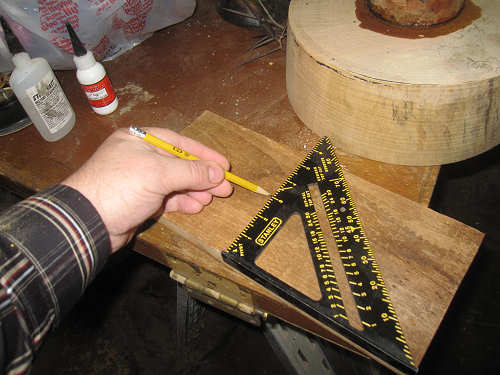
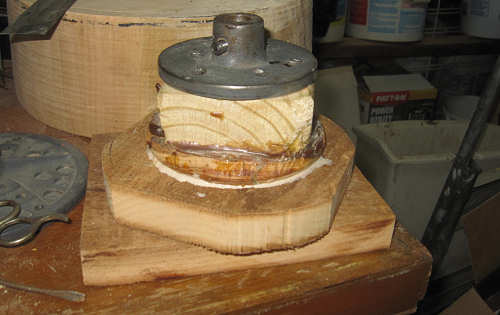
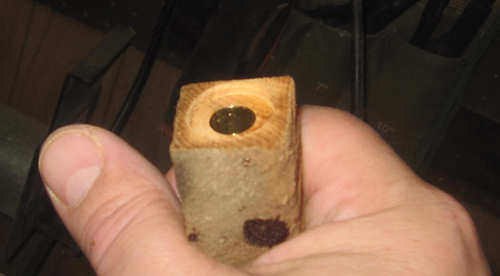
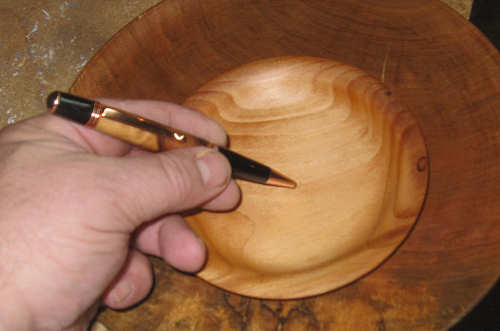
These planks are about 3/4" x 6". A plate, maybe?
Maybe not a plate, but a small dish.
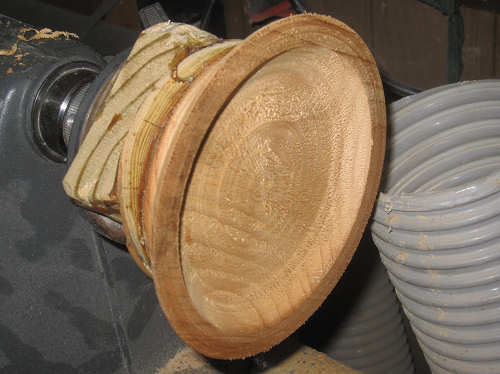
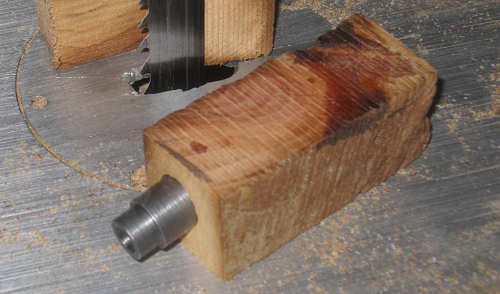
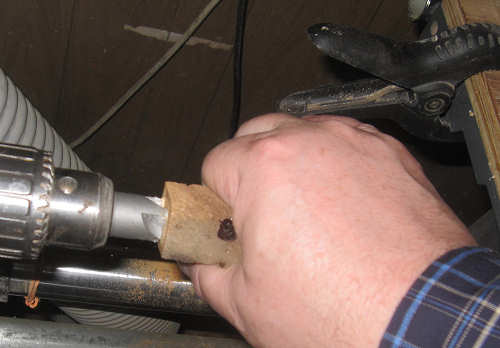
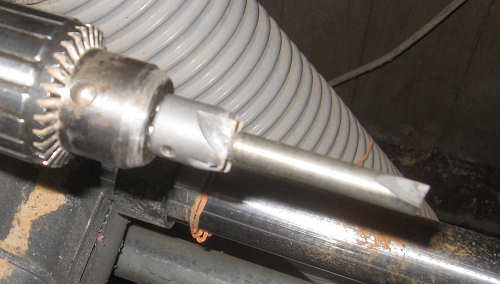
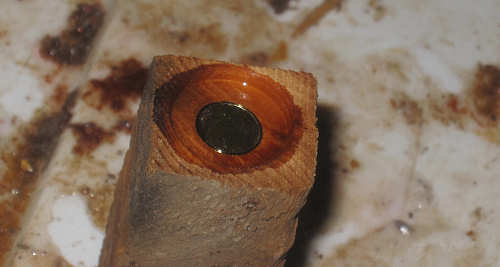
A great reason for using a sacrificial block.
This is probably not going to need much more than a day or so to dry. It's verrryyyy light.
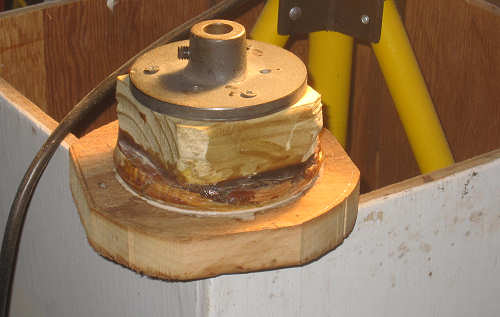
Setting the blank under a heat lamp speeds the drying of the glue.
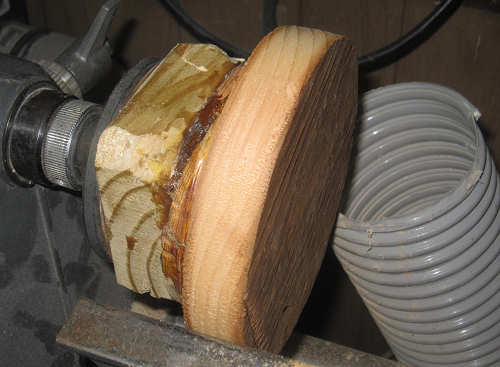
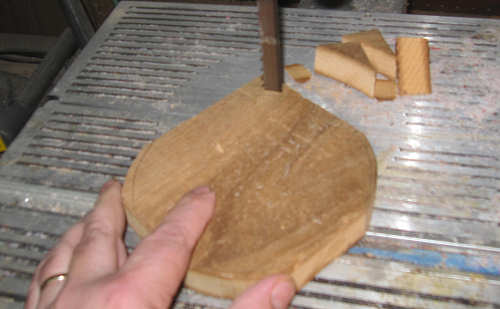
The following day it takes about two minutes to get the dish blank round.
After 10 minutes or so, the outside is close enough. Care has to be used not to get too aggressive.
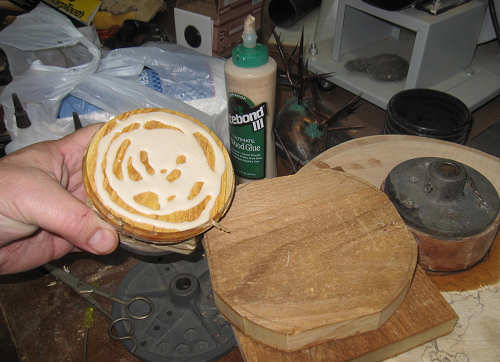
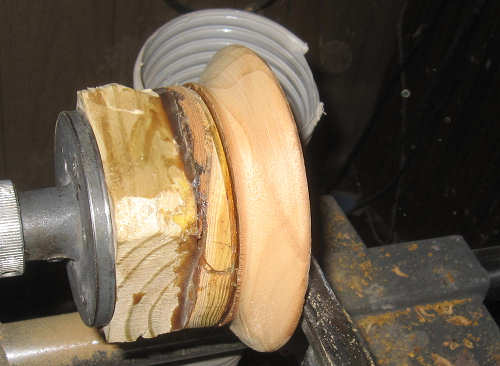
It takes another 10 minutes or so to hollow out the dish.
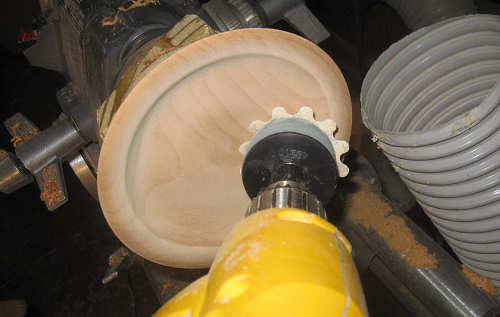
Power sanding only takes another 10 minutes.
I didn't really even need the parting tool - the glue still hadn't fully set.
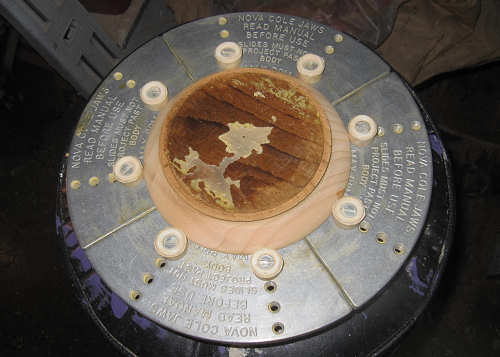
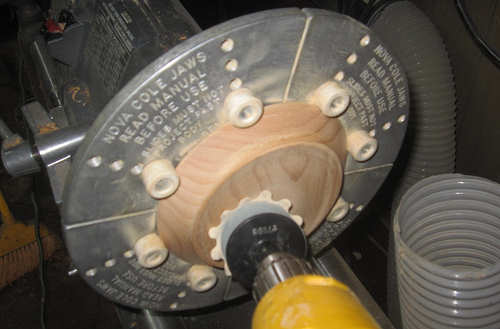
Cole Jaws were mad for pieces like this.
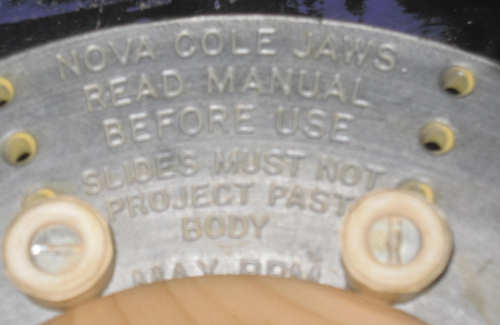
It's a good idea to read the instructions regarding the use of Cole Jaws.
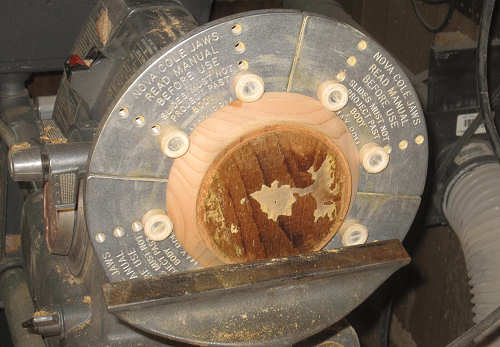
WORD OF WARNING - BEFORE YOU EVER START THE LATHE
Ensure the lathe is set at it's lowest speed, or under 600 rpm.
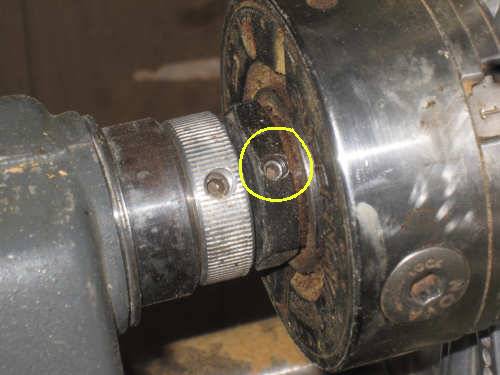
SECOND WORD OF WARNING - PERIODICALLY CHECK THE HEX OR ADAPTER NUT
The adapter fitting for the Nova Chuck on a Shopsmith is puny and has a tendency to work loose after a very short period of time.
Periodically stop the lathe and check to ensure the nut is still tight.
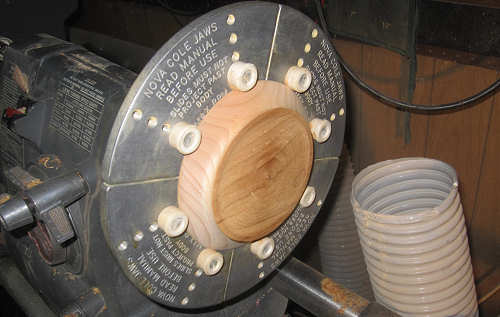
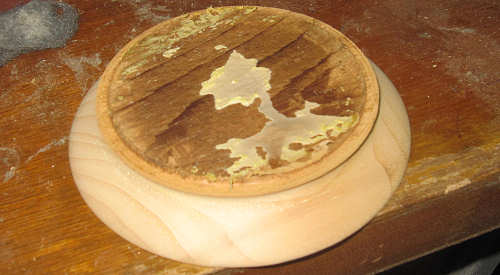
Turning the dish bottom takes another couple minutes.
Add another two minutes or so for power sanding and from start to finish,
......this took well under 2 hours.
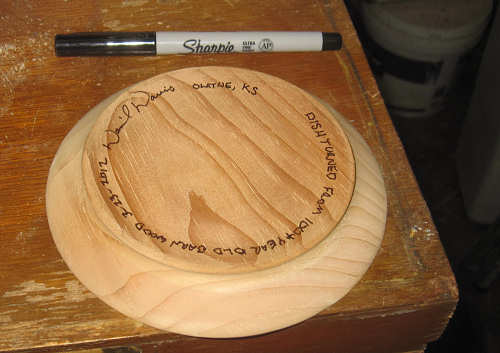
And don't forget to sign your piece. This bit of detail can add value further on down the road.
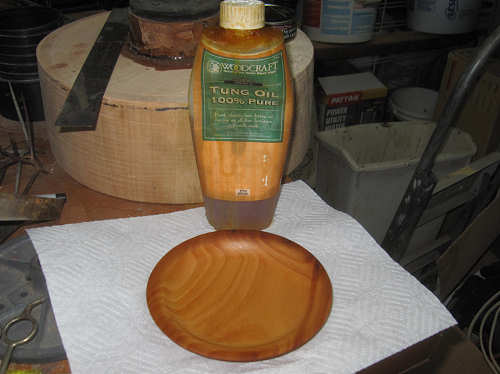
The tung oil finish brought out some of the patina, for lack of a better word that I first observed.
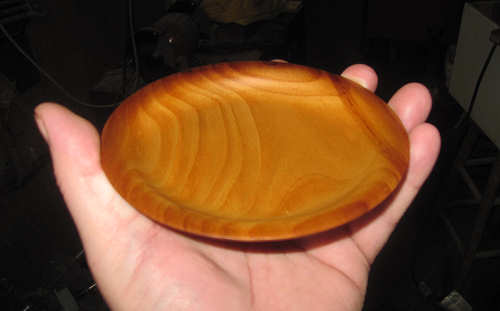
The finished dish has to weigh less than 2 ounces. It's probably the smallest piece if this type I've ever turned.
Certainly the lightest.
What else to do...........
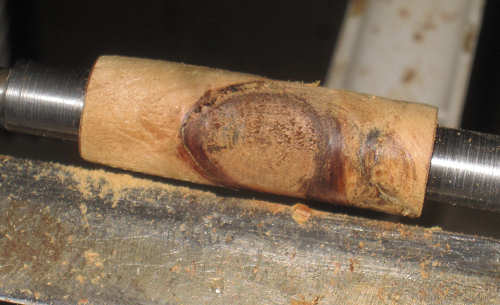
One of the problems with blonde woods is there is not much figuring or color to work with - nothing that really pops out.
Around some of the knotted areas, there are some possibilities. I'm thinking a couple pen blanks but it would have to
be for pens than only use one tube.
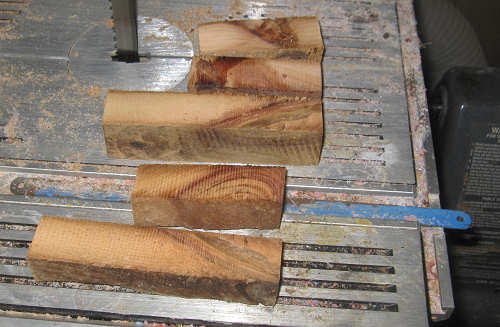
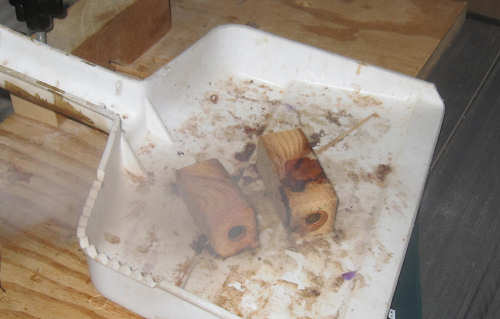
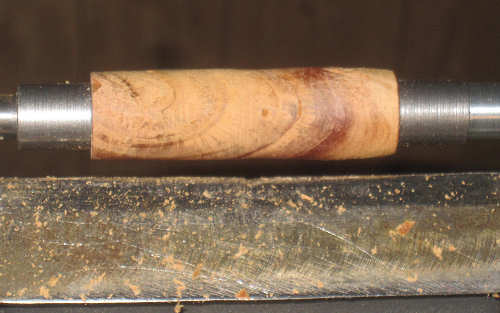
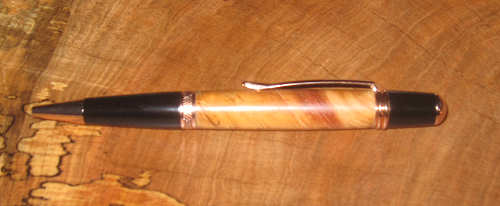
Out of all that wood, I came up with these.
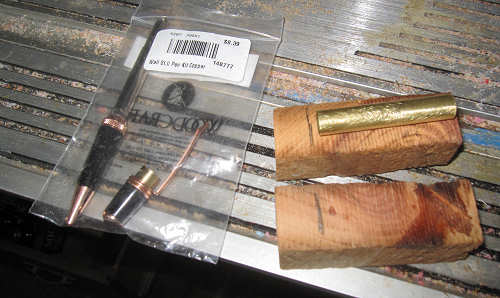
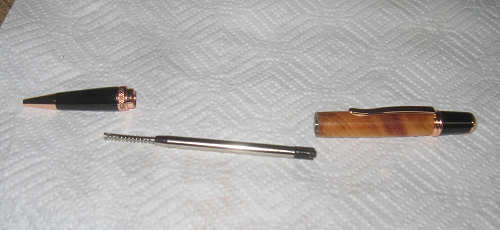
I settled on these two and decided to use the Wall Street II pen kit.
I figured the reddish tinted blanks would go well with the copper of the Wall Street II kit.
Besides, there were on sale.
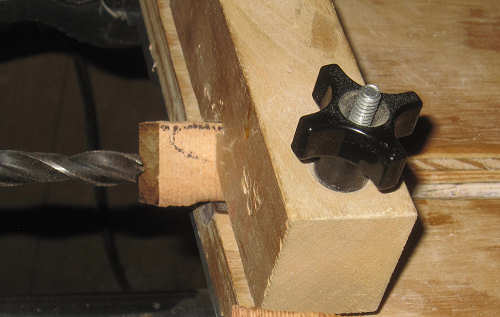
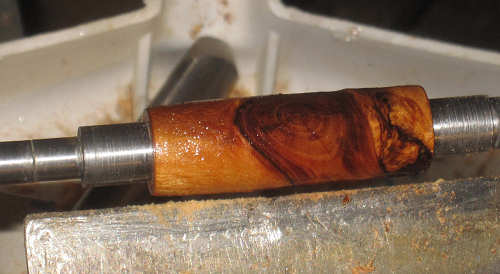
I'm moving the blank off center a bit to try for more color.
Crap.......I used the wrong drill bit. I thought it said 27/64" and I don't have a bit that size, of course.
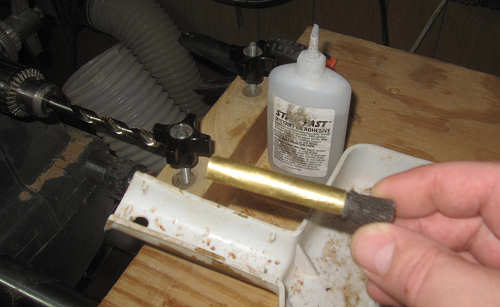
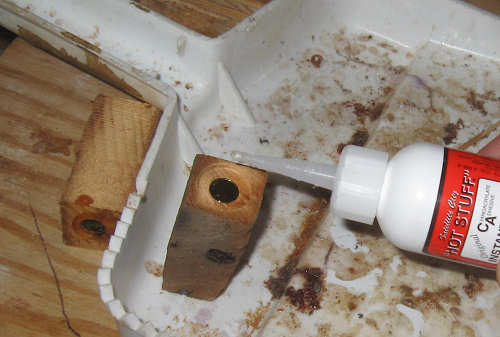
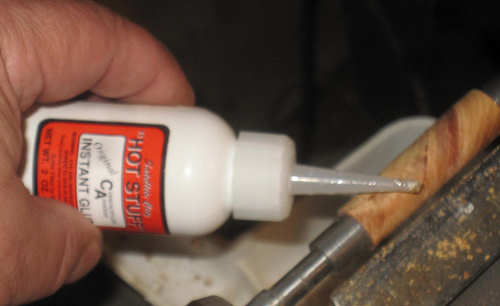
The CA glue cap makes for a convenient brass tube holder when applying CA glue.
A word about turning knots - glue those suckers in not once, but several times throughout the turning process and go lightly when you hit the knot.
What happens is, when you are turning the soft wood and then you hit the knot, the tool catches on the knot and rips a piece or all of it out.
If you back off on the tool just prior to the knot and use a lot less pressure turning into it, you can generally do ok.
More on that later.
Speeding up the drying process doesn't hurt anything at this stage.
The pen mill squares up the ends of the pen blank.
Ensure the existing mill shank is the right size or else it's another trip to the Woodcraft Store.
Use the mill until you see a shiny brass lip.
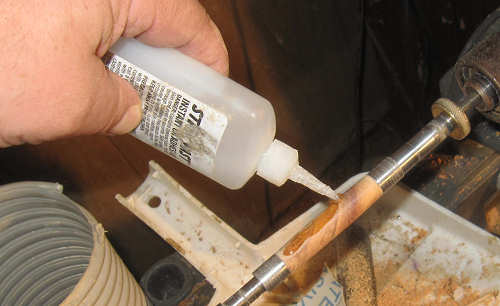
Don't forget to reinforce the milled ends with thin CA glue. For wood this light, it is even more important.
Let the CA glue soak in for a minute or two before using accelerant.
Heh - this ought to be fun.
I got this far with minimal disruptions and looking at the right side, that is the hardest piece piece......and......see anything else?
The blank is more or less cross-cut and what that means is that it just got a whole lot easier to explode the pen blank.
Voice of Experience speaking here.
Time to do some preventative maintenance:
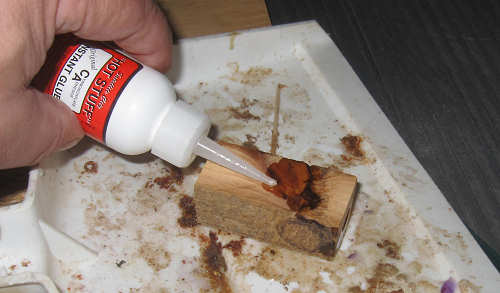
Step One - Coat the entire blank with another layer of CA glue and let it soak in.
This is hard stuff so reaaallllyyyy let it soak in. Hard stuff = brittle stuff.
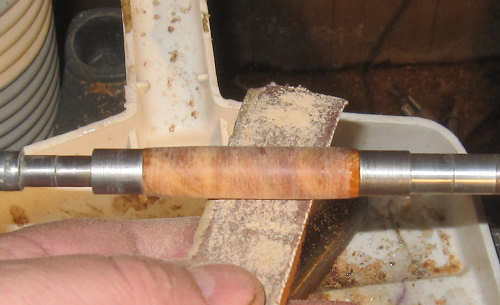
Step 2 - STOP TURNING and START SANDING
Stop using your tool of choice after knocking down the excess CA glue so as not to clog up sand paper.
Get yourself some 60 and 80 grit sandpaper, and a backing board. Use the 60 grit to to sand the blank to a bit over flush.
Use the 80 grit to get the blank just about flush with the bushings and then switch to 150 grit and work your way up through the grits.
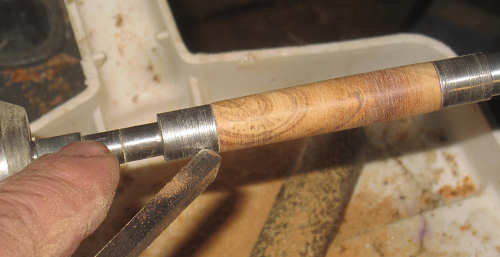
Somewhere around 320 grit, trim up the ends of the blanks. I've been using a micro-tool - a scraper for the ends. It works very well and is easy to control.
Since the wood is quite hard, I sand on up through 600 grit and then apply a final layer of medium CA glue to start the finish.
(Note to Self: See if the CA glue company sells stock)
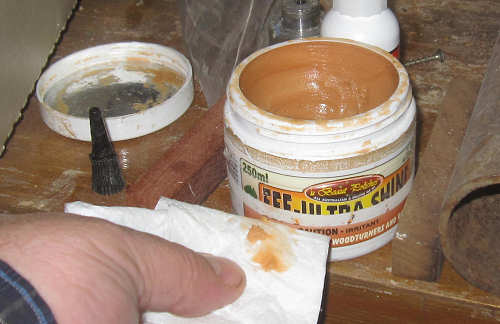
Add a little EEE to the mix and the finish is on its way.
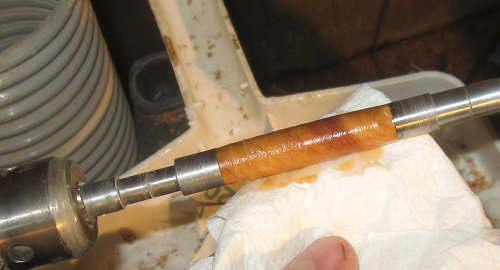
Work the EEE into the CA glue slowly. Slowly increase pressure, removing the excess. Use a clean paper towel and friction to finish up.
End the procedure with fine grit sanding cloth, if you so desire.

This is looking pretty good.
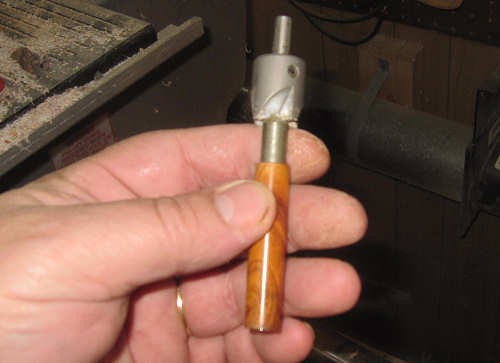
Clean up the ends one more time with the pen mill. Just a quick, light twist will do.
The Wall Street II parts assembly is almost impossible to screw up - even without the instructions.
One Down, One to go.
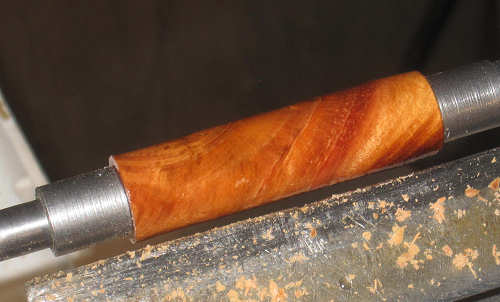
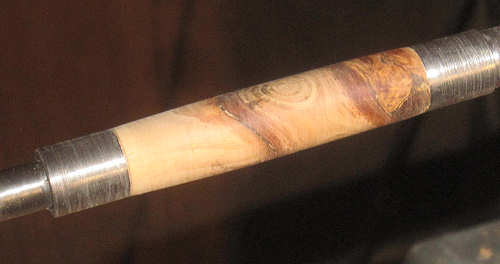
This blank is going to be the more problematic of the two.
I'm going to be using LOTS of CA glue on this one.
This one was sanded down at the end, rather than turned down as well.
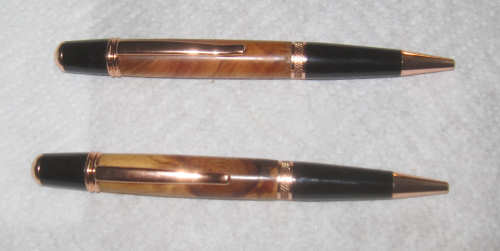
Not bad for 100+ year old barn wood.
Nice fitting style too. Not as heavy as the cigar pen but more substantial than the 7mm pen.
Closing comments
Don't get fooled by the clowns out there who say that if you end up sanding a pen blank down to size, then you don't know how to properly use your tools.
That is total B.S.
What they are doing is trying to make themselves look good and perhaps sell something on the side. I've received enough emails over the years to know what is crap and what is not. When someone says they can turn this type of wood perfectly, all the time and every time - they are full of crap. It does not work that way in the real world.
If you have a knotty or otherwise problematic blank and you really don't want to blow it up at the end, go down to Cummins or Harbor Freight and the a pack of cheapo sanding belts and cut them down to sanding size. Ensure there are some 60 and 80 grit sanding belts in the mix.
If you have the pen blank turned down with 1/8" or so to spare and you wish to play it safe, 60 grit sandpaper will take it down close in under a minute.
Switch to 80 grit and take the blank down most of the rest of the way and then work up through the grits.
Stop at around 320 grit and trim down the blank ends, getting them flush with the bushing. The micro-tools work well for this.
It really doesn't take any more time sanding the rest of the blank down vice turning, and the end result won't be blown up or cracked out.
Heck, it might even end up looking really nice!